Eleven + West

CREATIVE STUDIO

Bathroom Before/After

Creative HomeGina Paulson3 Comments

We bought a house last December. I haven't shared anything about the house yet besides a few little snaps on my Instagram here and there. This is our first home and it's been so fun and rewarding to get to see the changes we've made in it. I am pretty sure my husband knew going into this house that a lot of the design elements were going to be up to me, he really let me bring my visions to life. I remember drawing each room out on paper first, with measurements and colors all labeled, and room by room and I put down my vision. I got a lot of questionable responses on some of my decisions- like why I would paint perfectly good cabinets, why I would get rid of perfectly good cabinets, wouldn't doing half of the bathroom tile in one color look weird, are you sure you really want to go WHITE everywhere? This was just one of those projects that I have a vision for though so YES, I am sure. LUCKILY, we had A TON of help from both a local contractor and both of our dads who are both incredibly handy when it comes to work in houses (again first time home owners, we had no idea how to do about anything) 

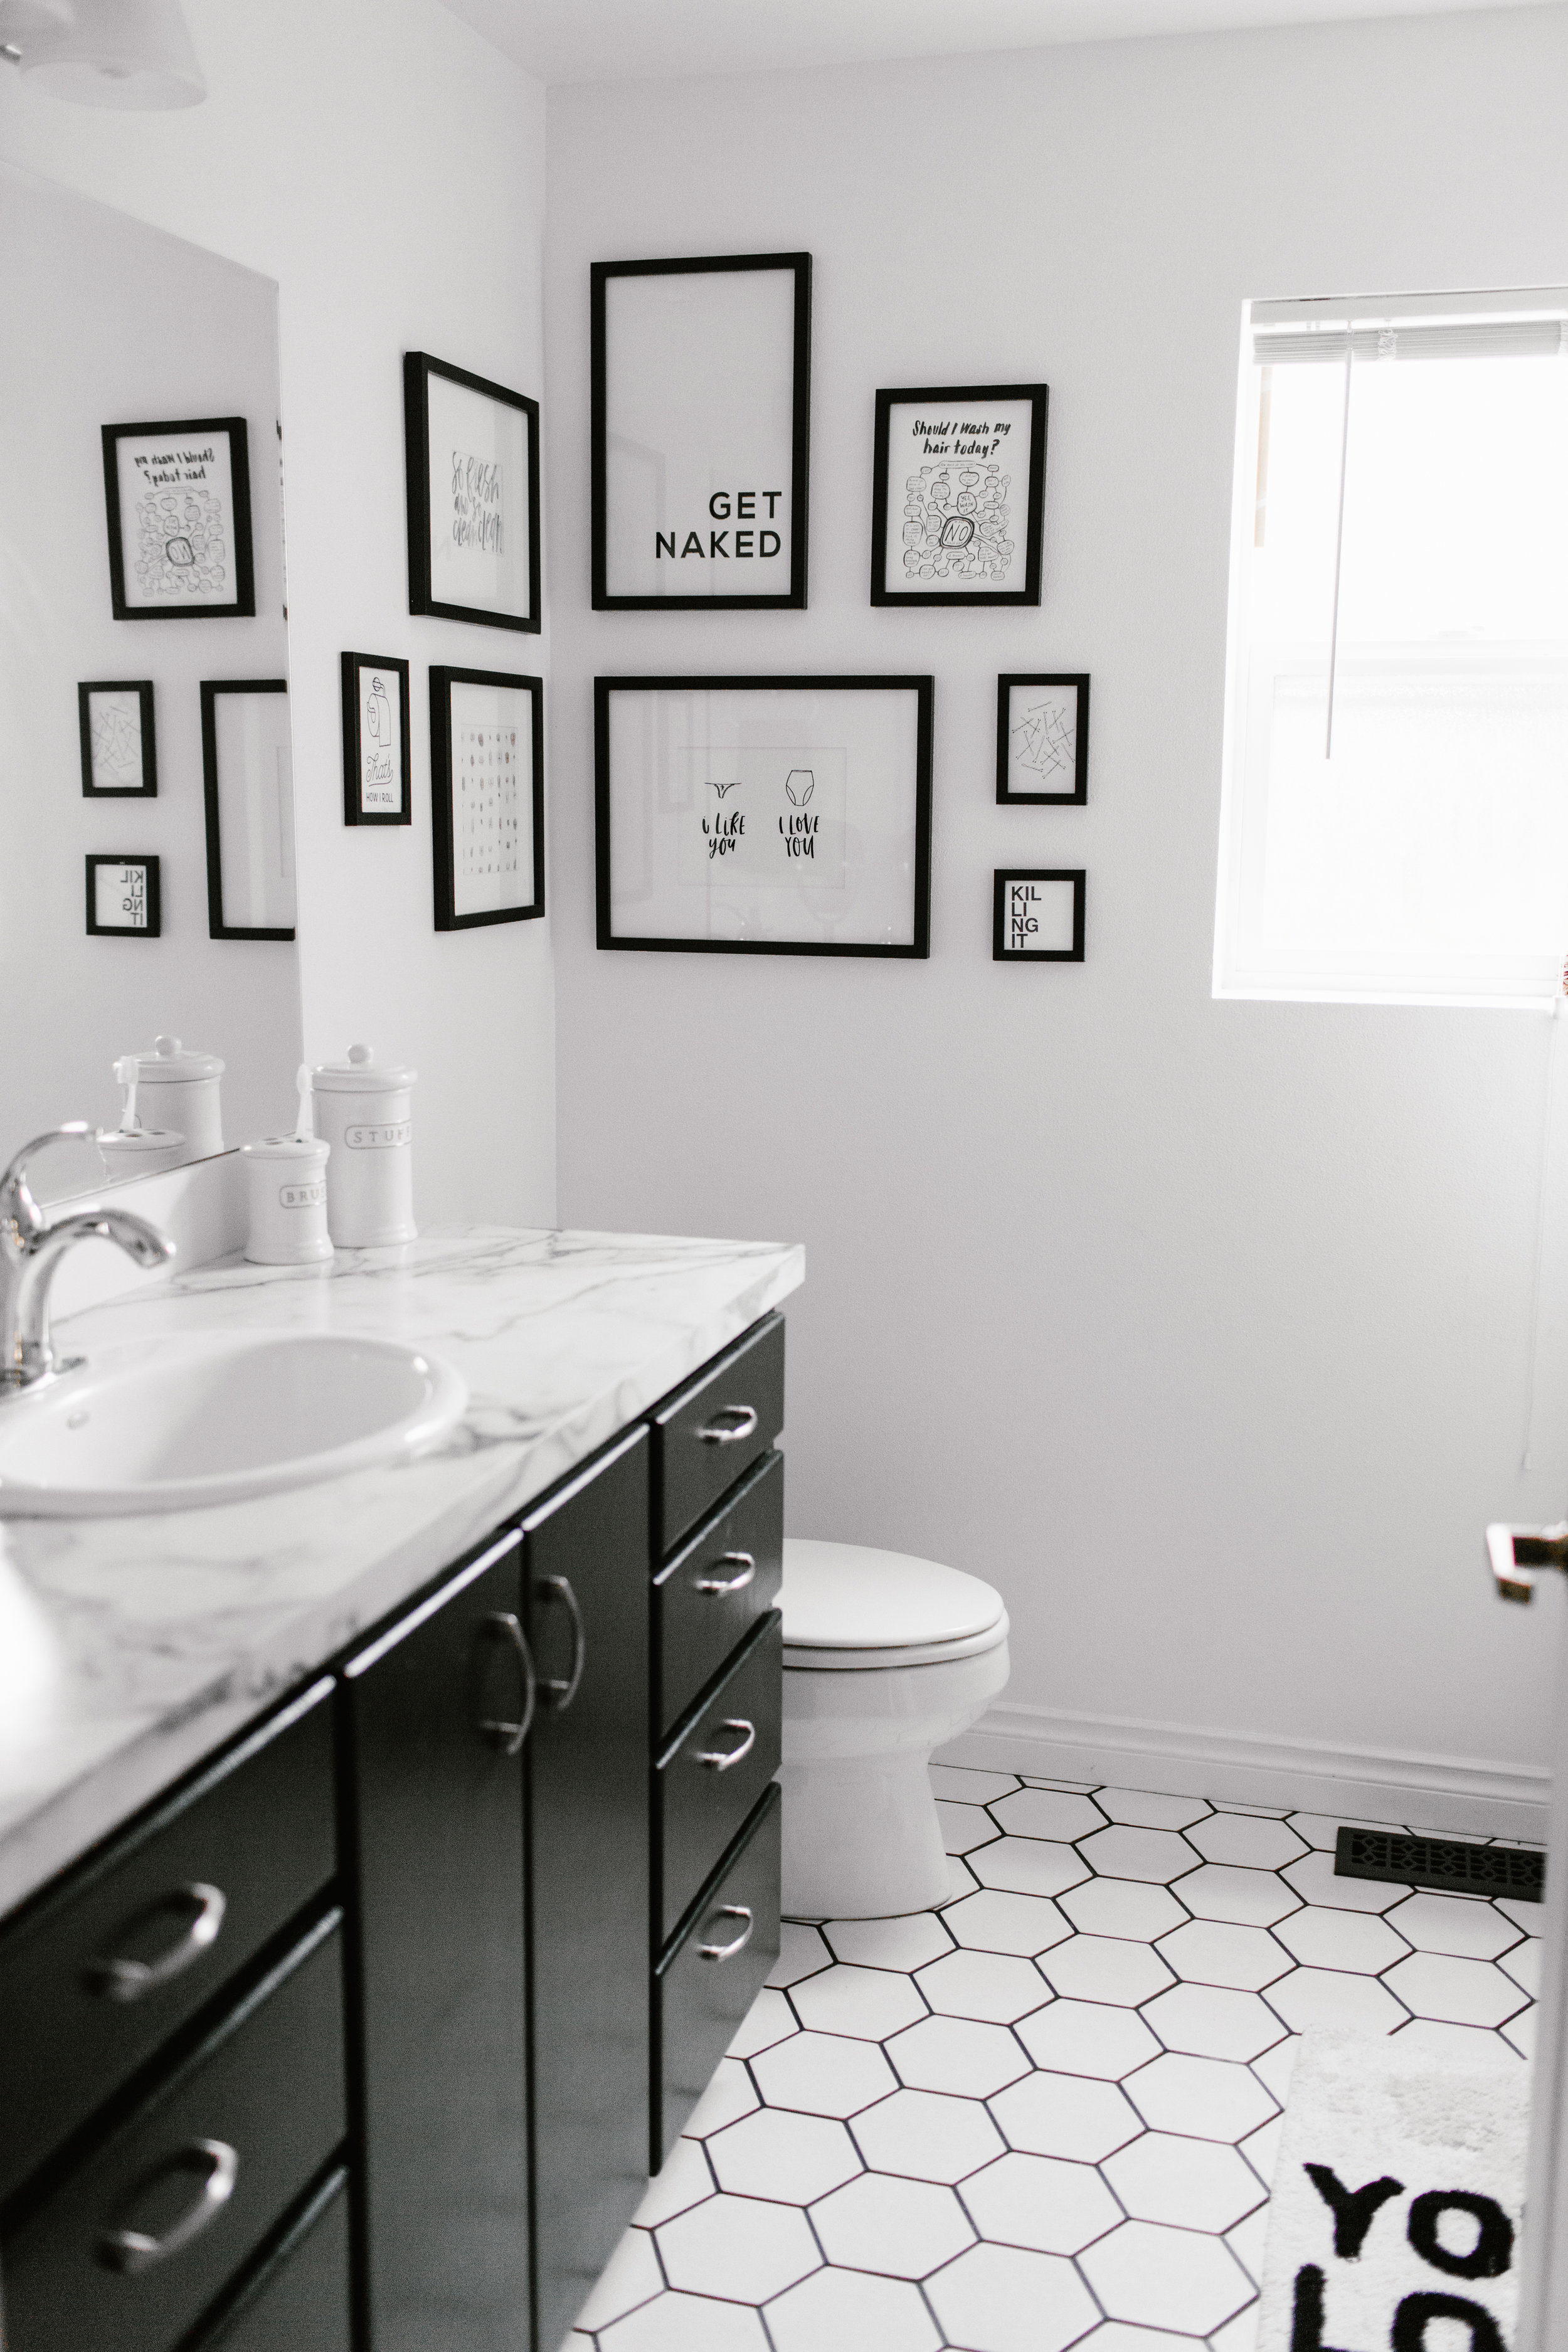
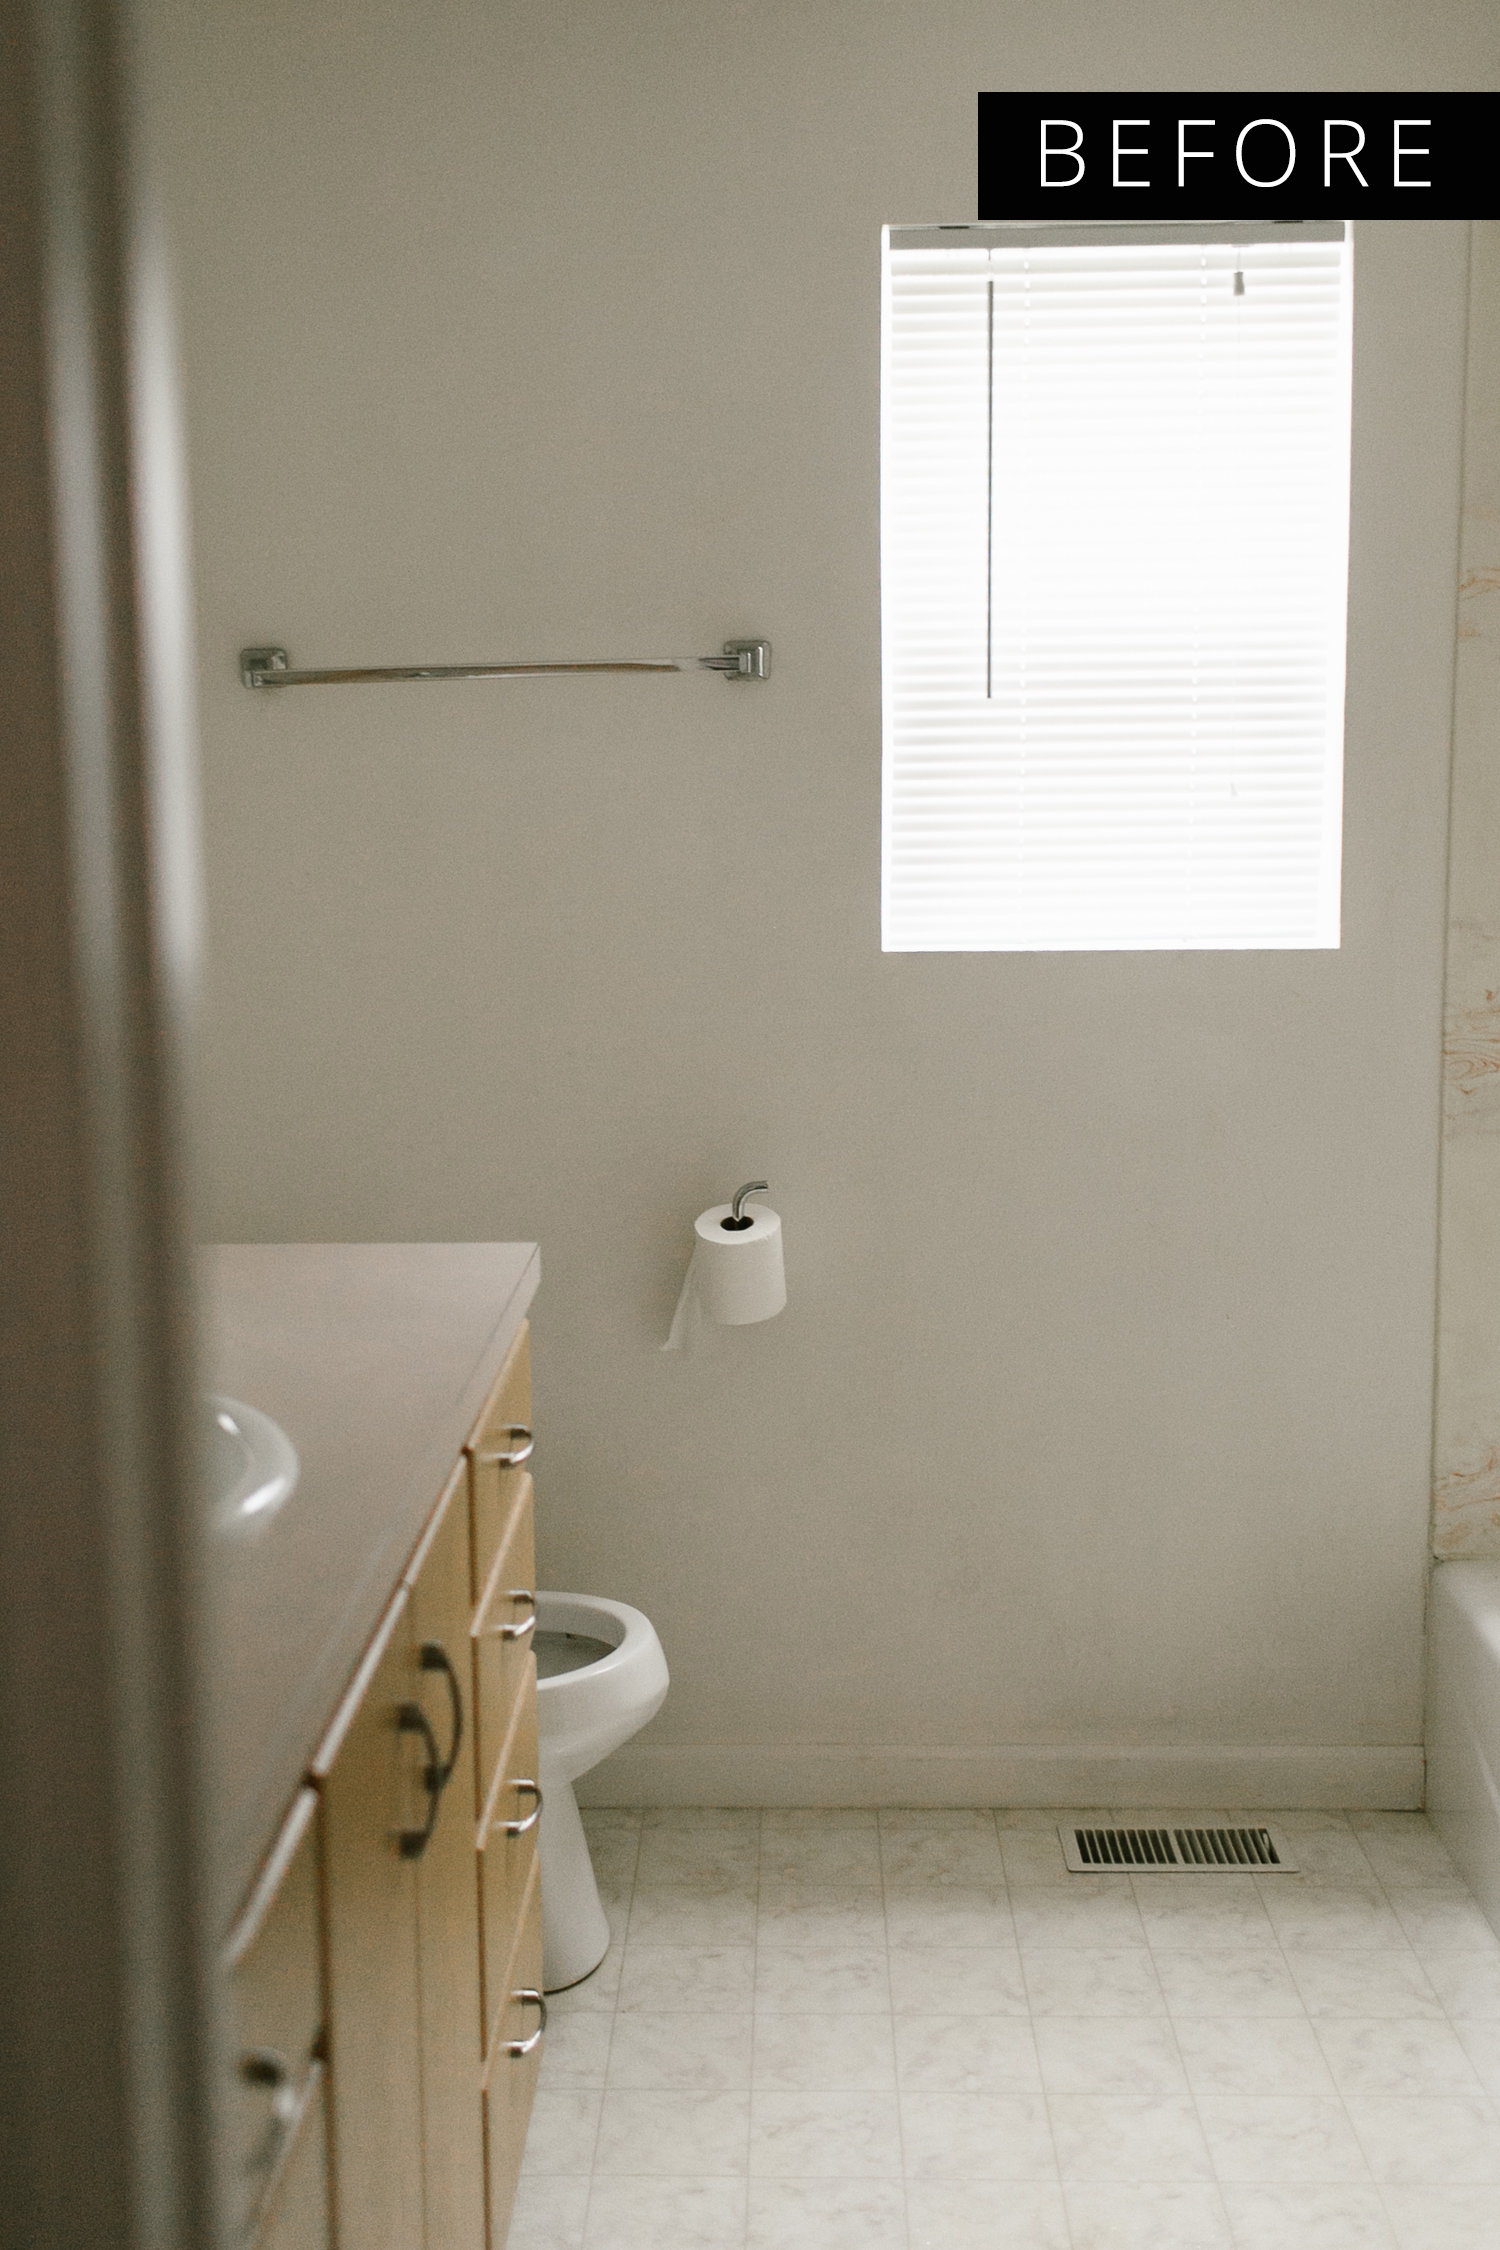
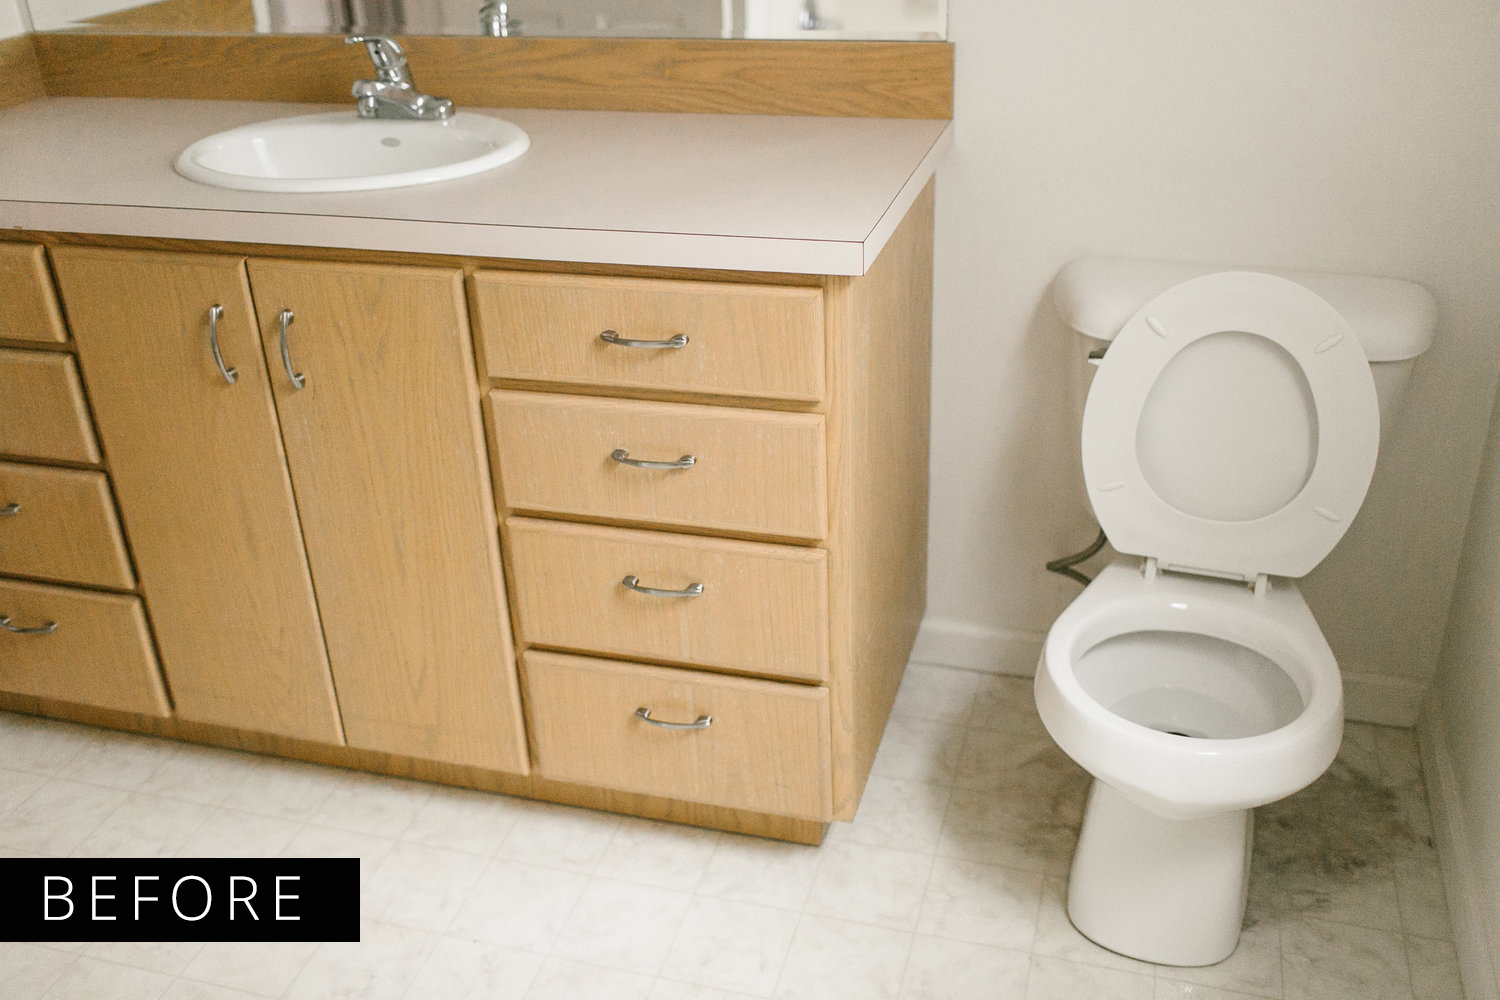
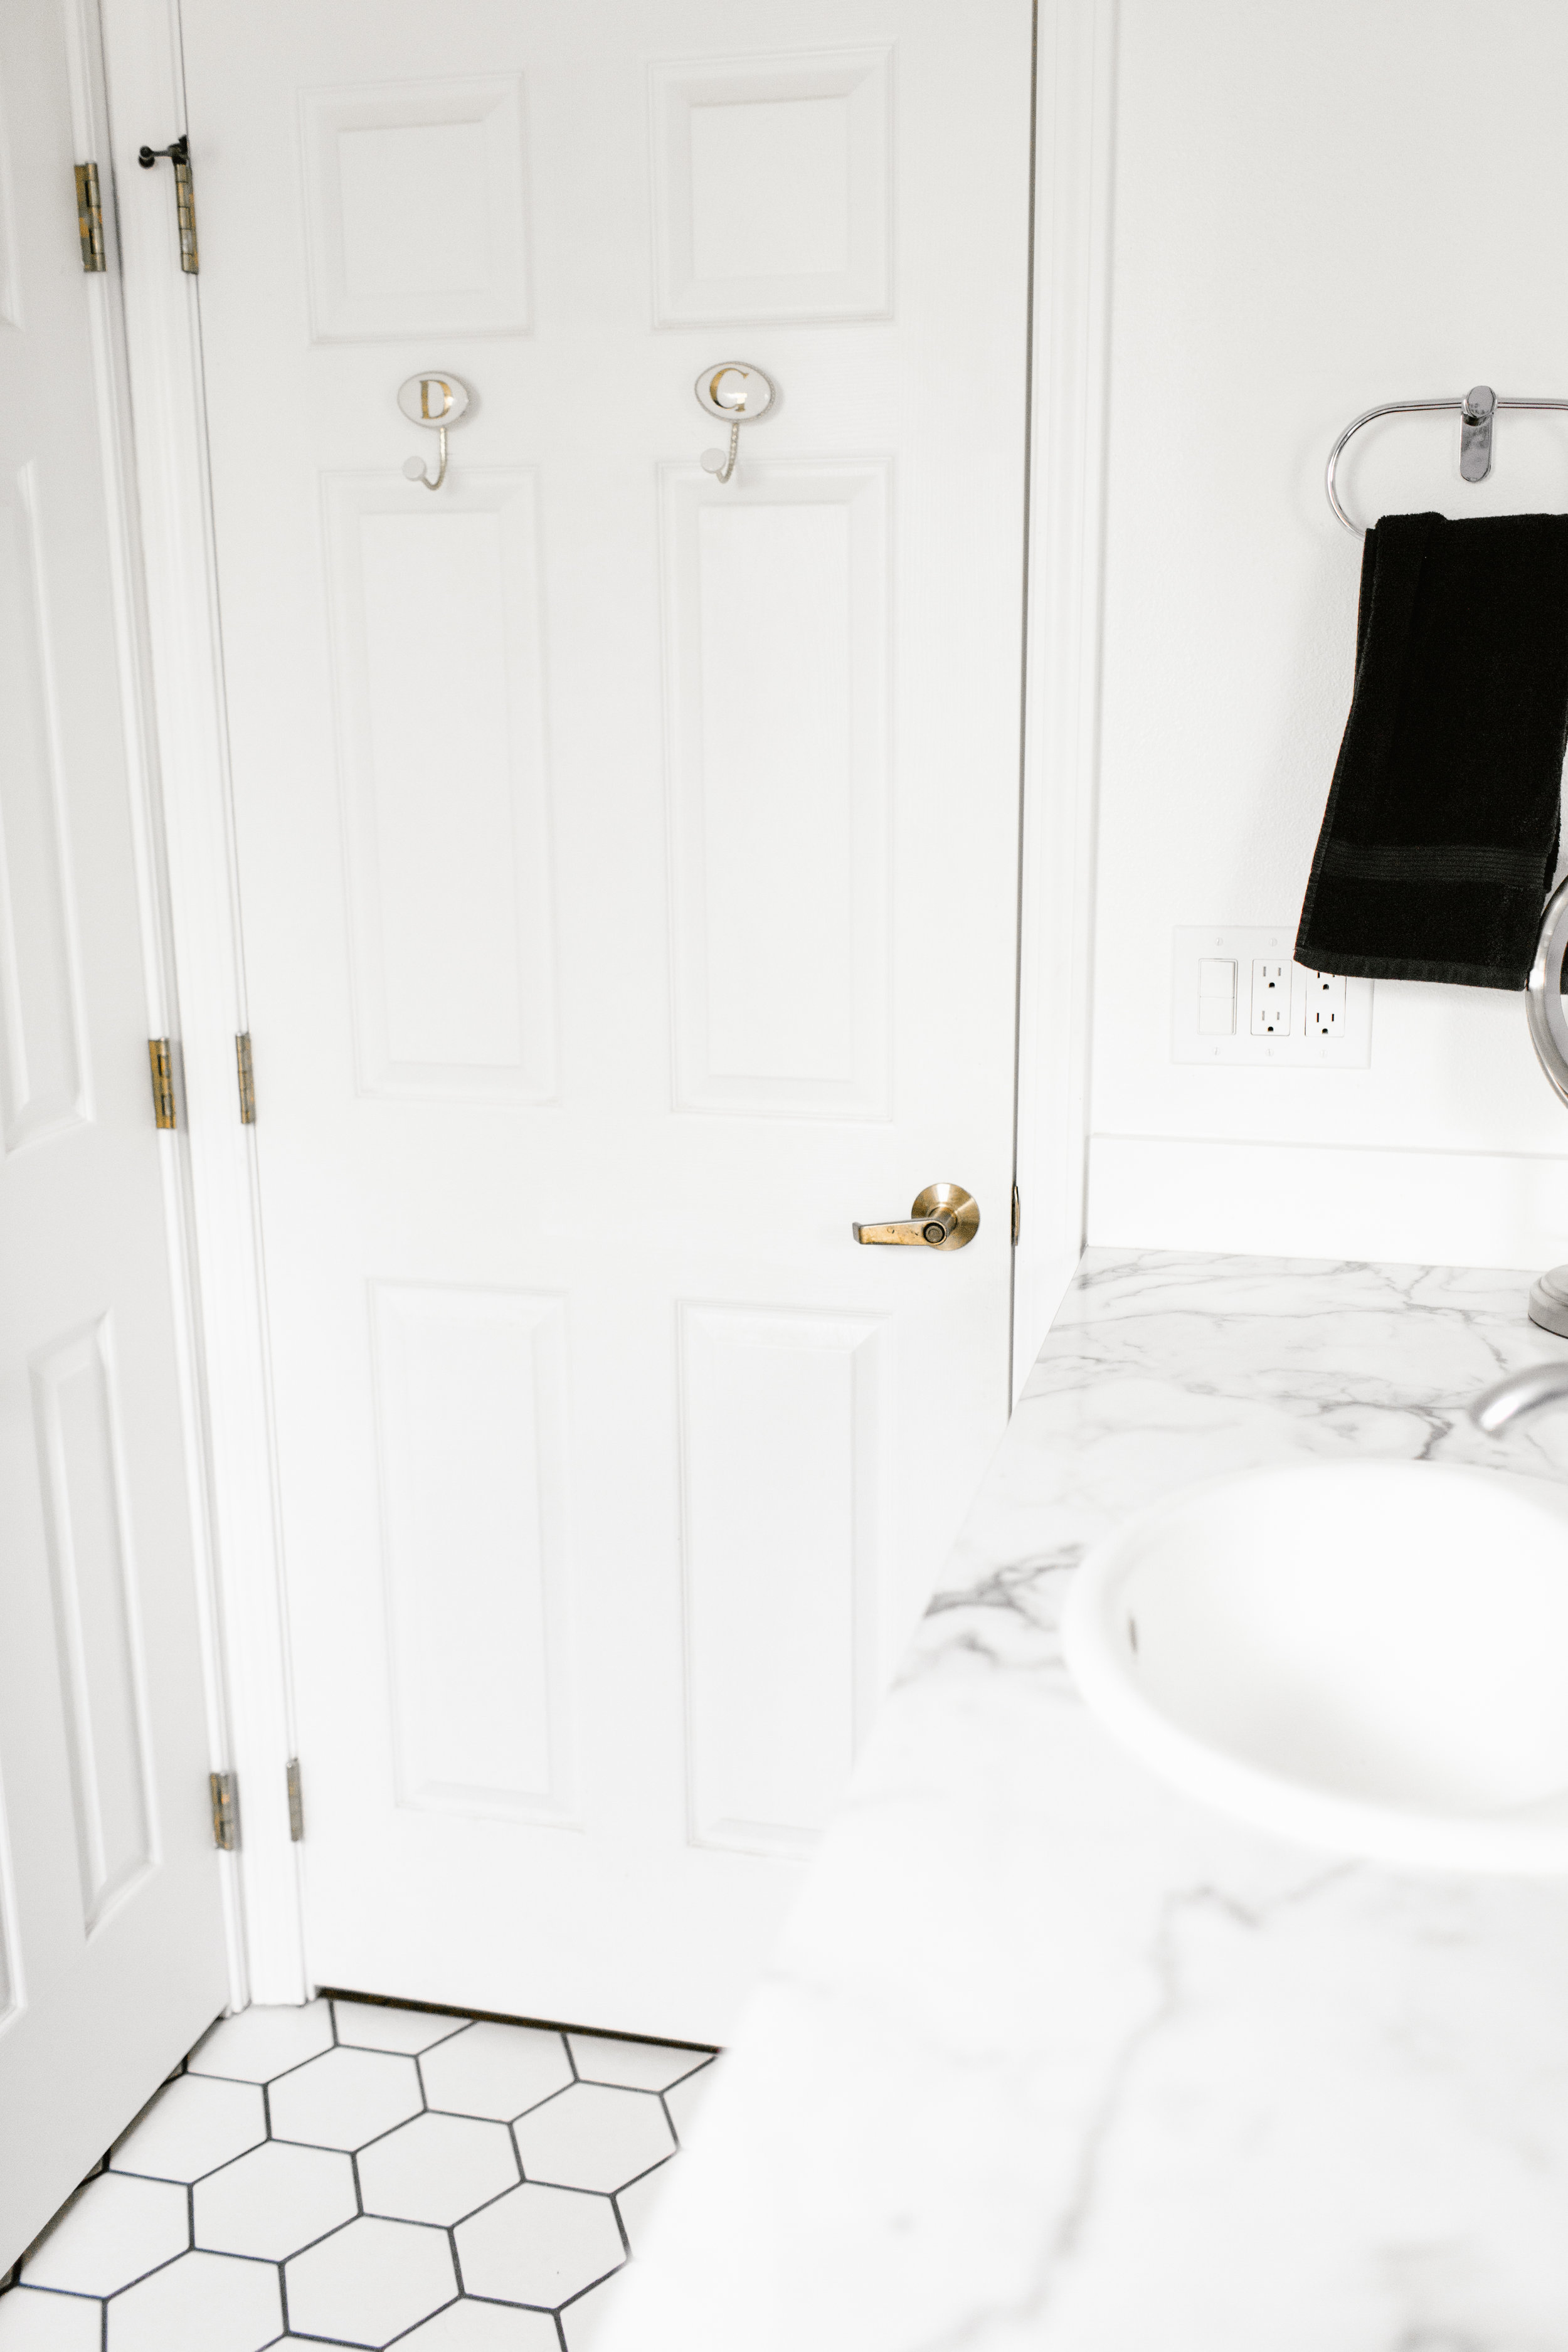
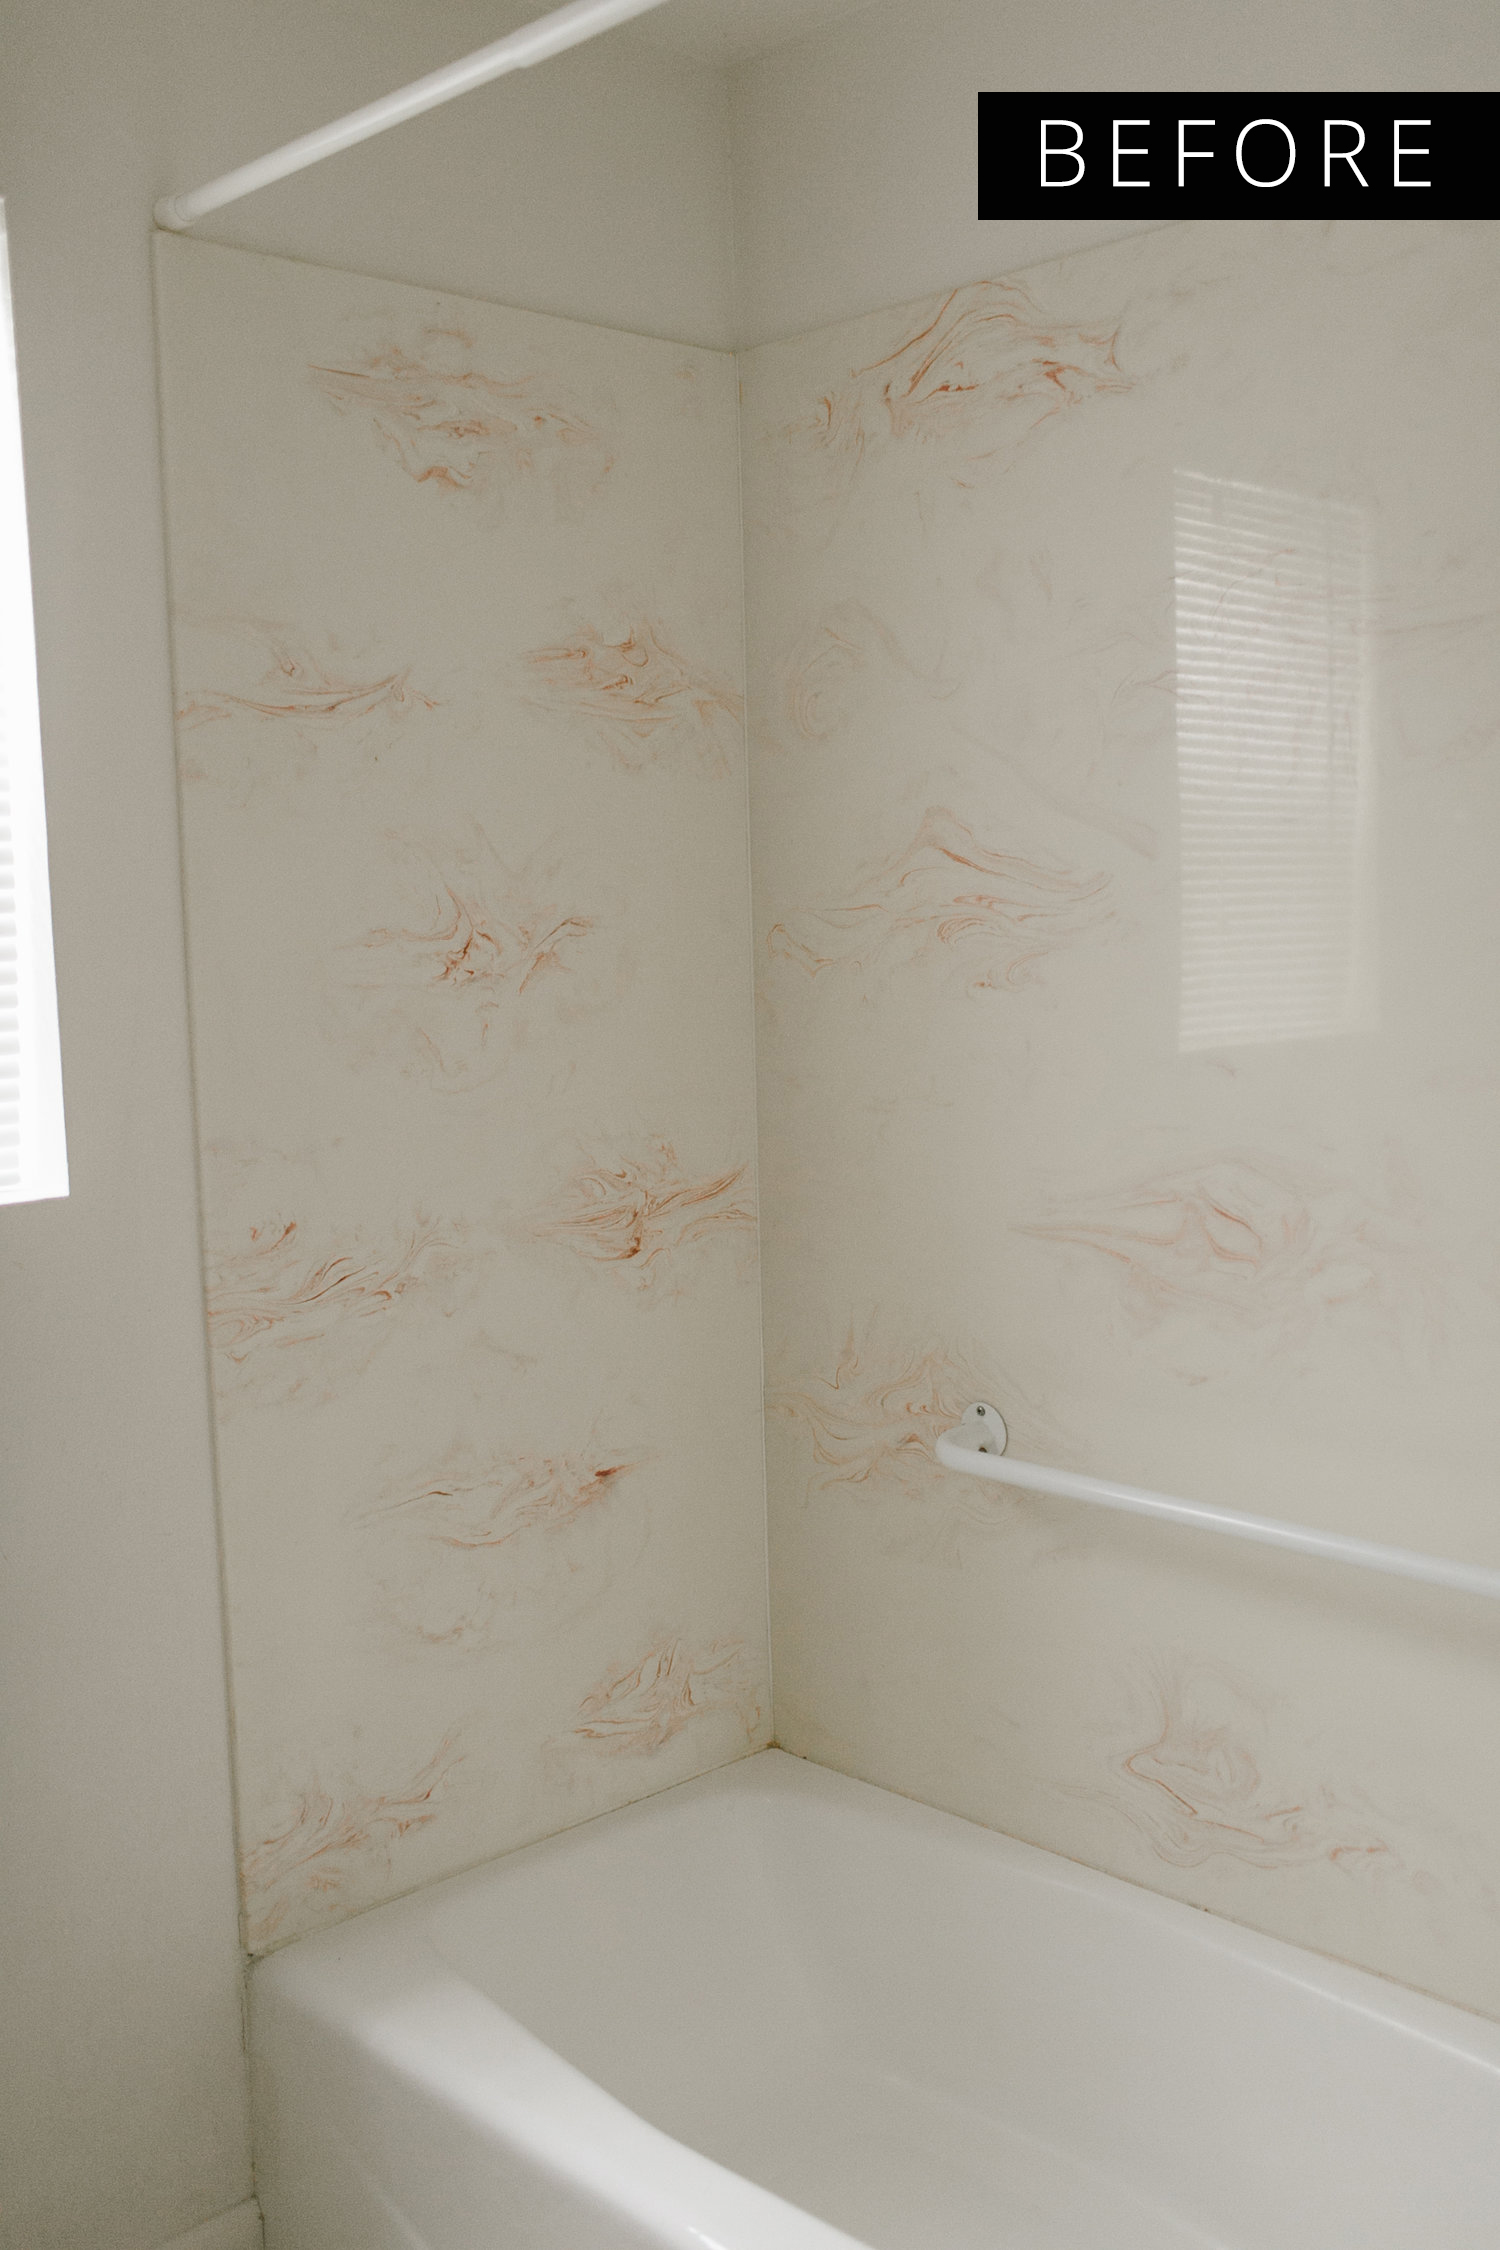
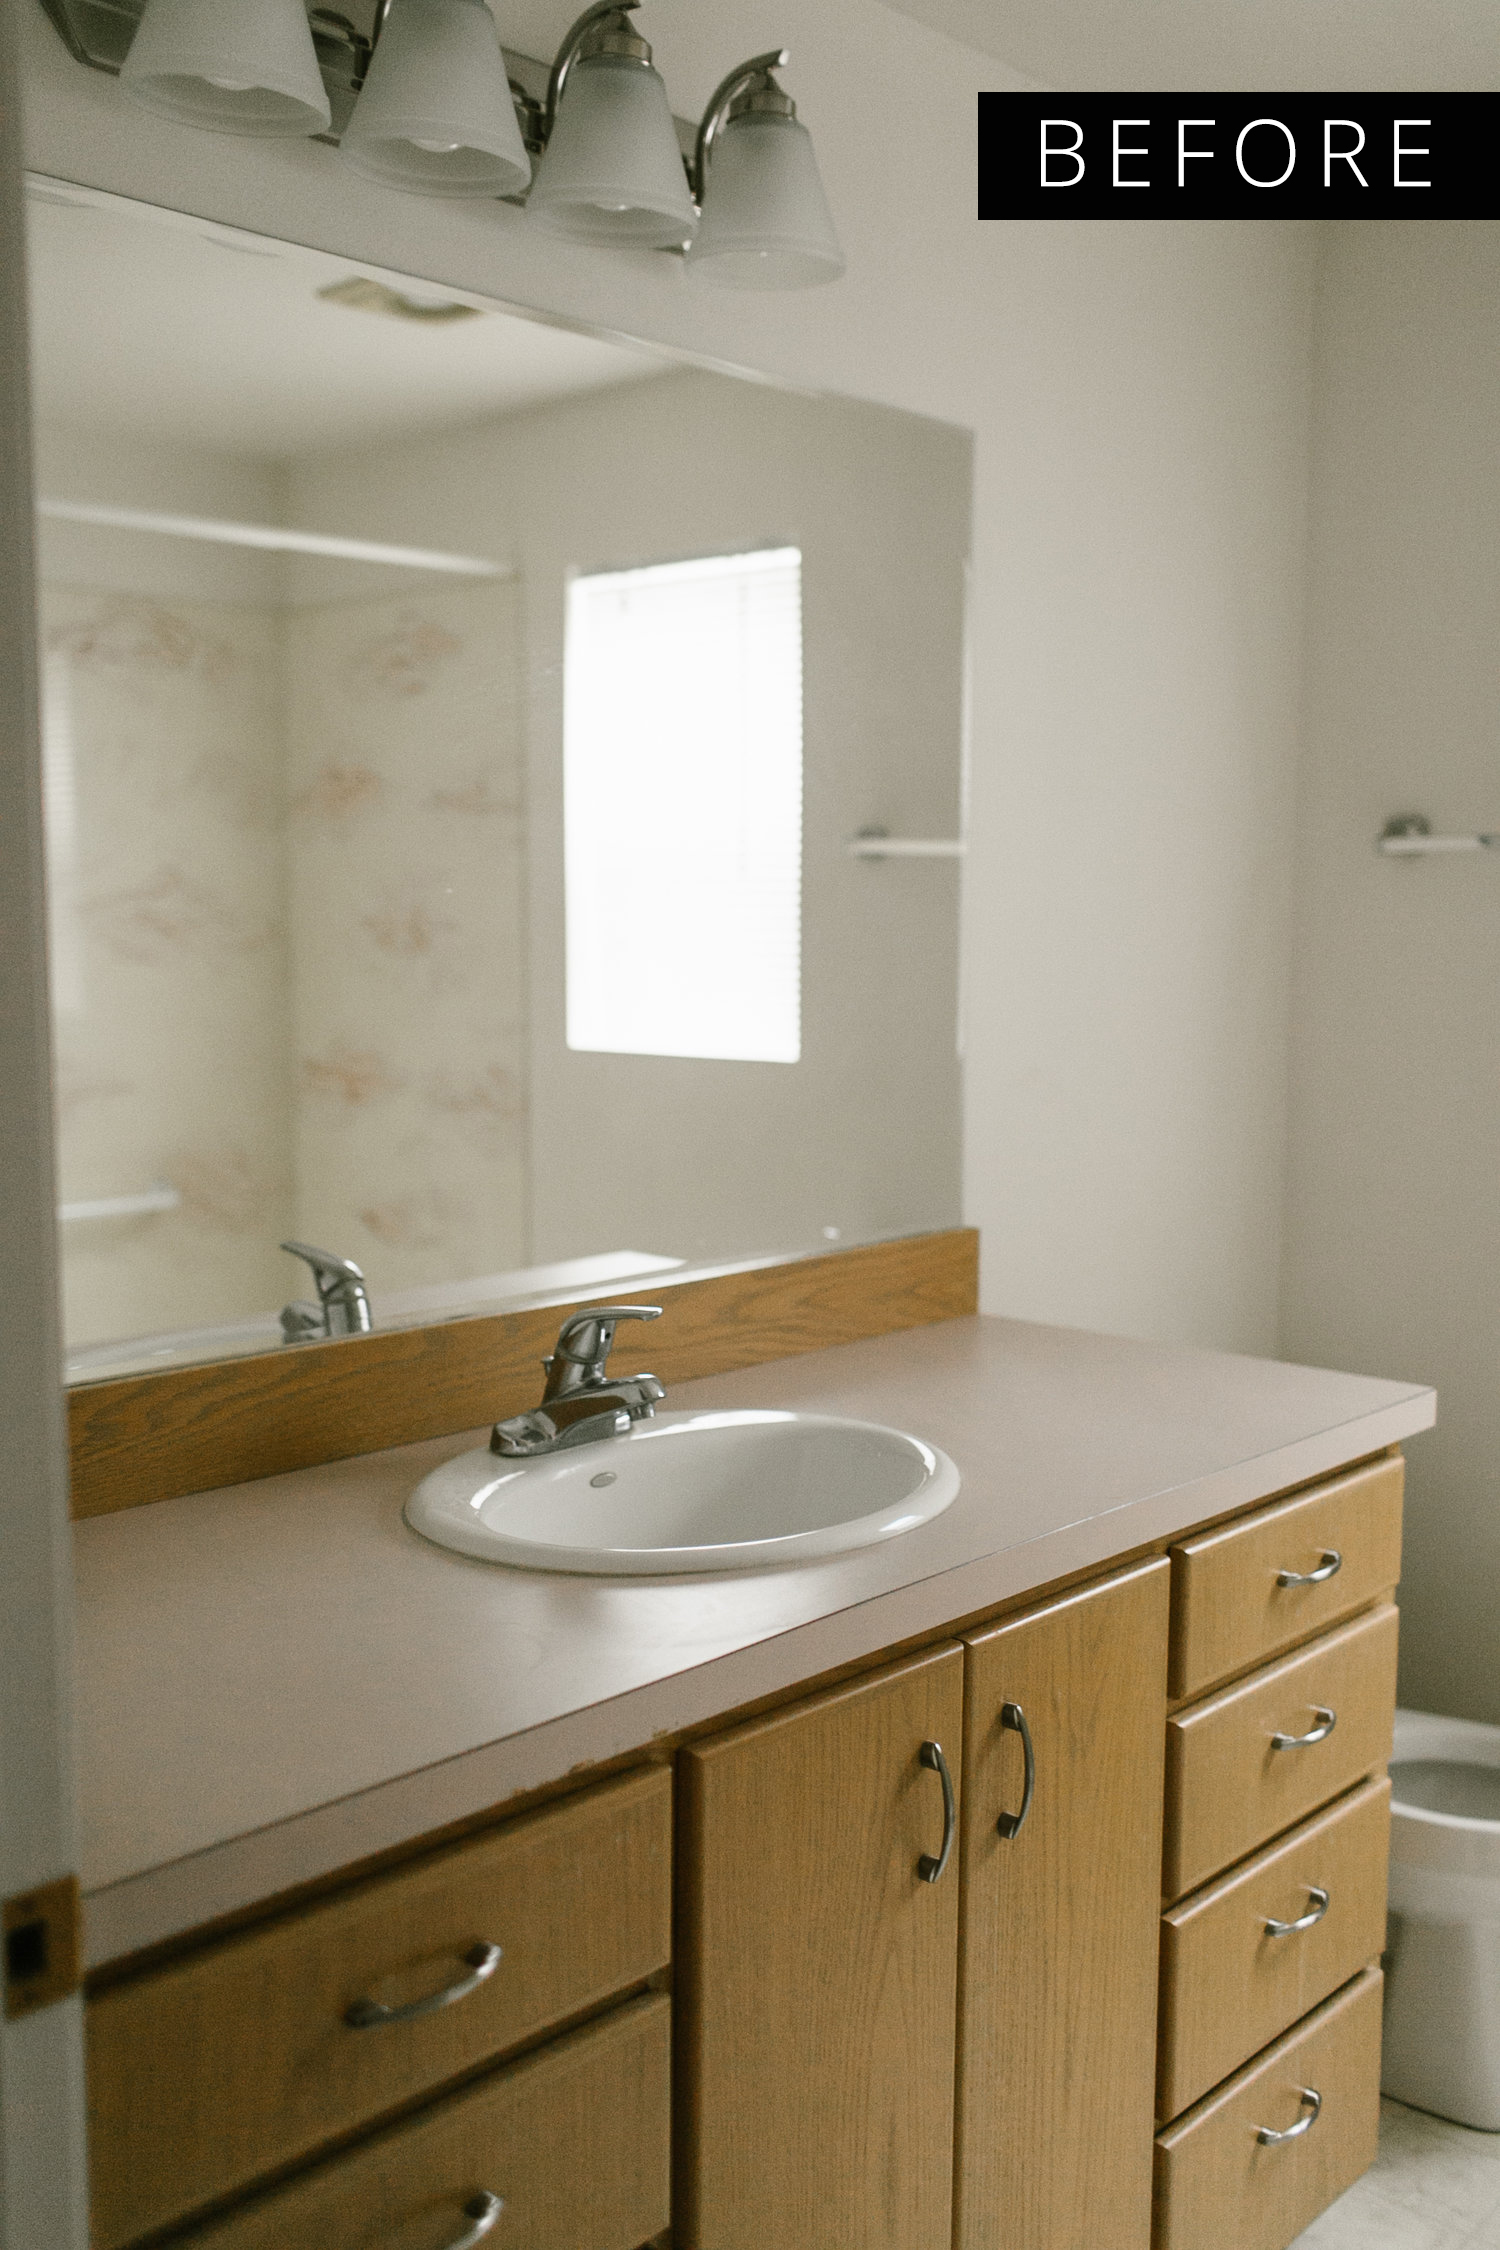
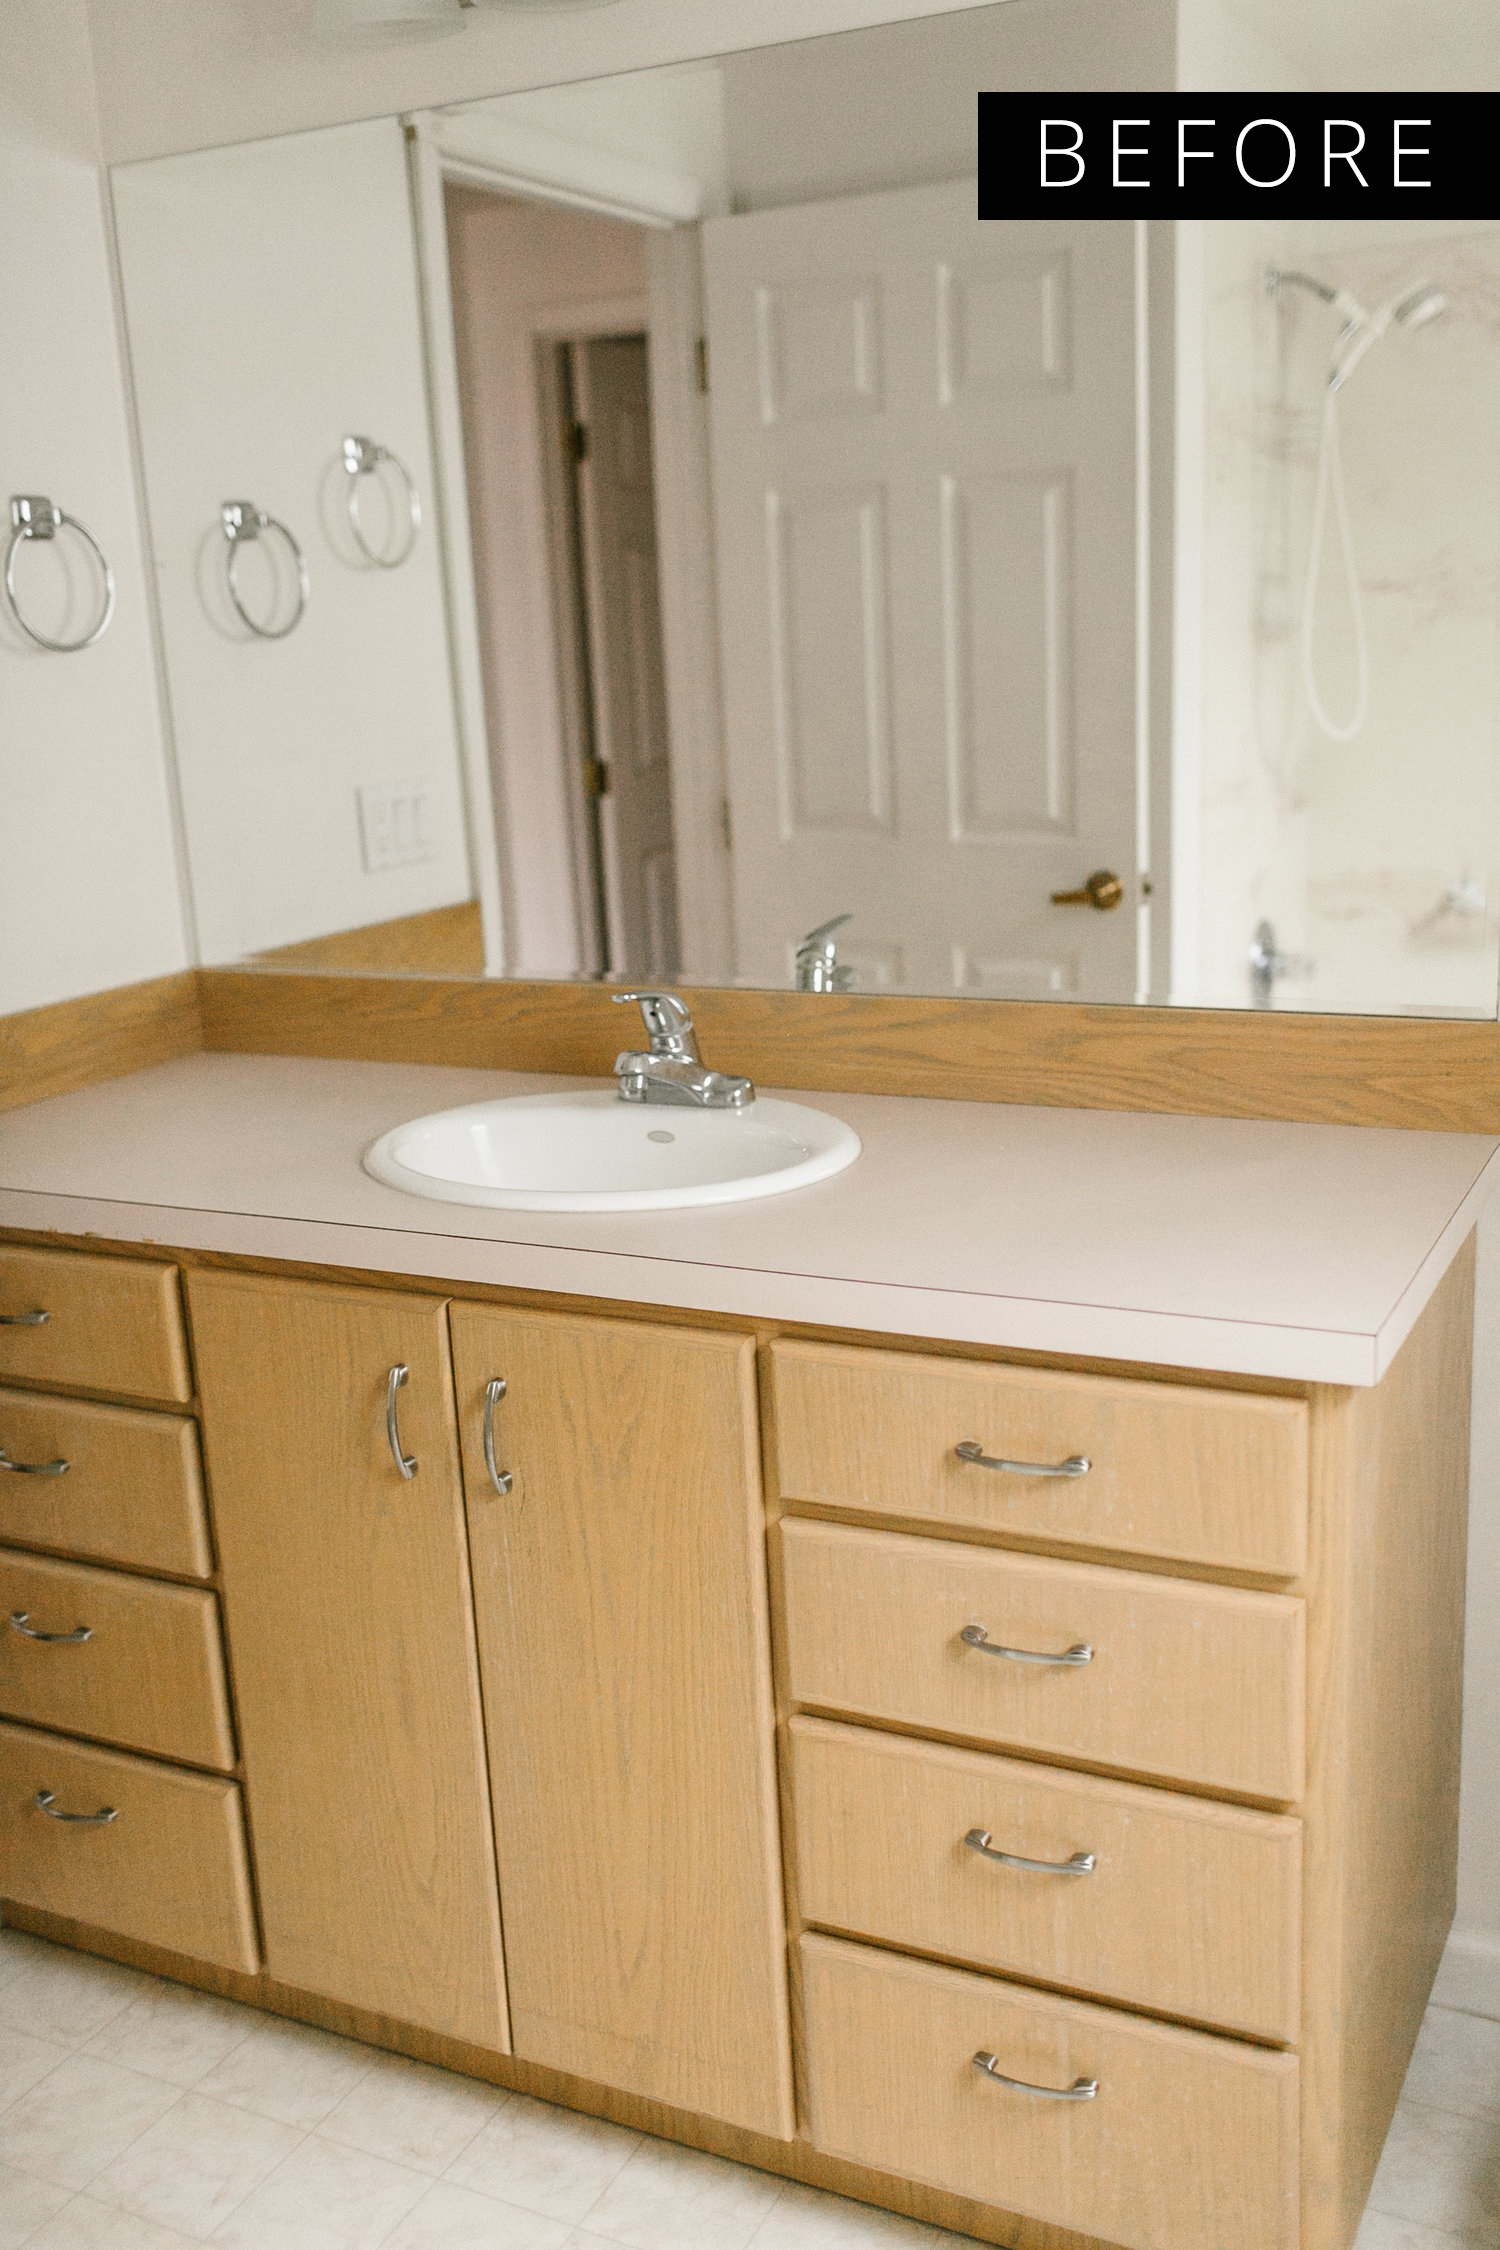
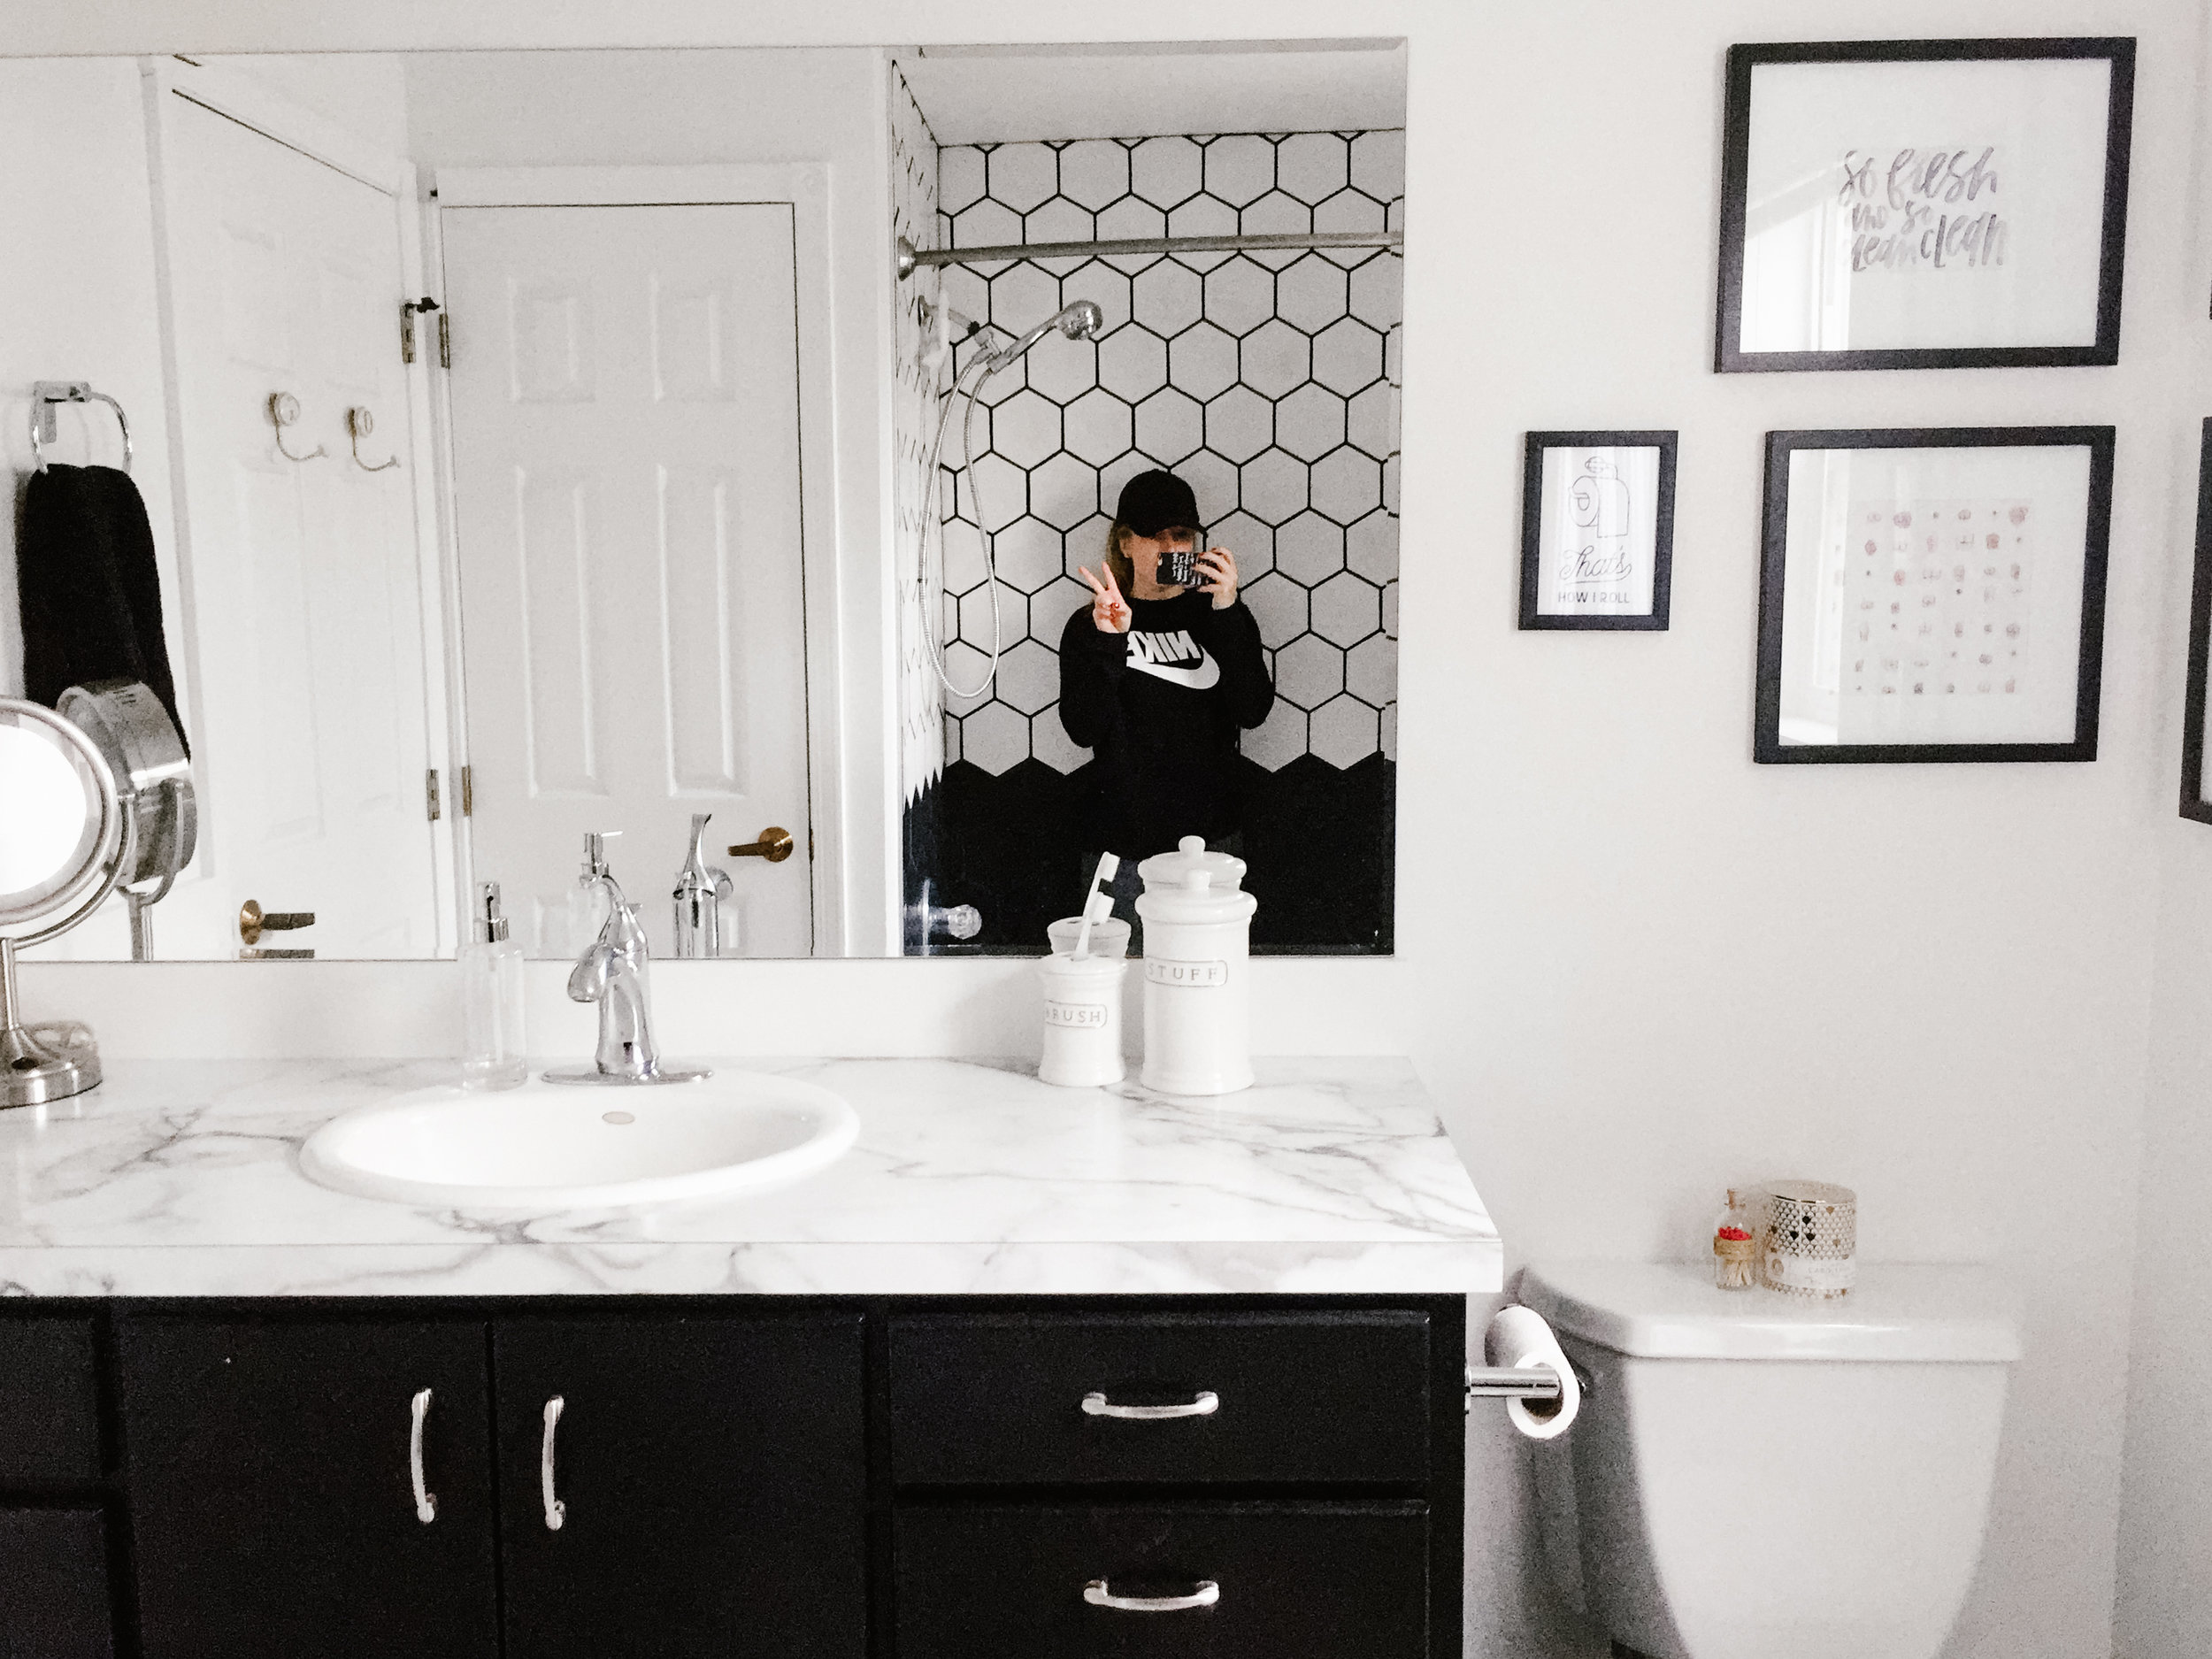
Our home came with some pretty rad purple shag carpet with a theme of pink-ish countertops, bath tub and walls. Everything was well kept though, so aside from removing one wall, for the most part it was cosmetic upgrades. Today I'm sharing our bathroom. It's nothing big or elaborate and if we're both getting ready in the morning it's a bit tight- but I have to say the changes do make the space feel bigger when you're in it. 

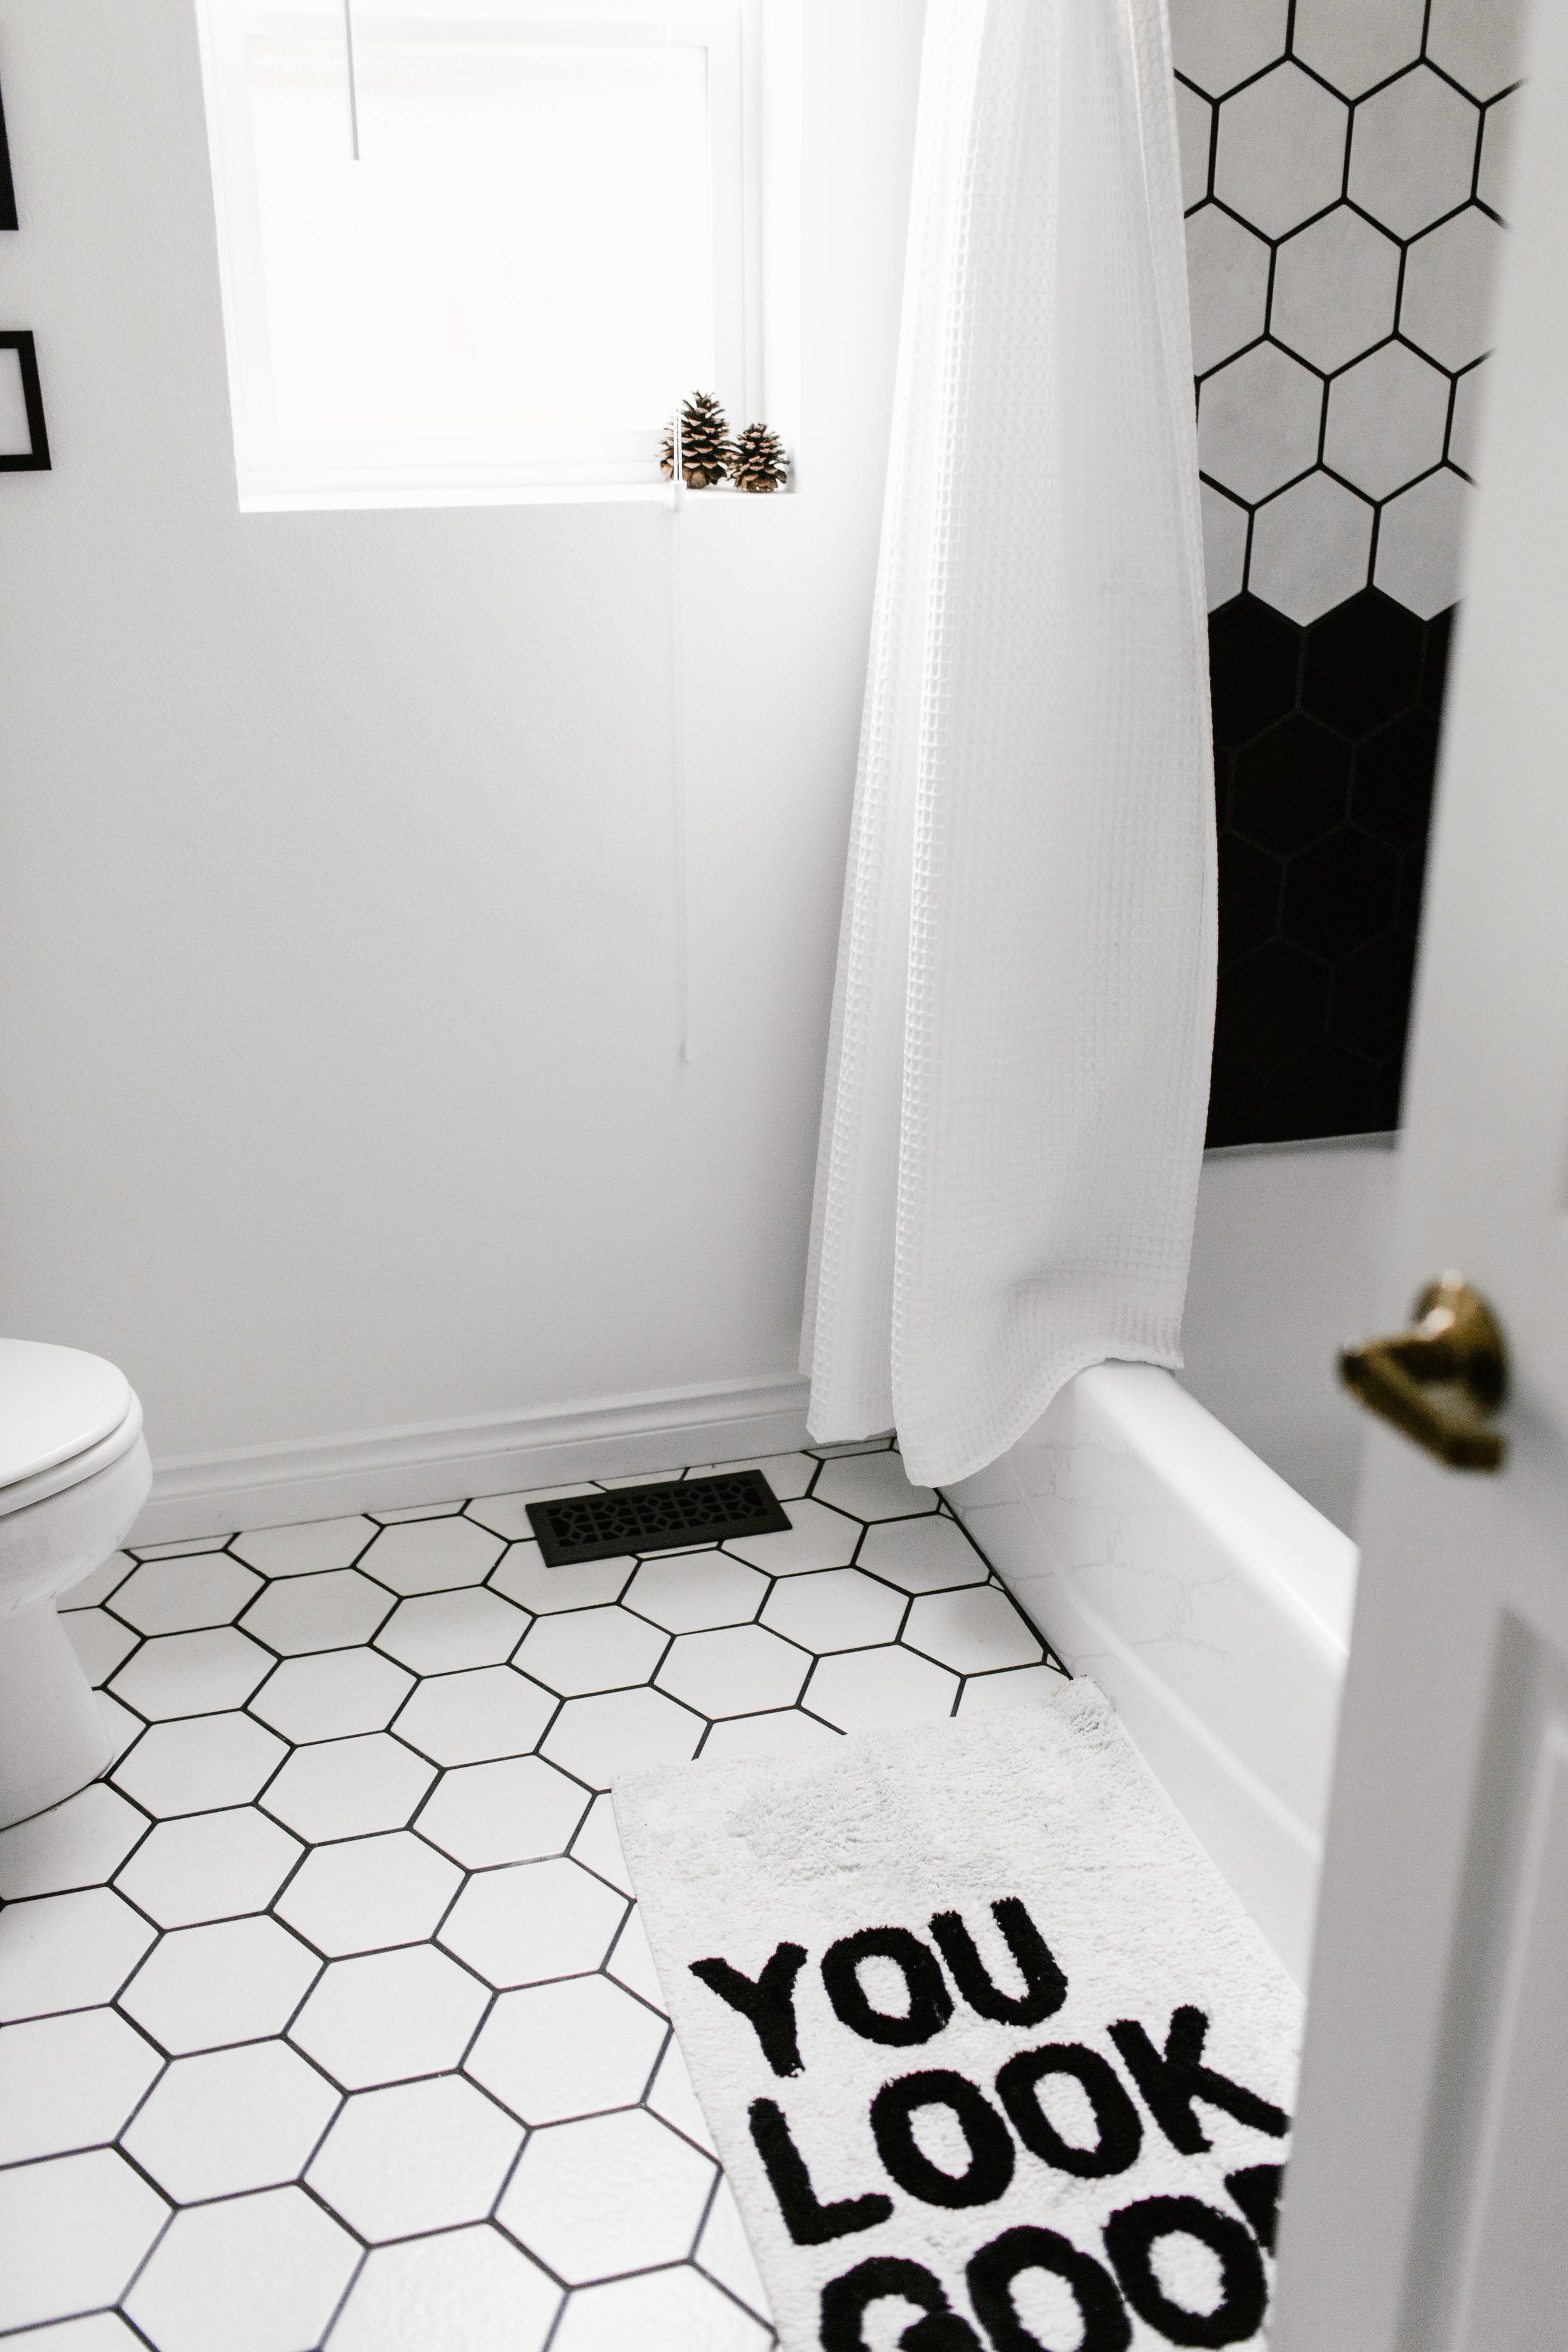
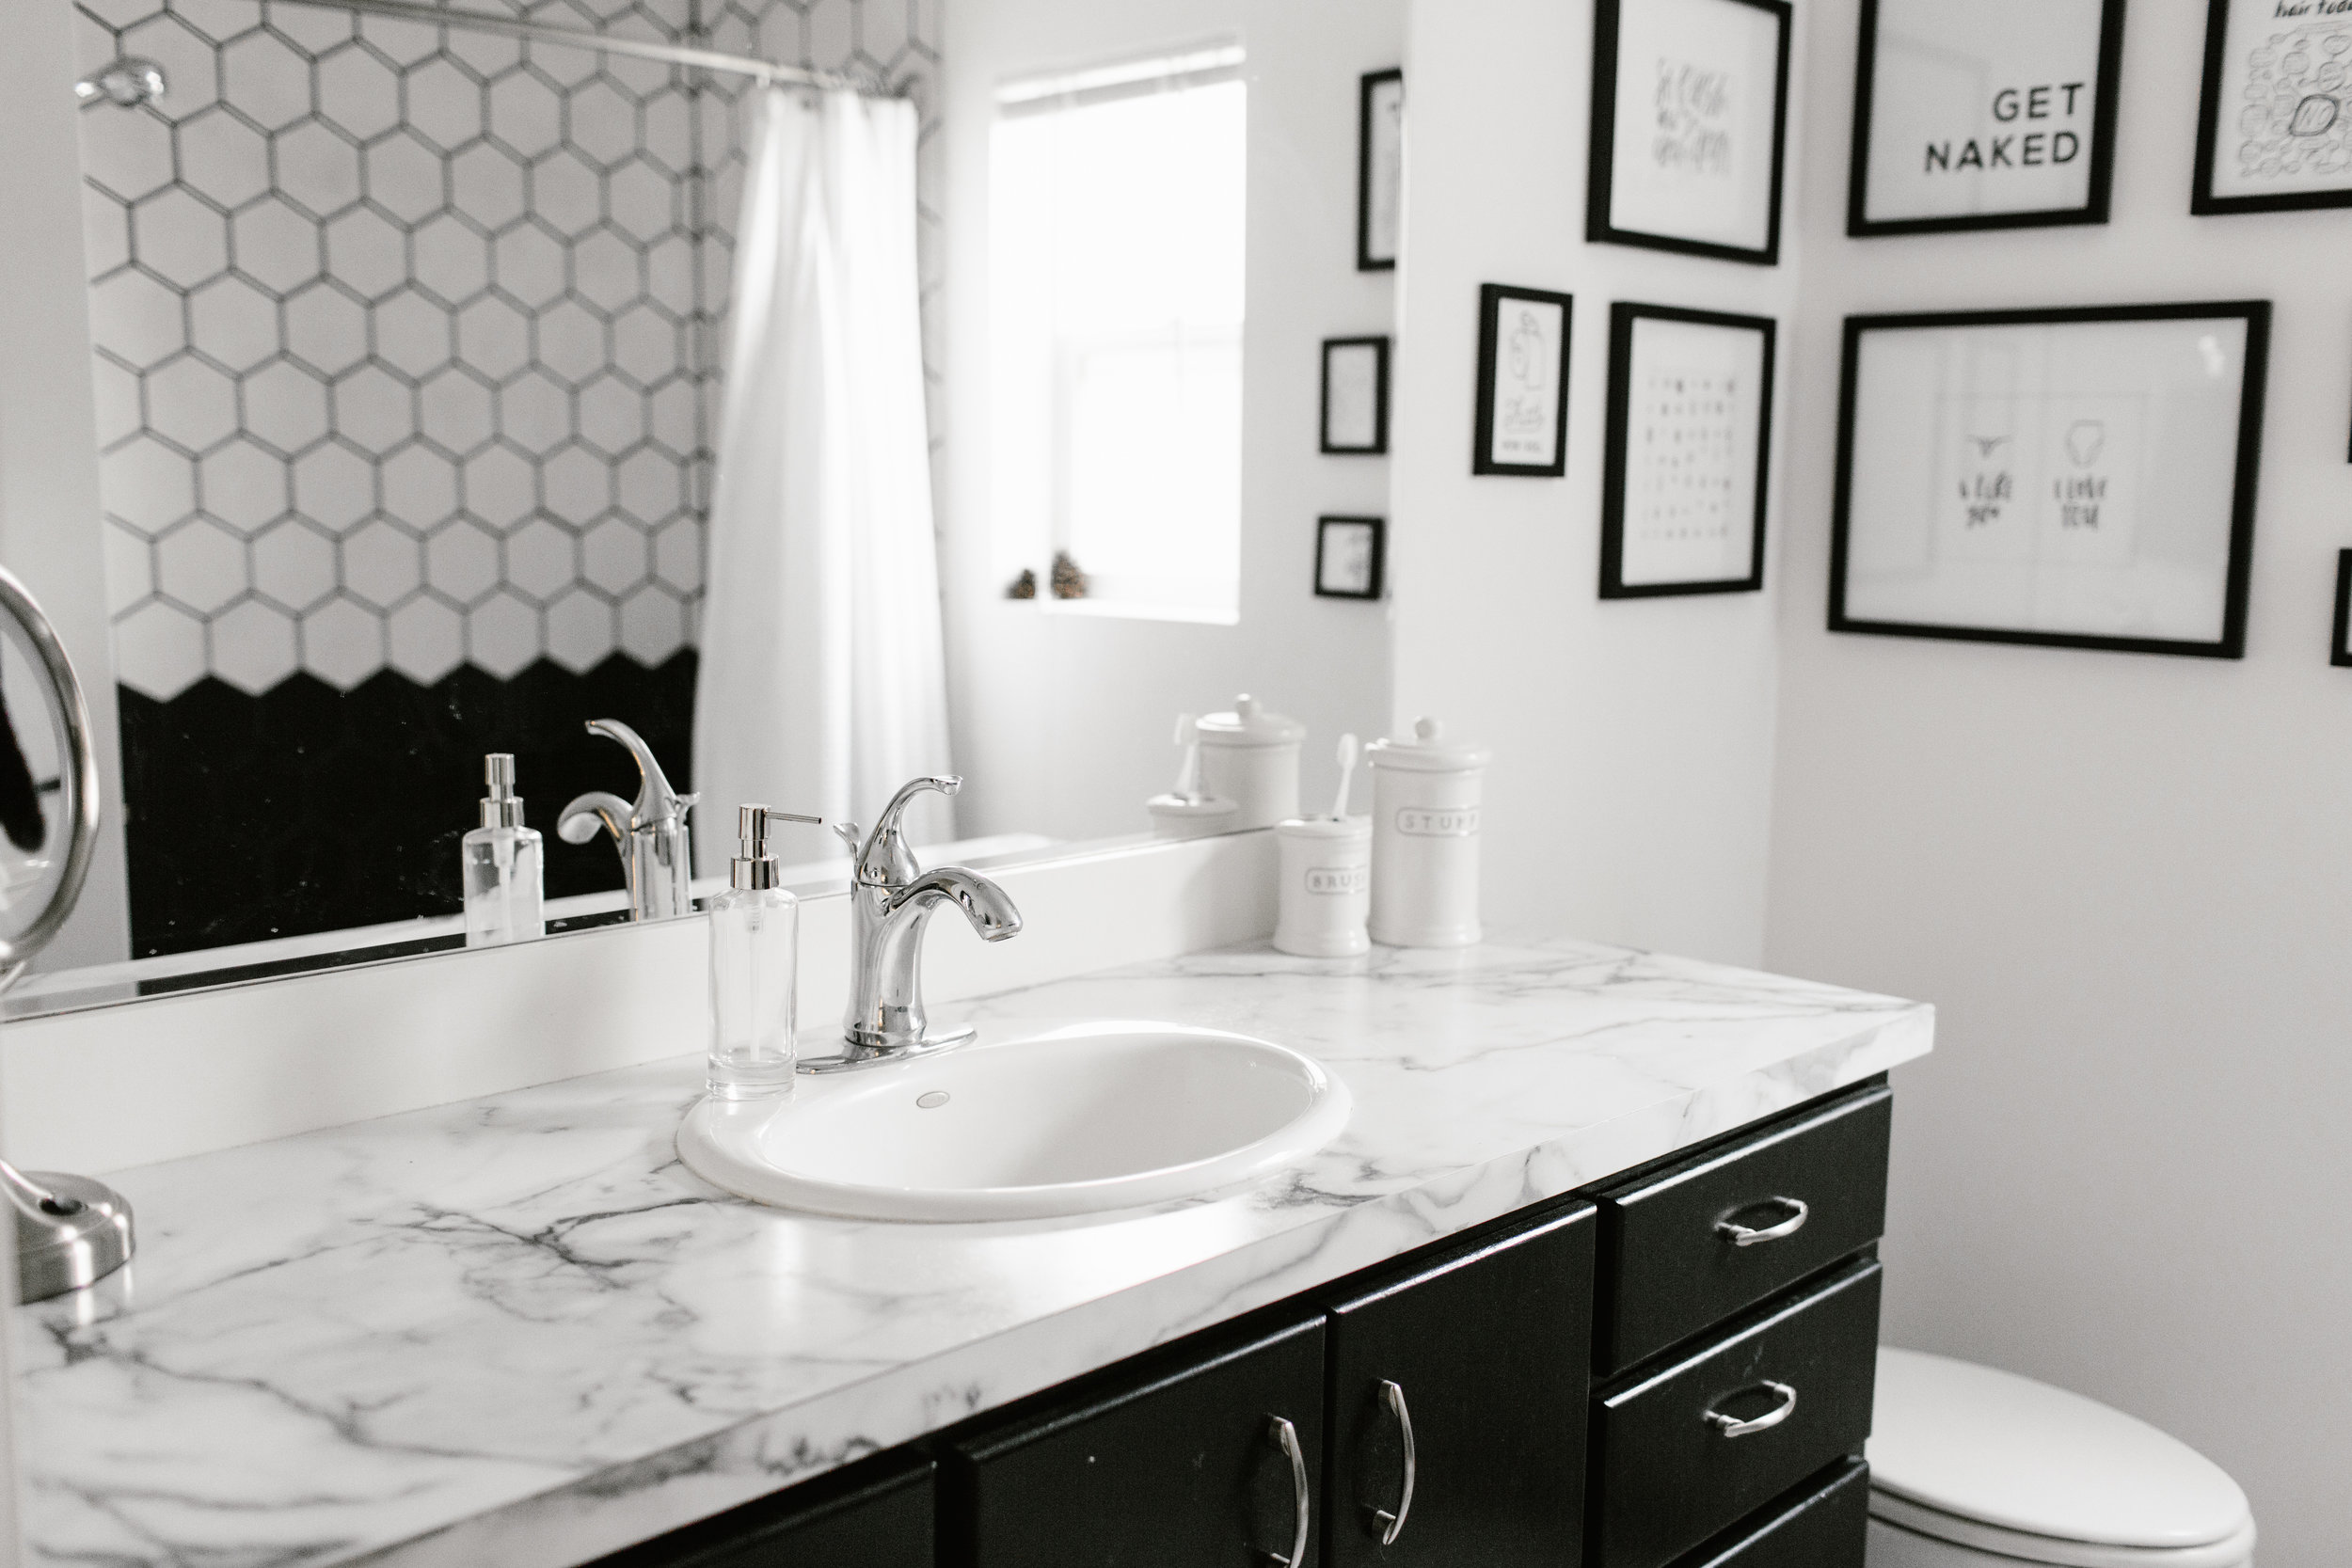
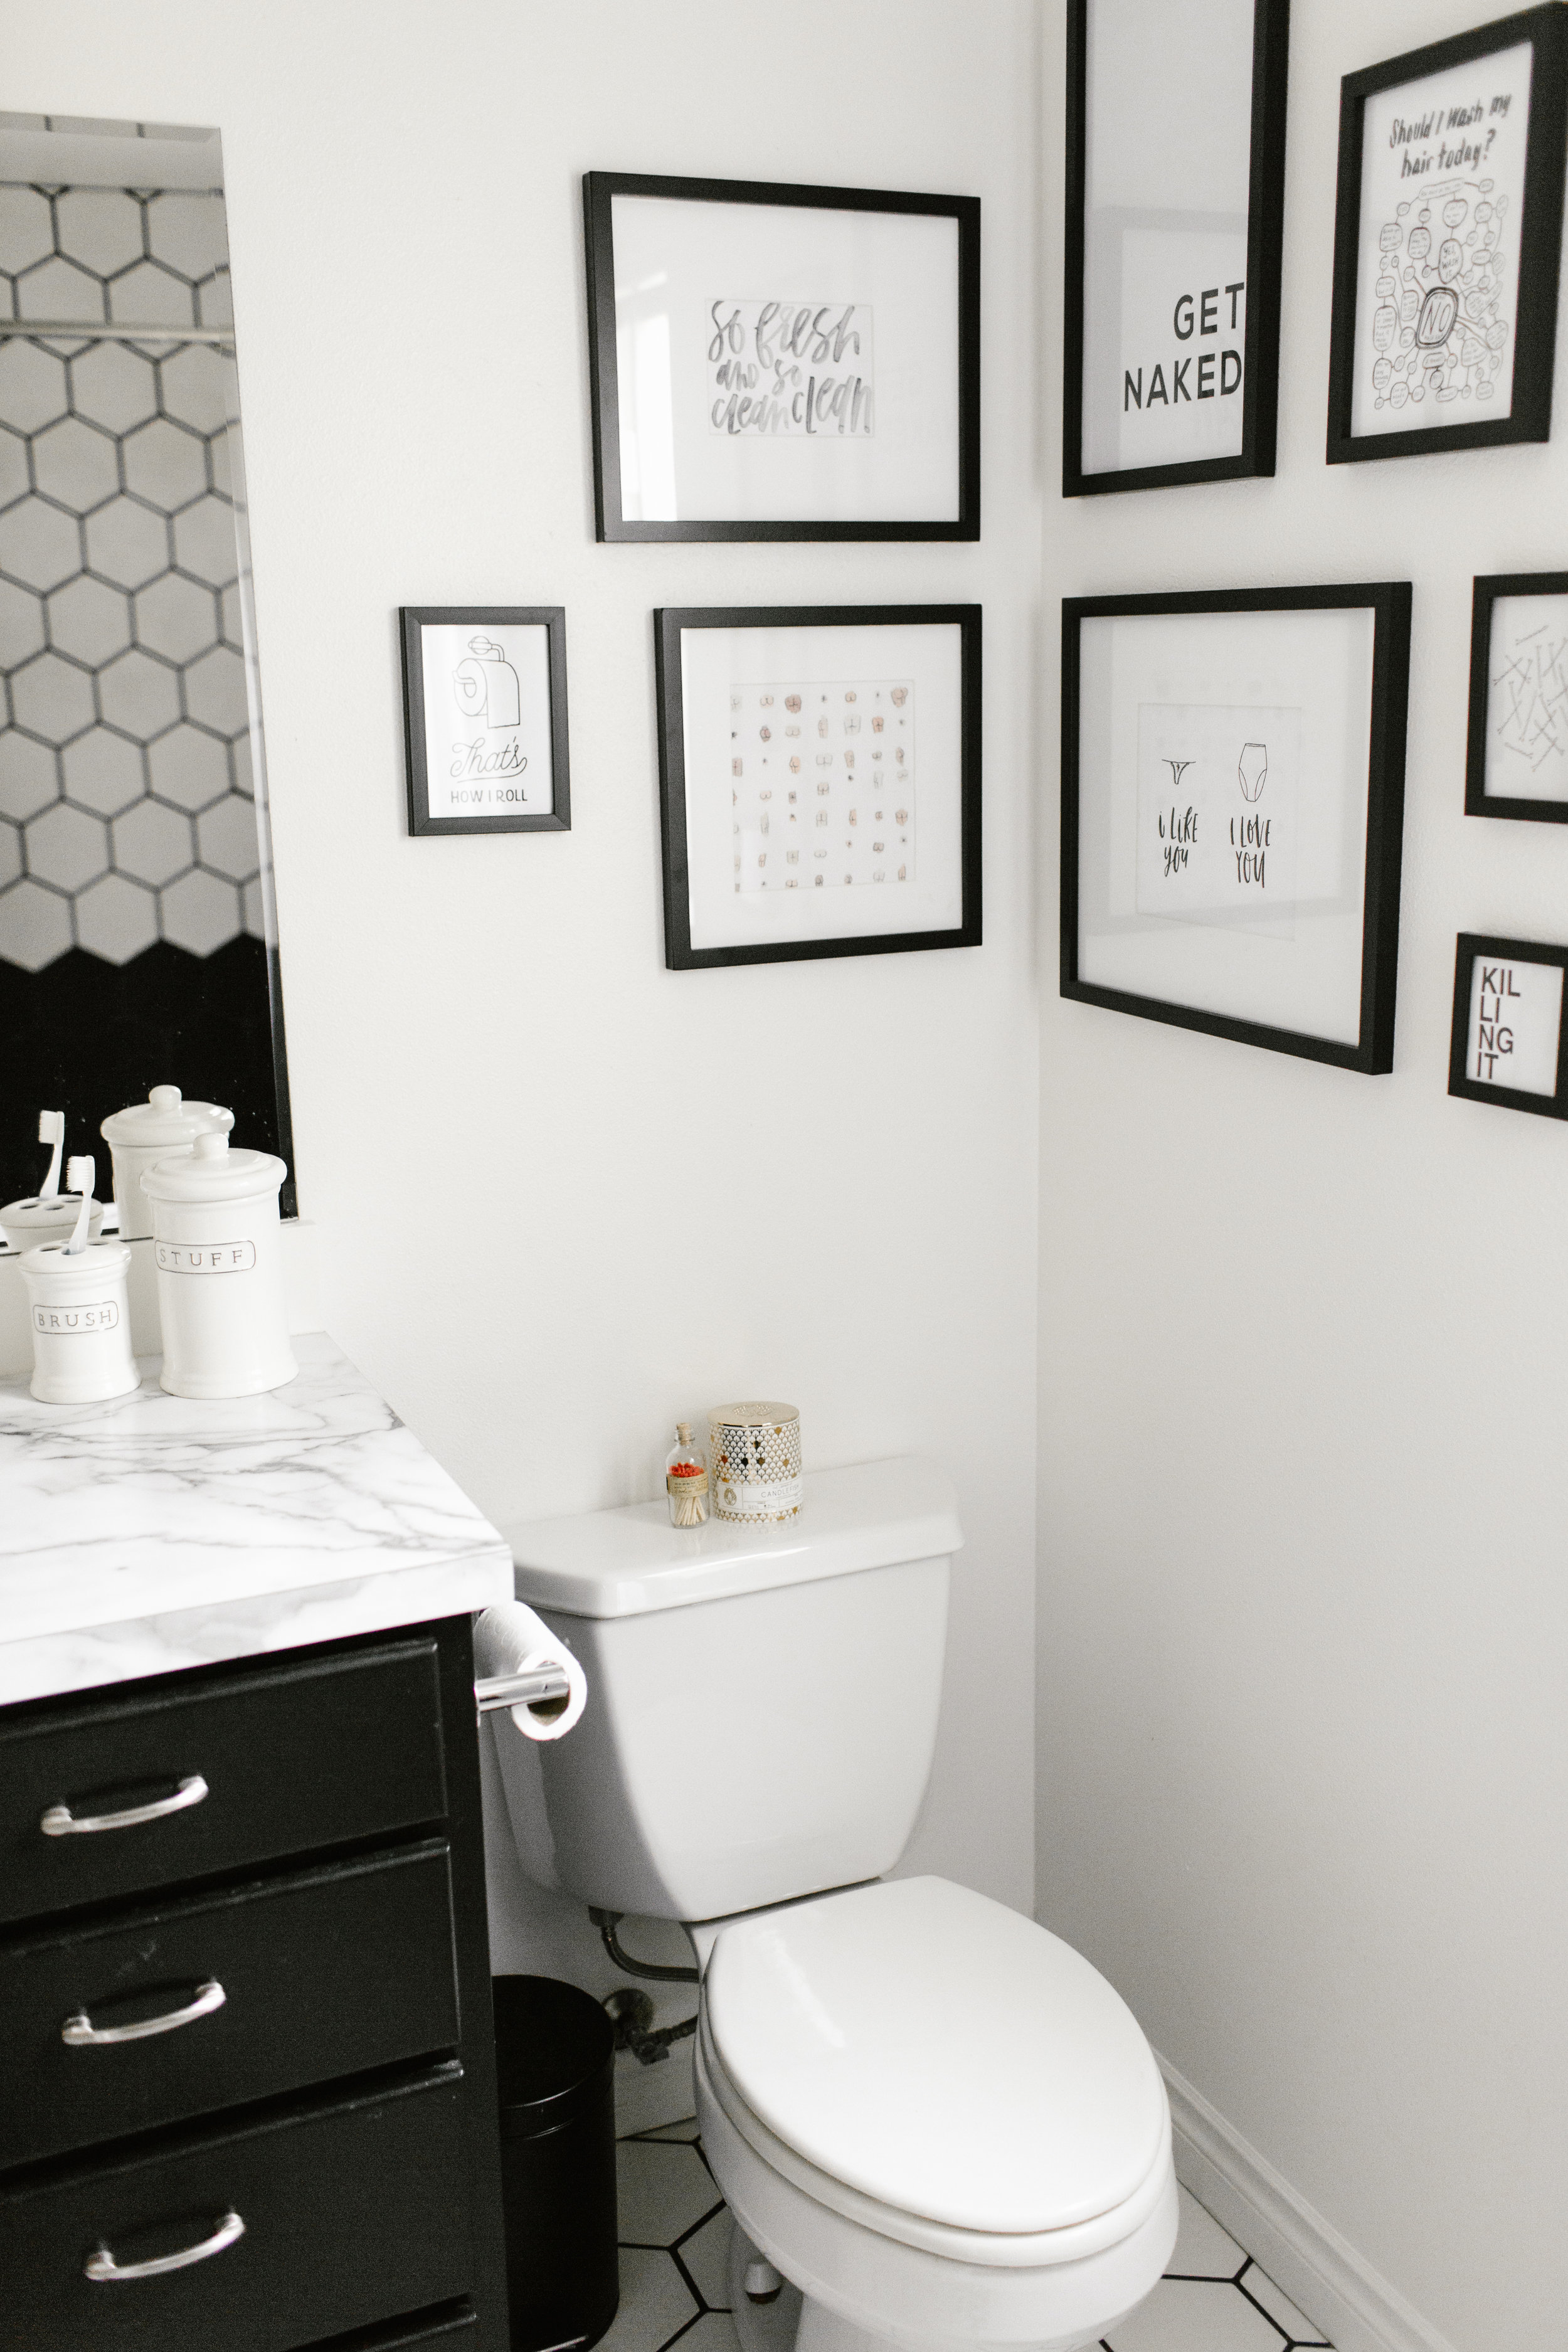
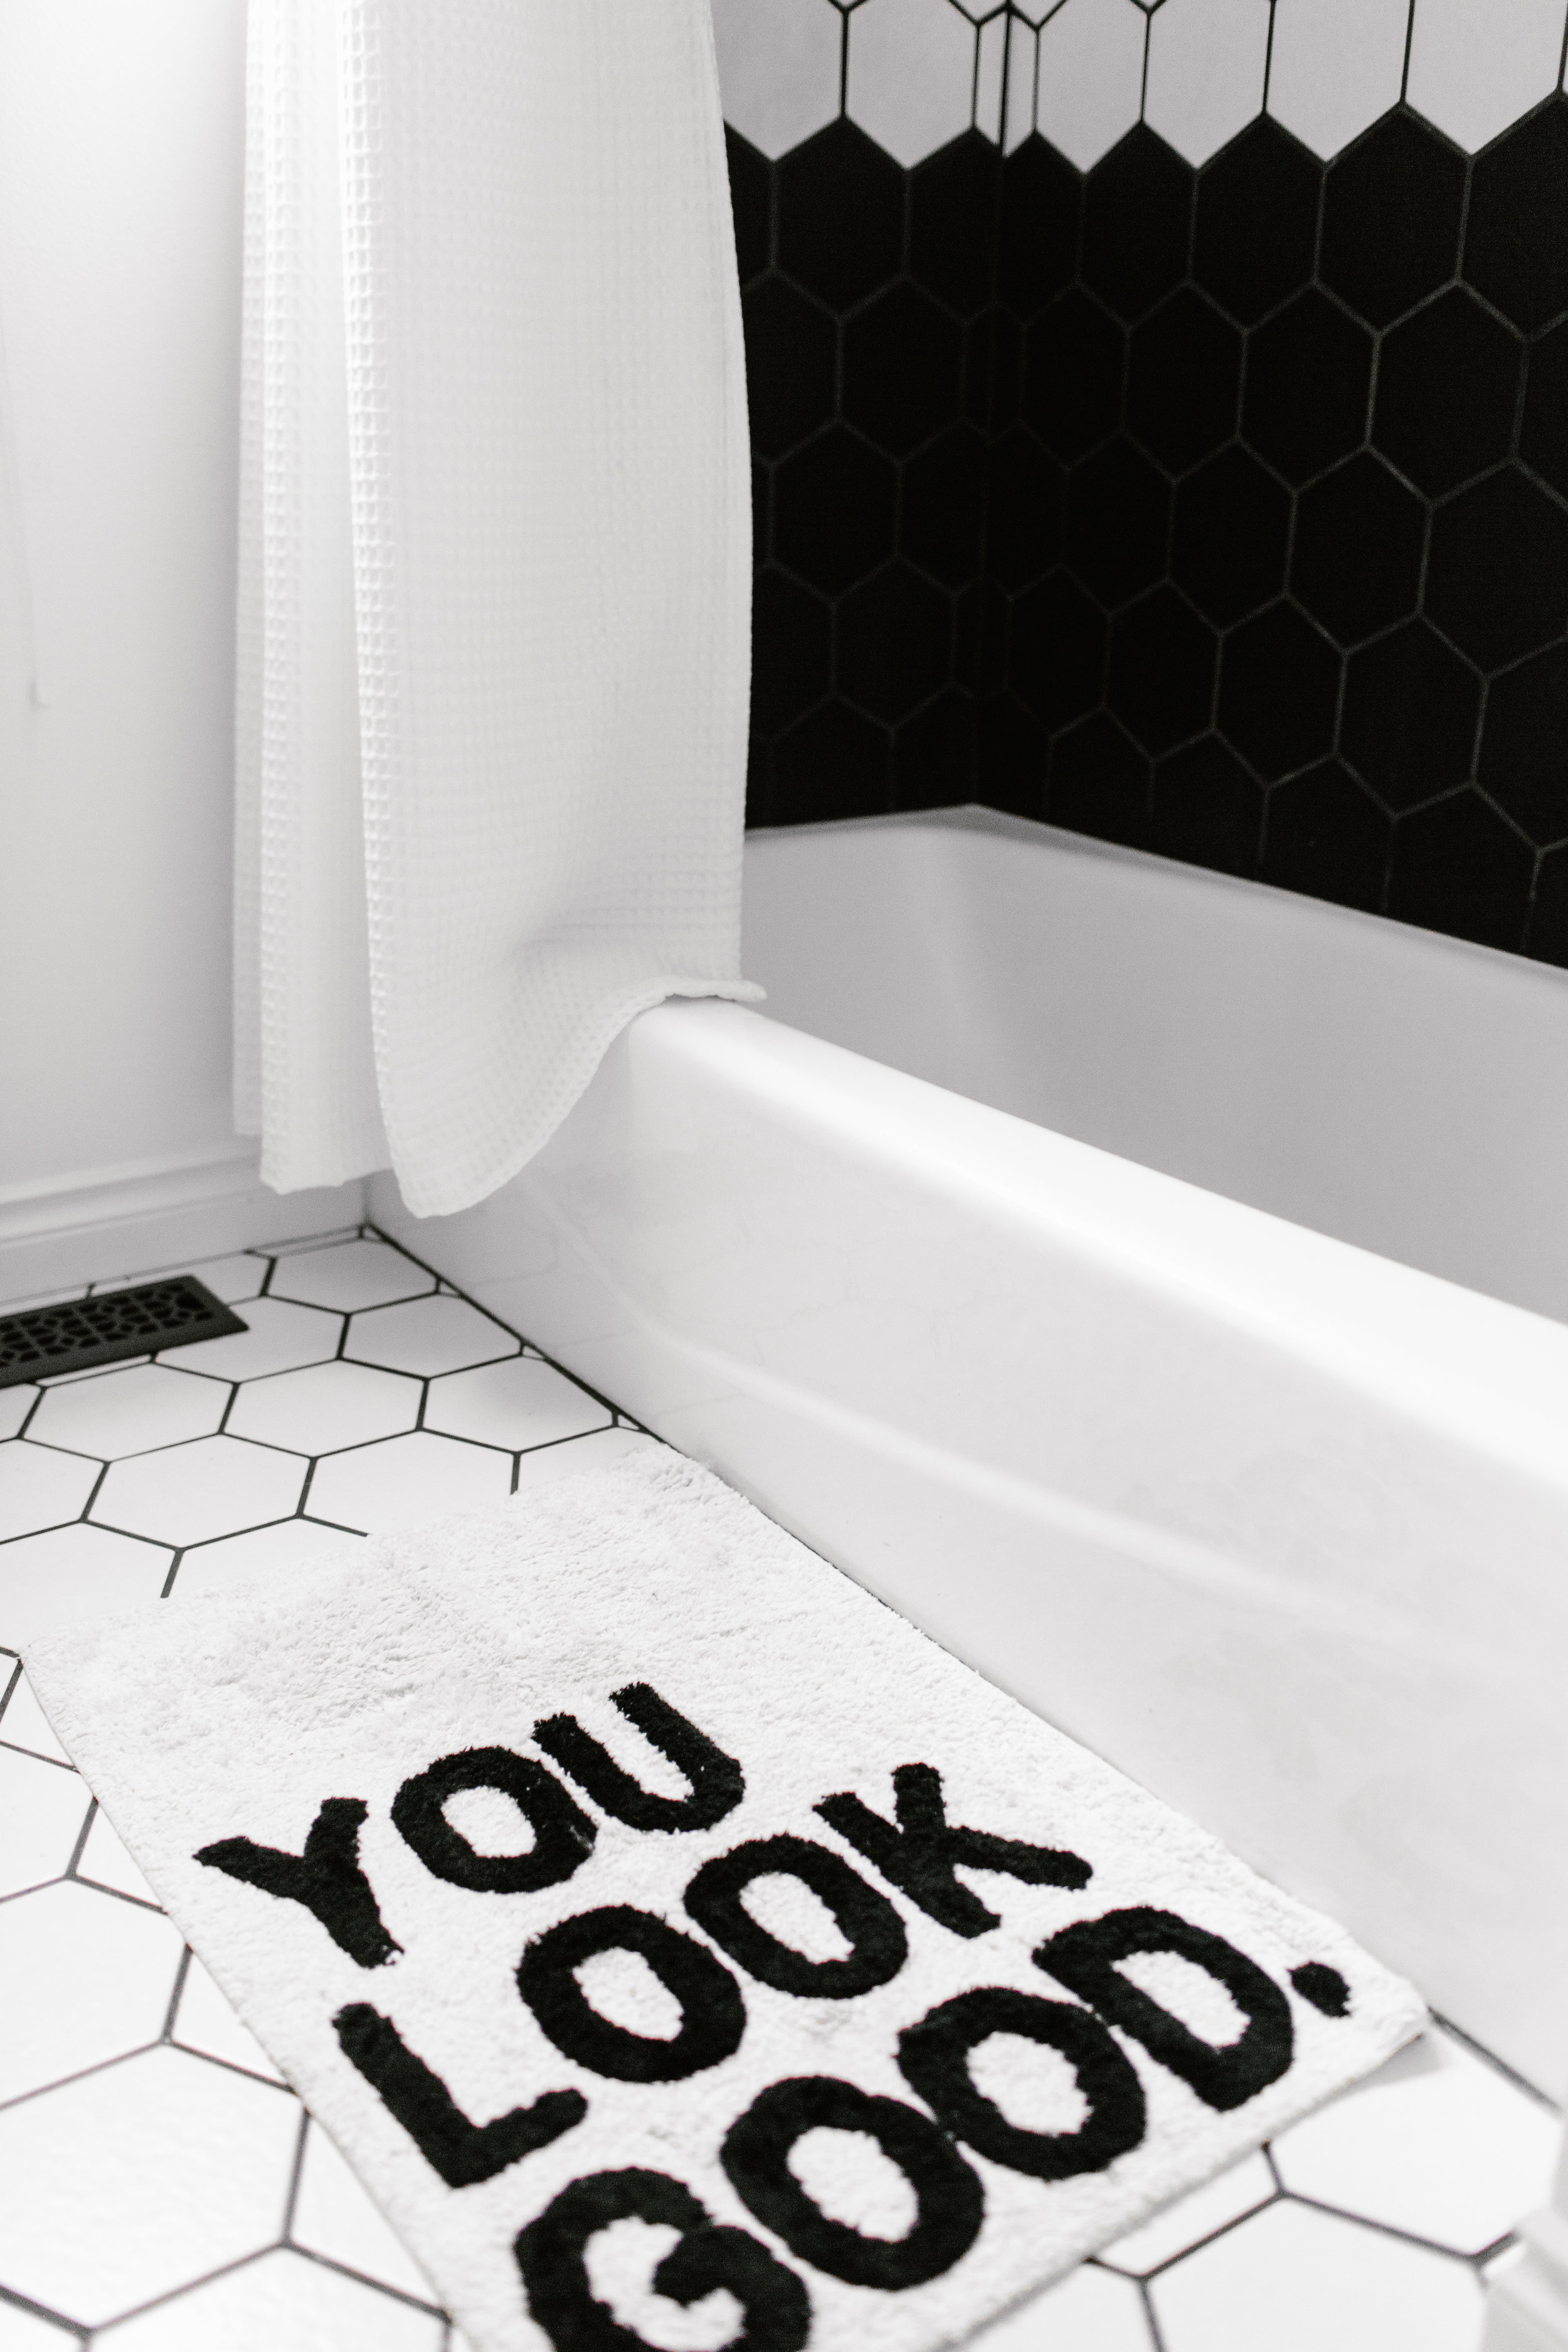
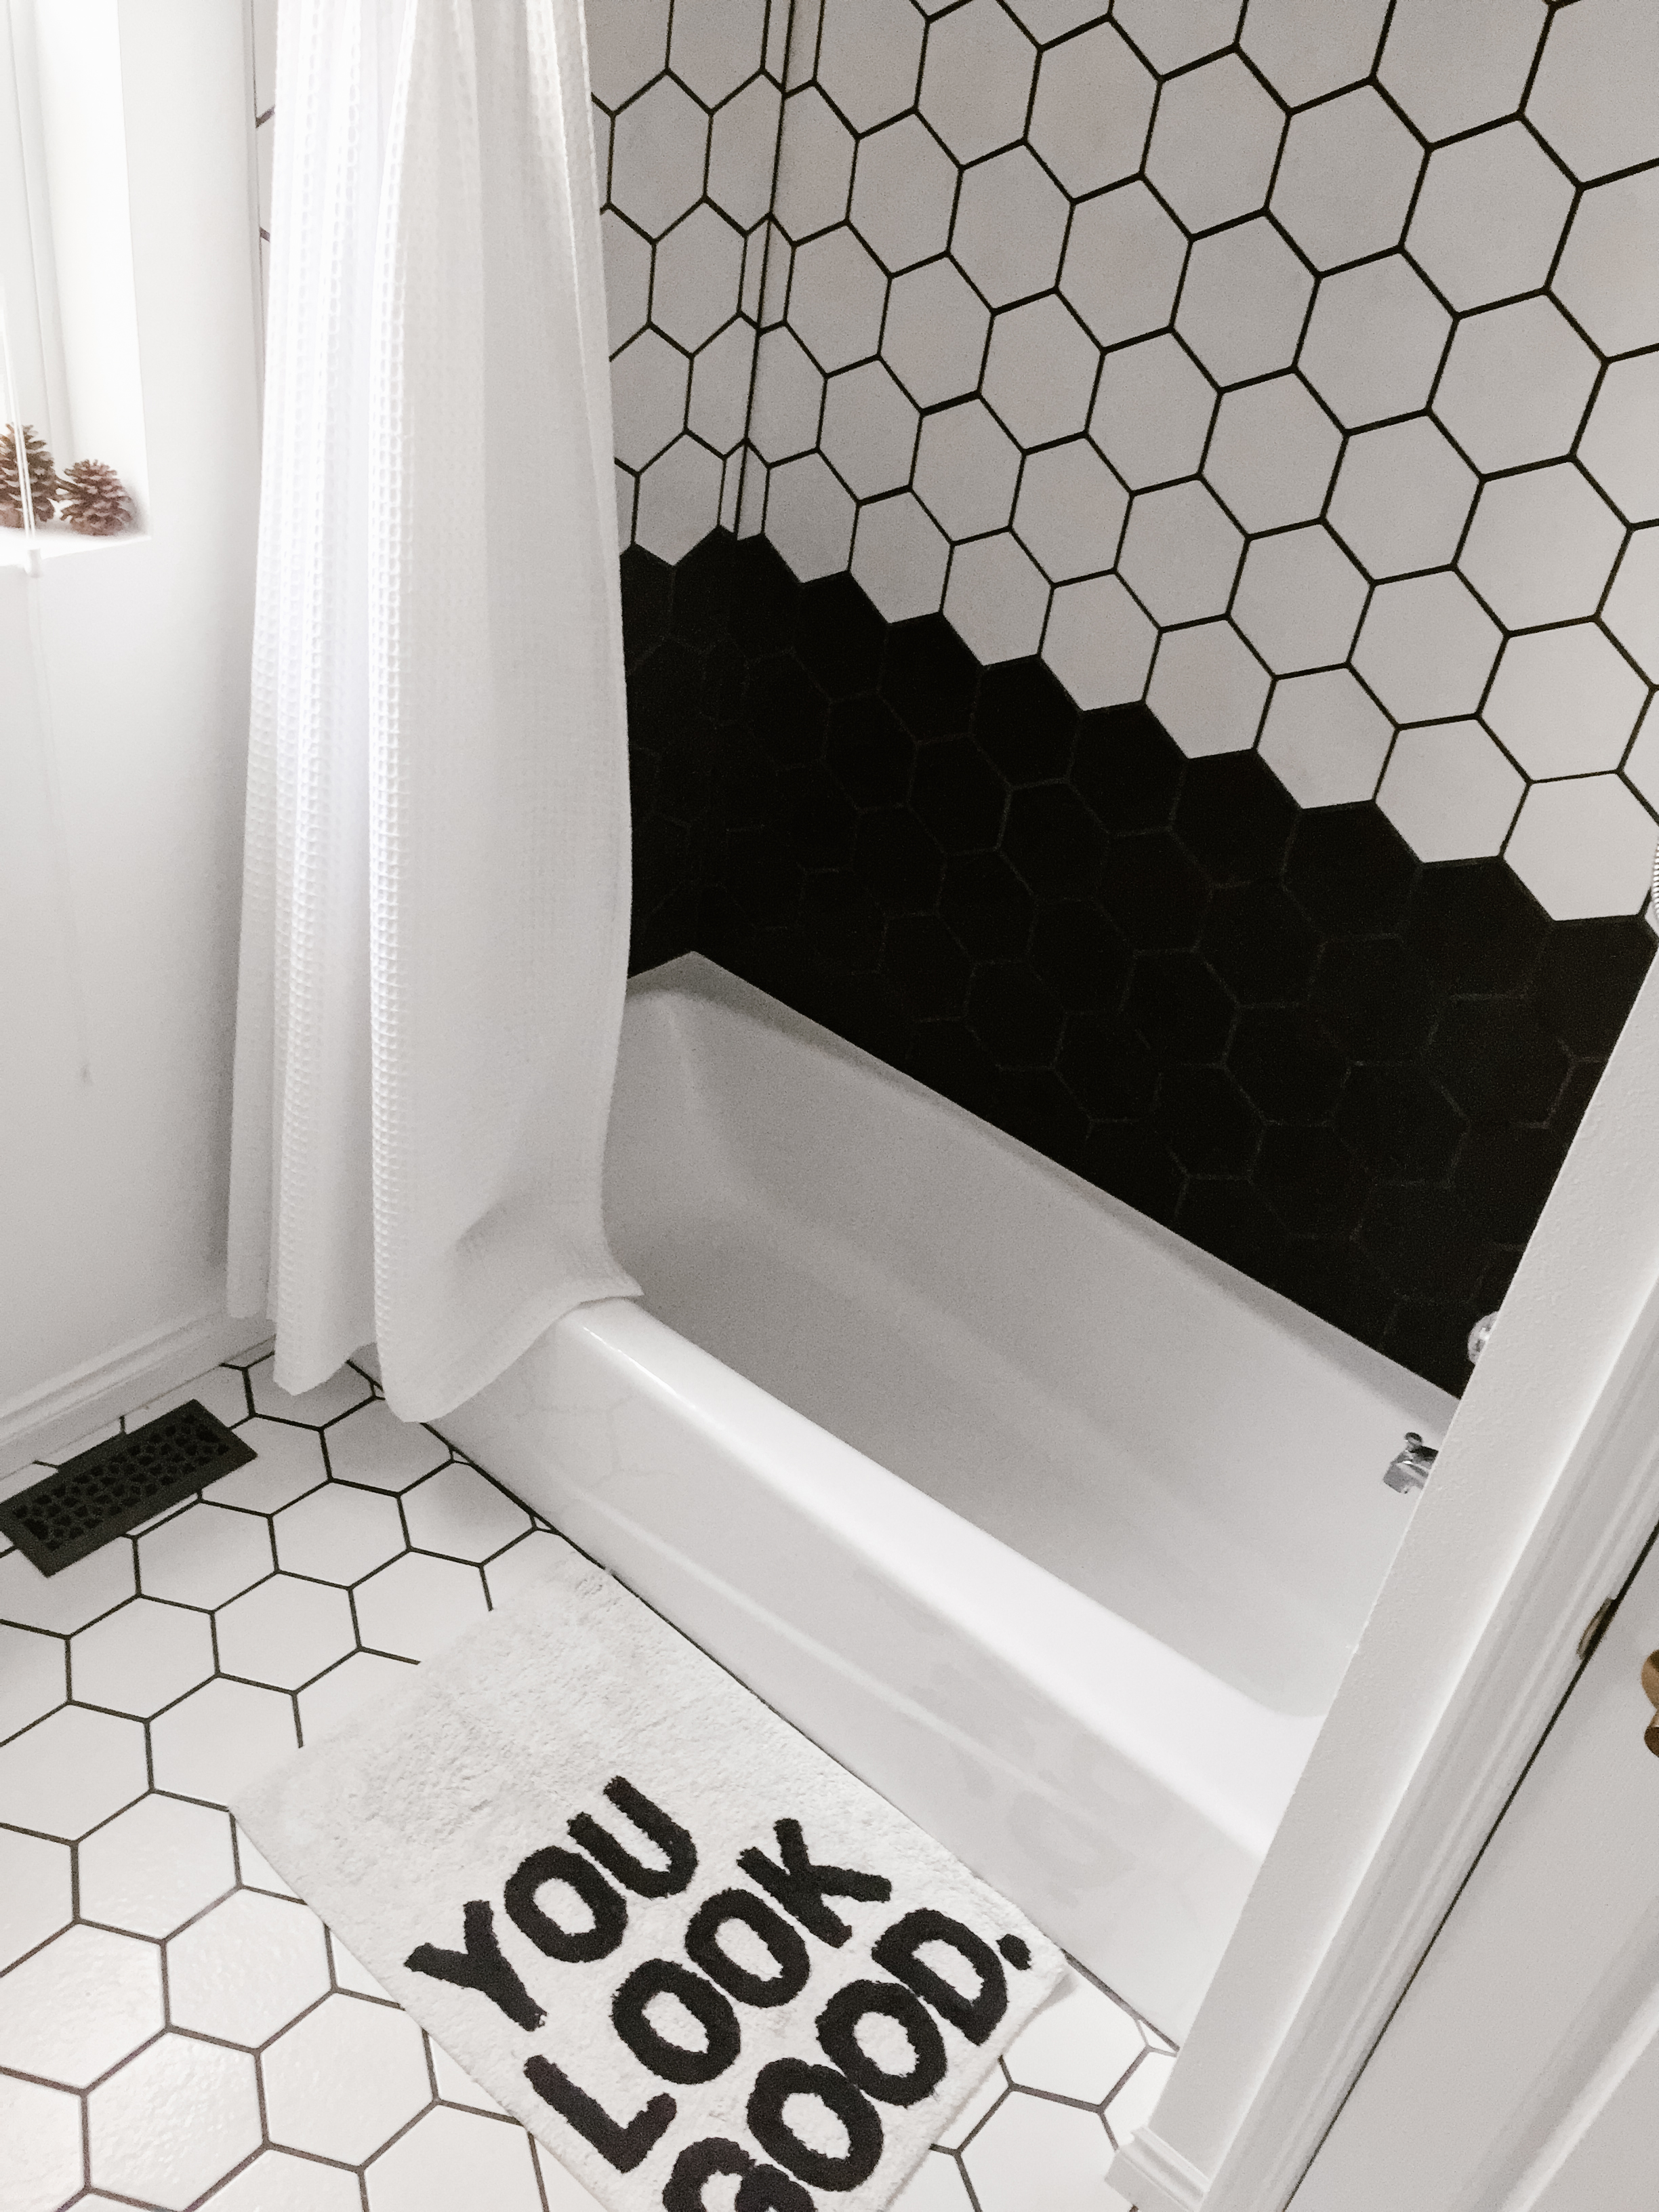
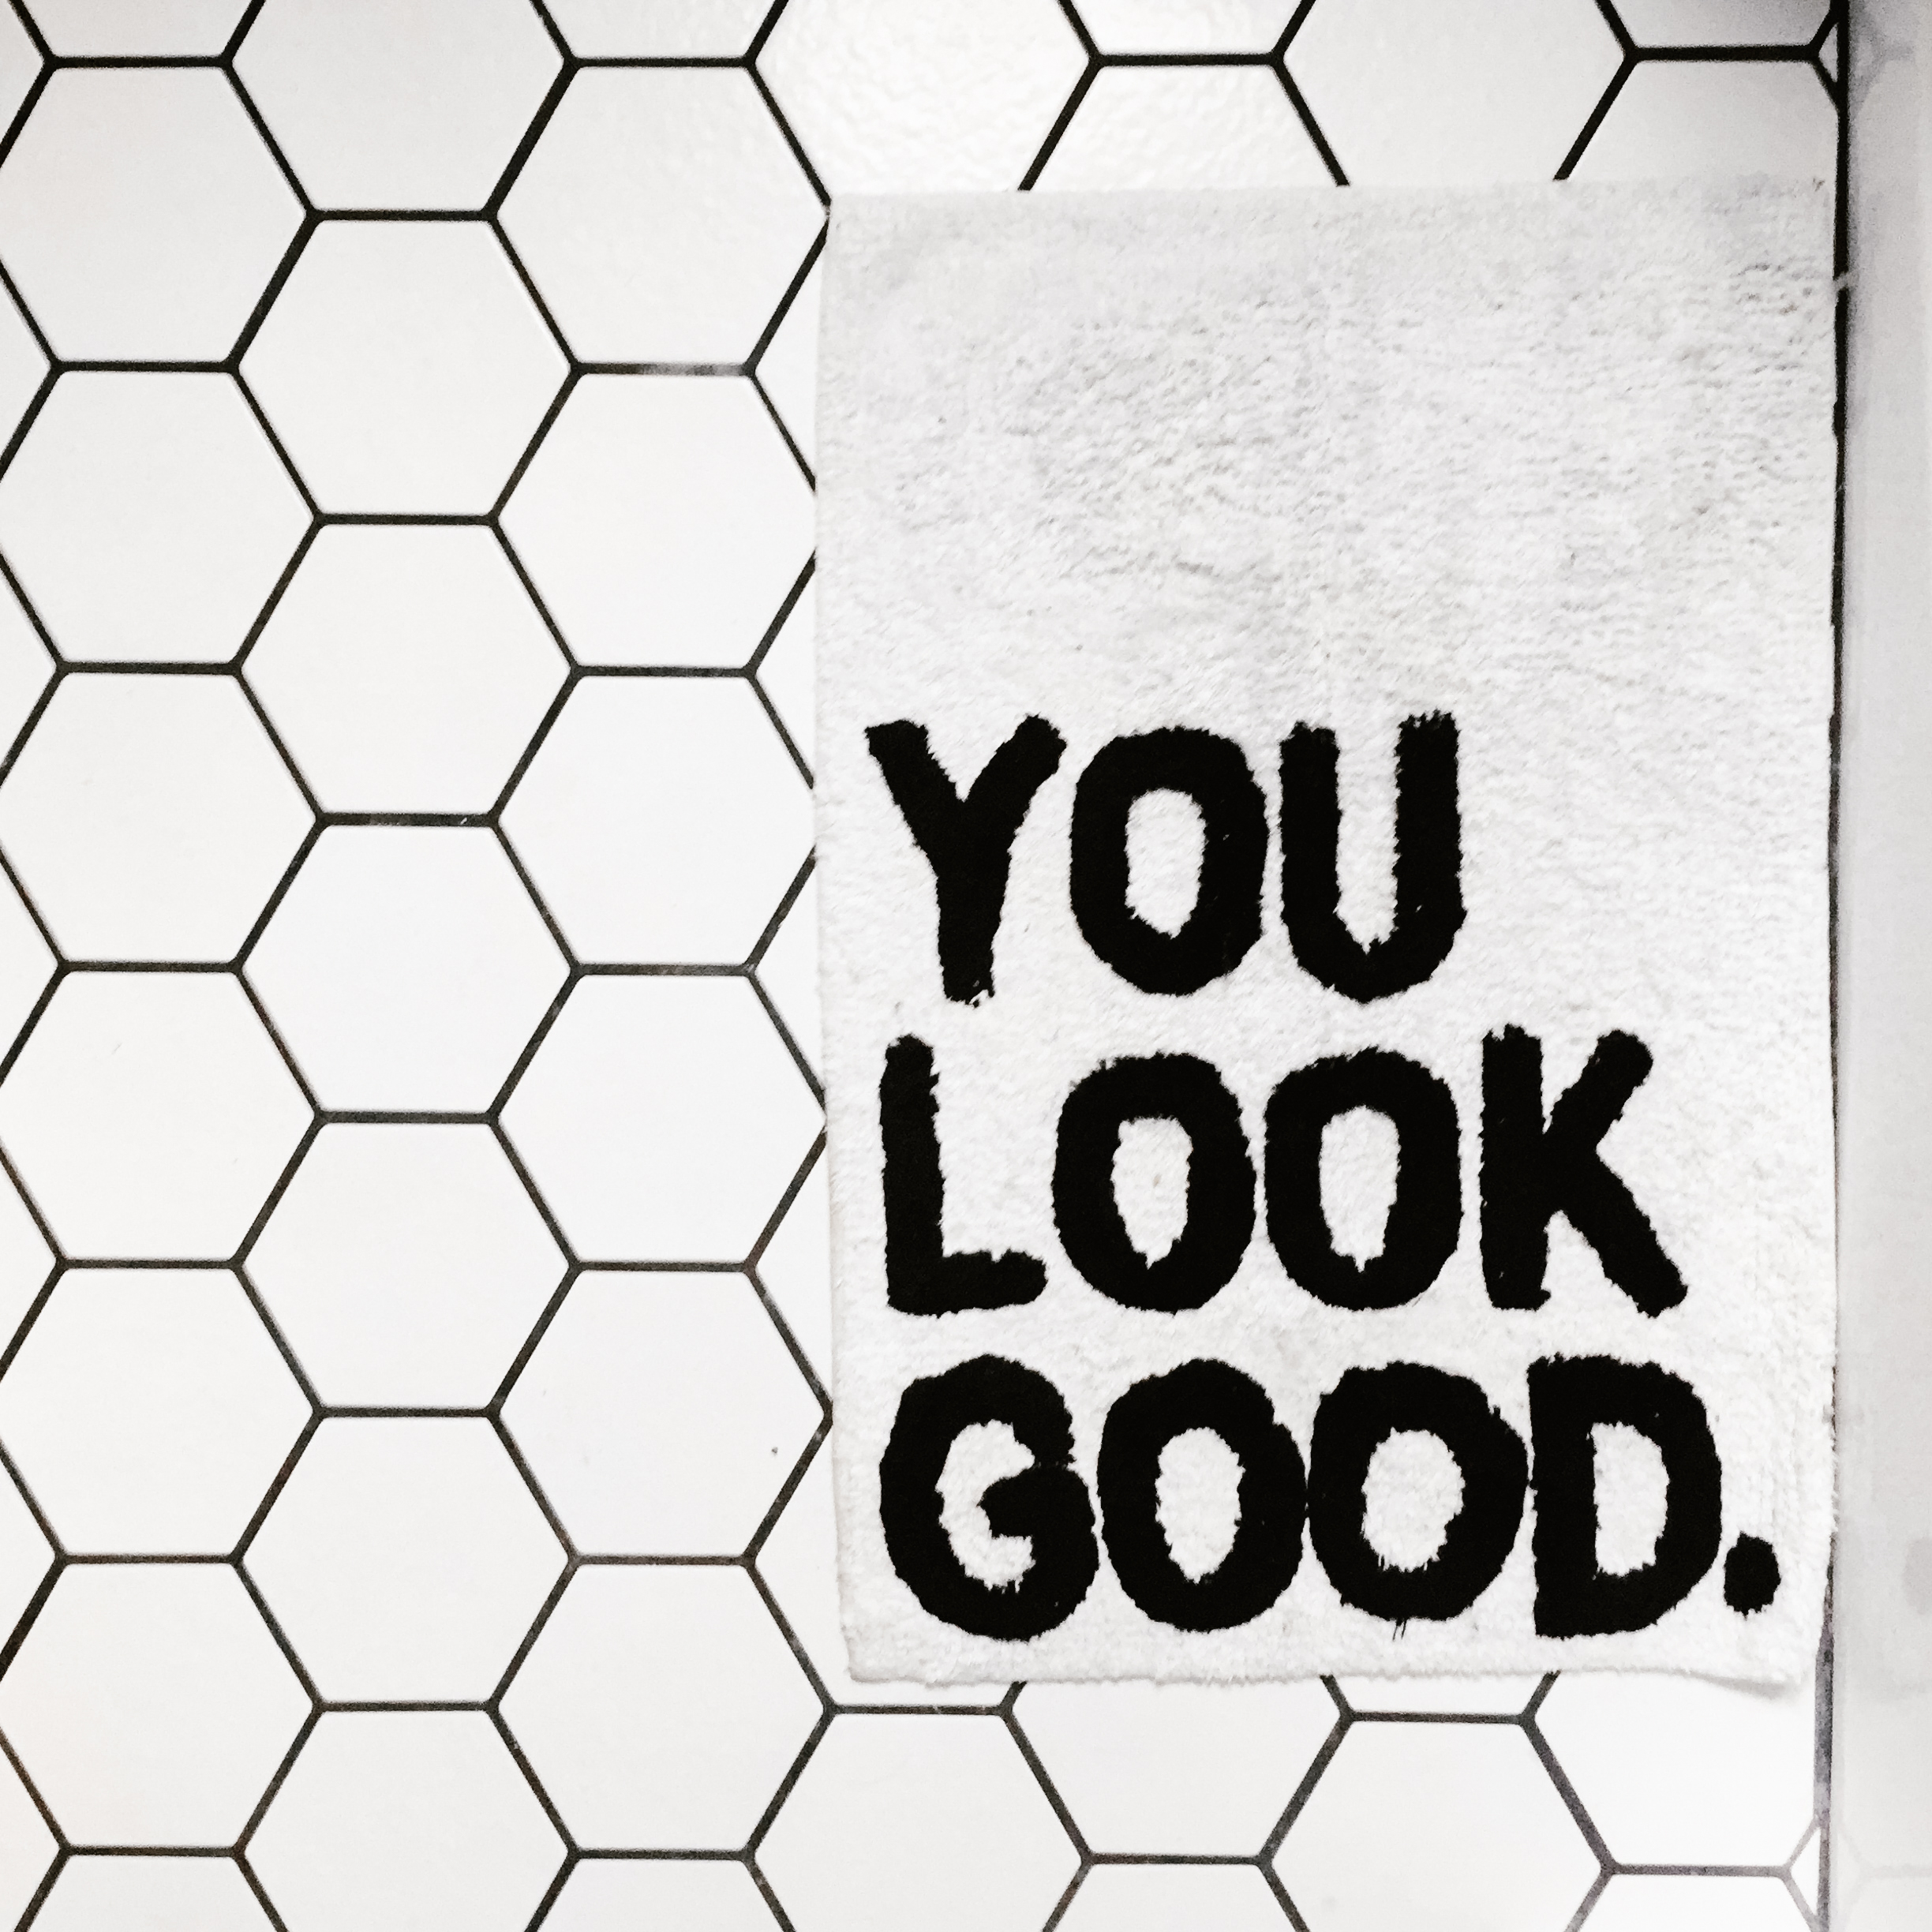
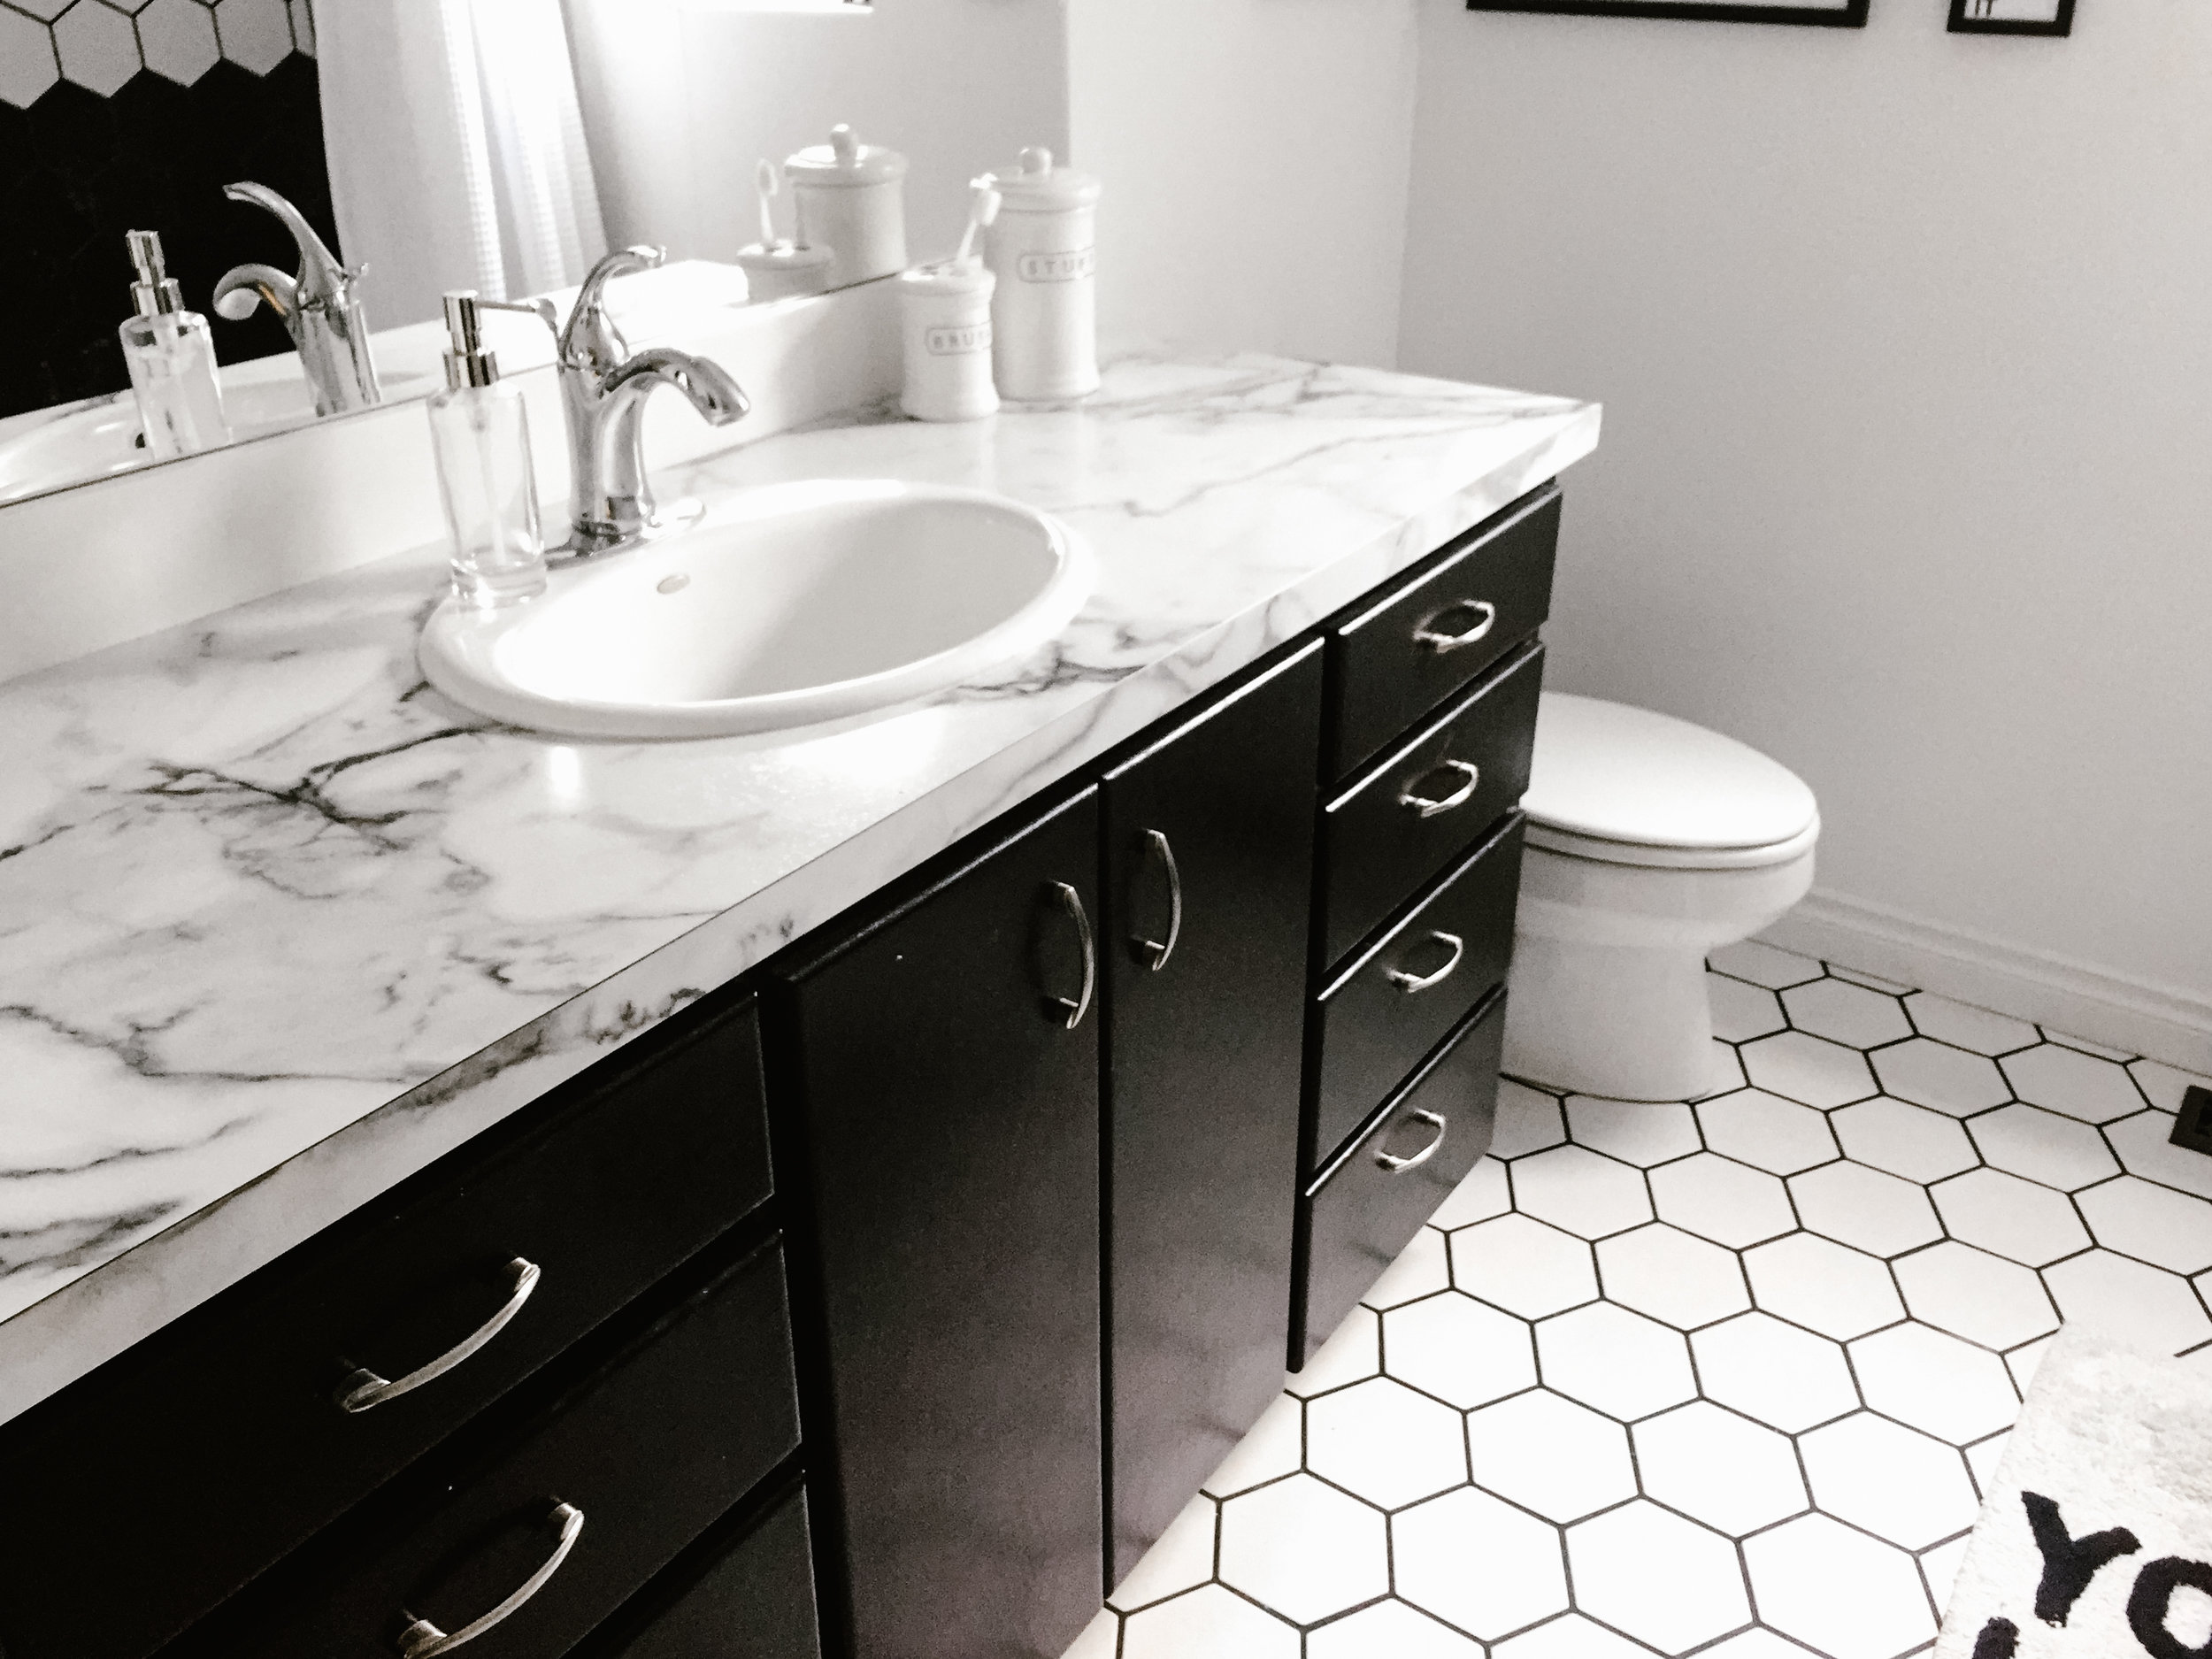
We started with painting everything WHITE. Pure white. Like the white that every shade of white starts with. The guy at Home Depot thought I was the most boring human alive. We pulled up all of the tile and had these super cute hexagon tiles installed and grouted. I contrasted the white floor by painting the cabinets black (my father-in-law did most of the painting here and he did a great job!) We replaced the pinkish formica with some granite looking formica, and upgraded our sink head. The shower was an issue but out of everything, my husband was VERY open to removing the pinkish shower walls. We looked into a lot of options here, buying a whole new shower would be the most expensive for us but would ultimately give us a ton of options. My contractor looked into a method of painting the current shower surround and that was an option for us as well but we also weren't 100% sure how it would turn out. We had some left over tile from the bathroom floors as well that we could maybe do something with. We didn't have enough to fully cover the shower in one color but between the two bathrooms we had enough tile in total to cover the walls. My initial thought was to alternate walls, with the two shorter walls in black and the back wall in white, but we weren't sure we had enough of the black to do that. So we used as much white as possible to keep it light and airy in there, and did a few rows along the bottom in black to finish it off.  It turned out incredibly awesome! Our poor contractor though mentioned how hard it was to have to cut the tiles exactly and lay them in place like that, then let them dry without falling off- he had his hands full on that project.

So here we are now almost a year later, and I LOVE being in our bathroom. It seems silly that it's the first room of our house that I'm sharing but it just am beyond happy with how it turned out. I'll work on getting more house update photos for you guys but in the meantime, hopefully this can inspire some of you looking to reno a room or do some upgrades! Thanks for reading! 

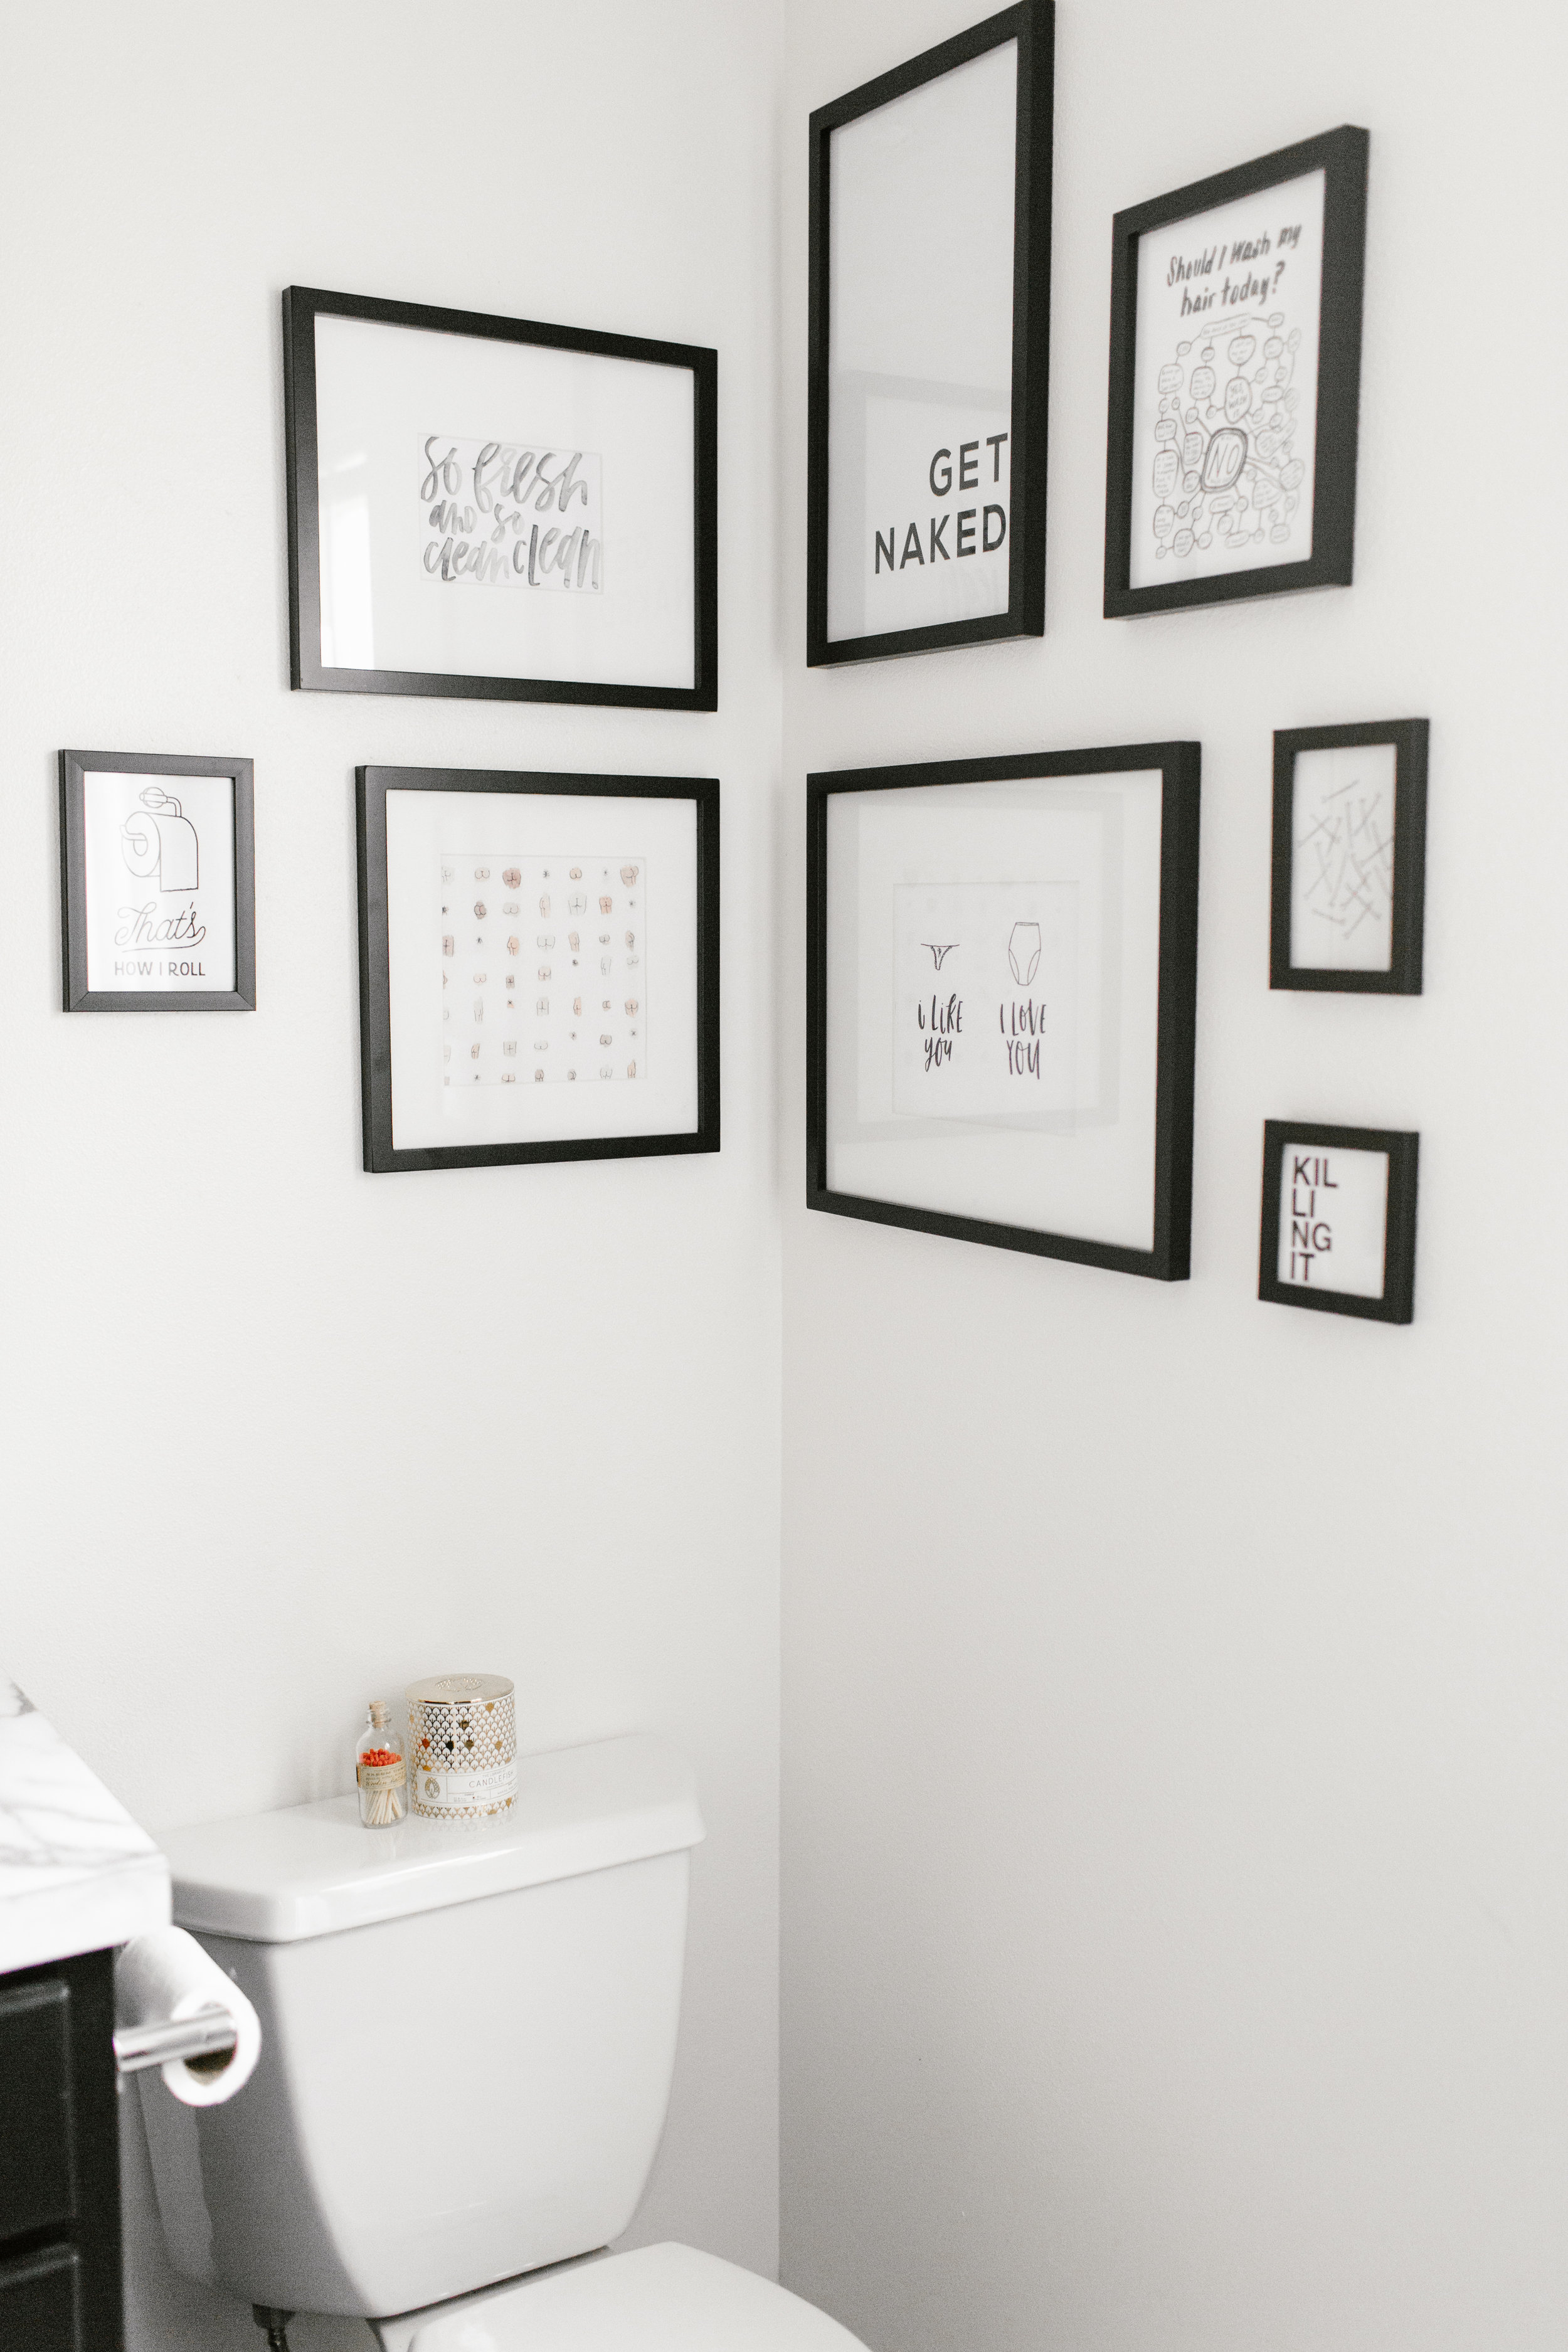
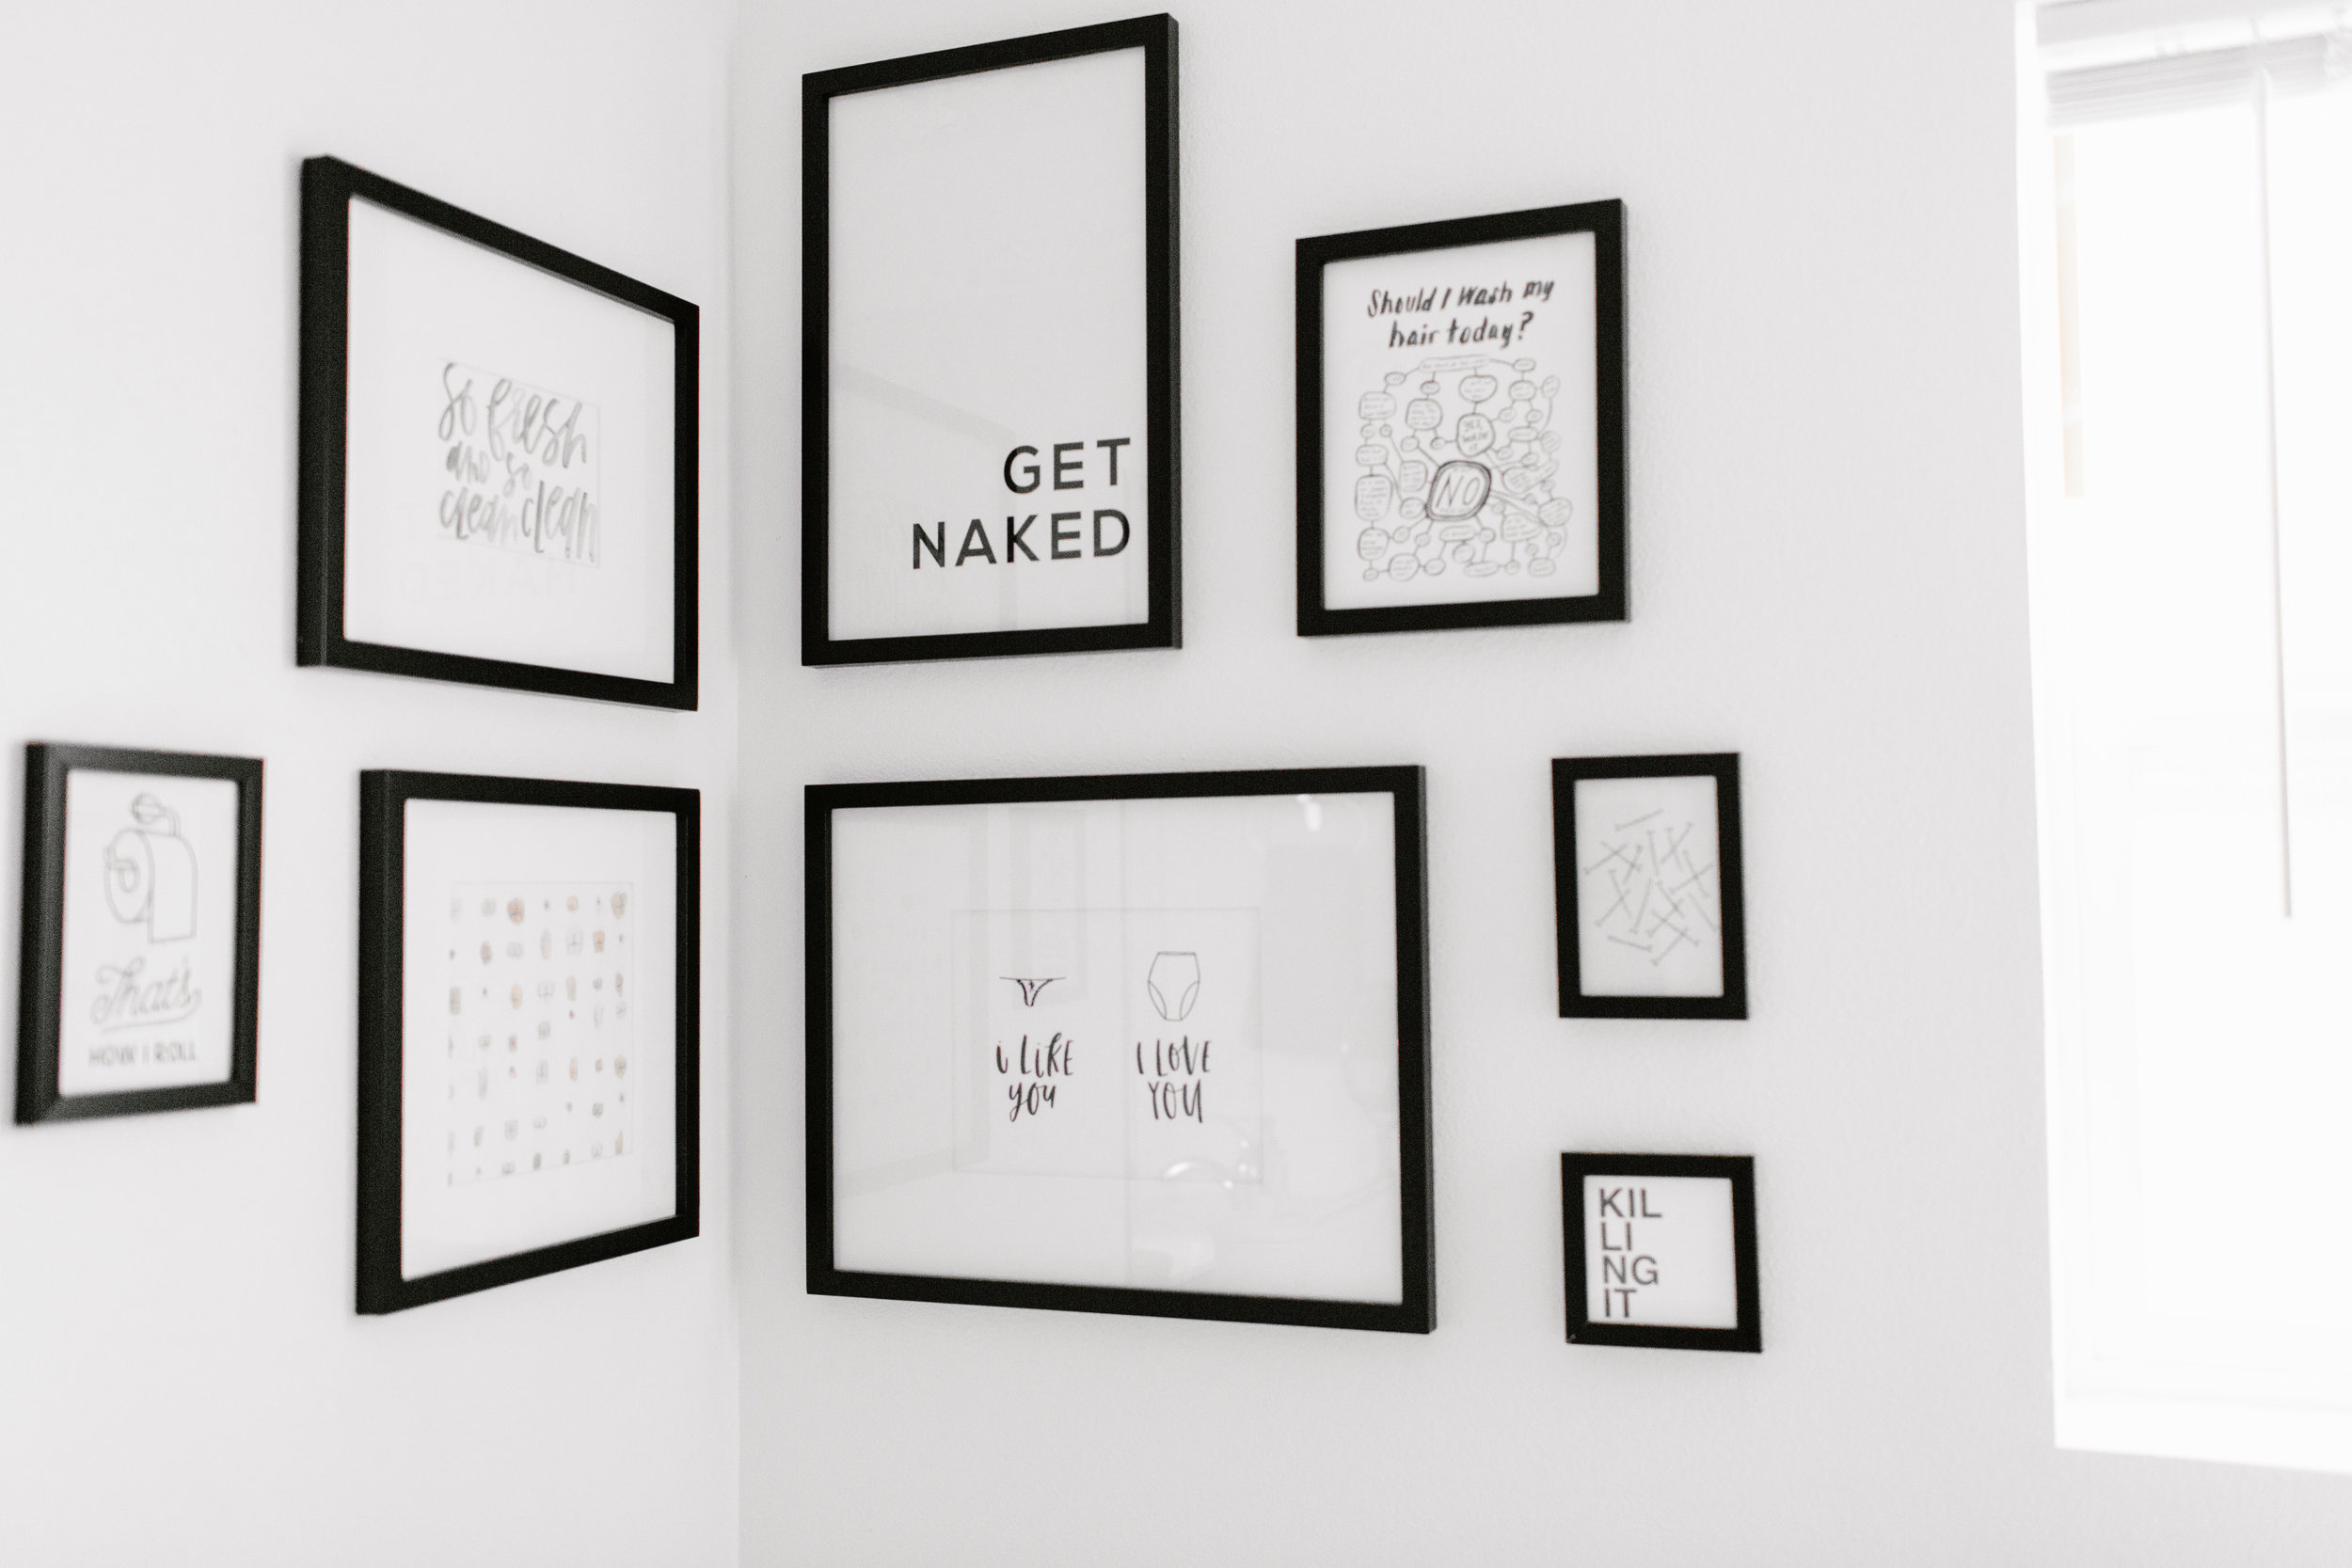
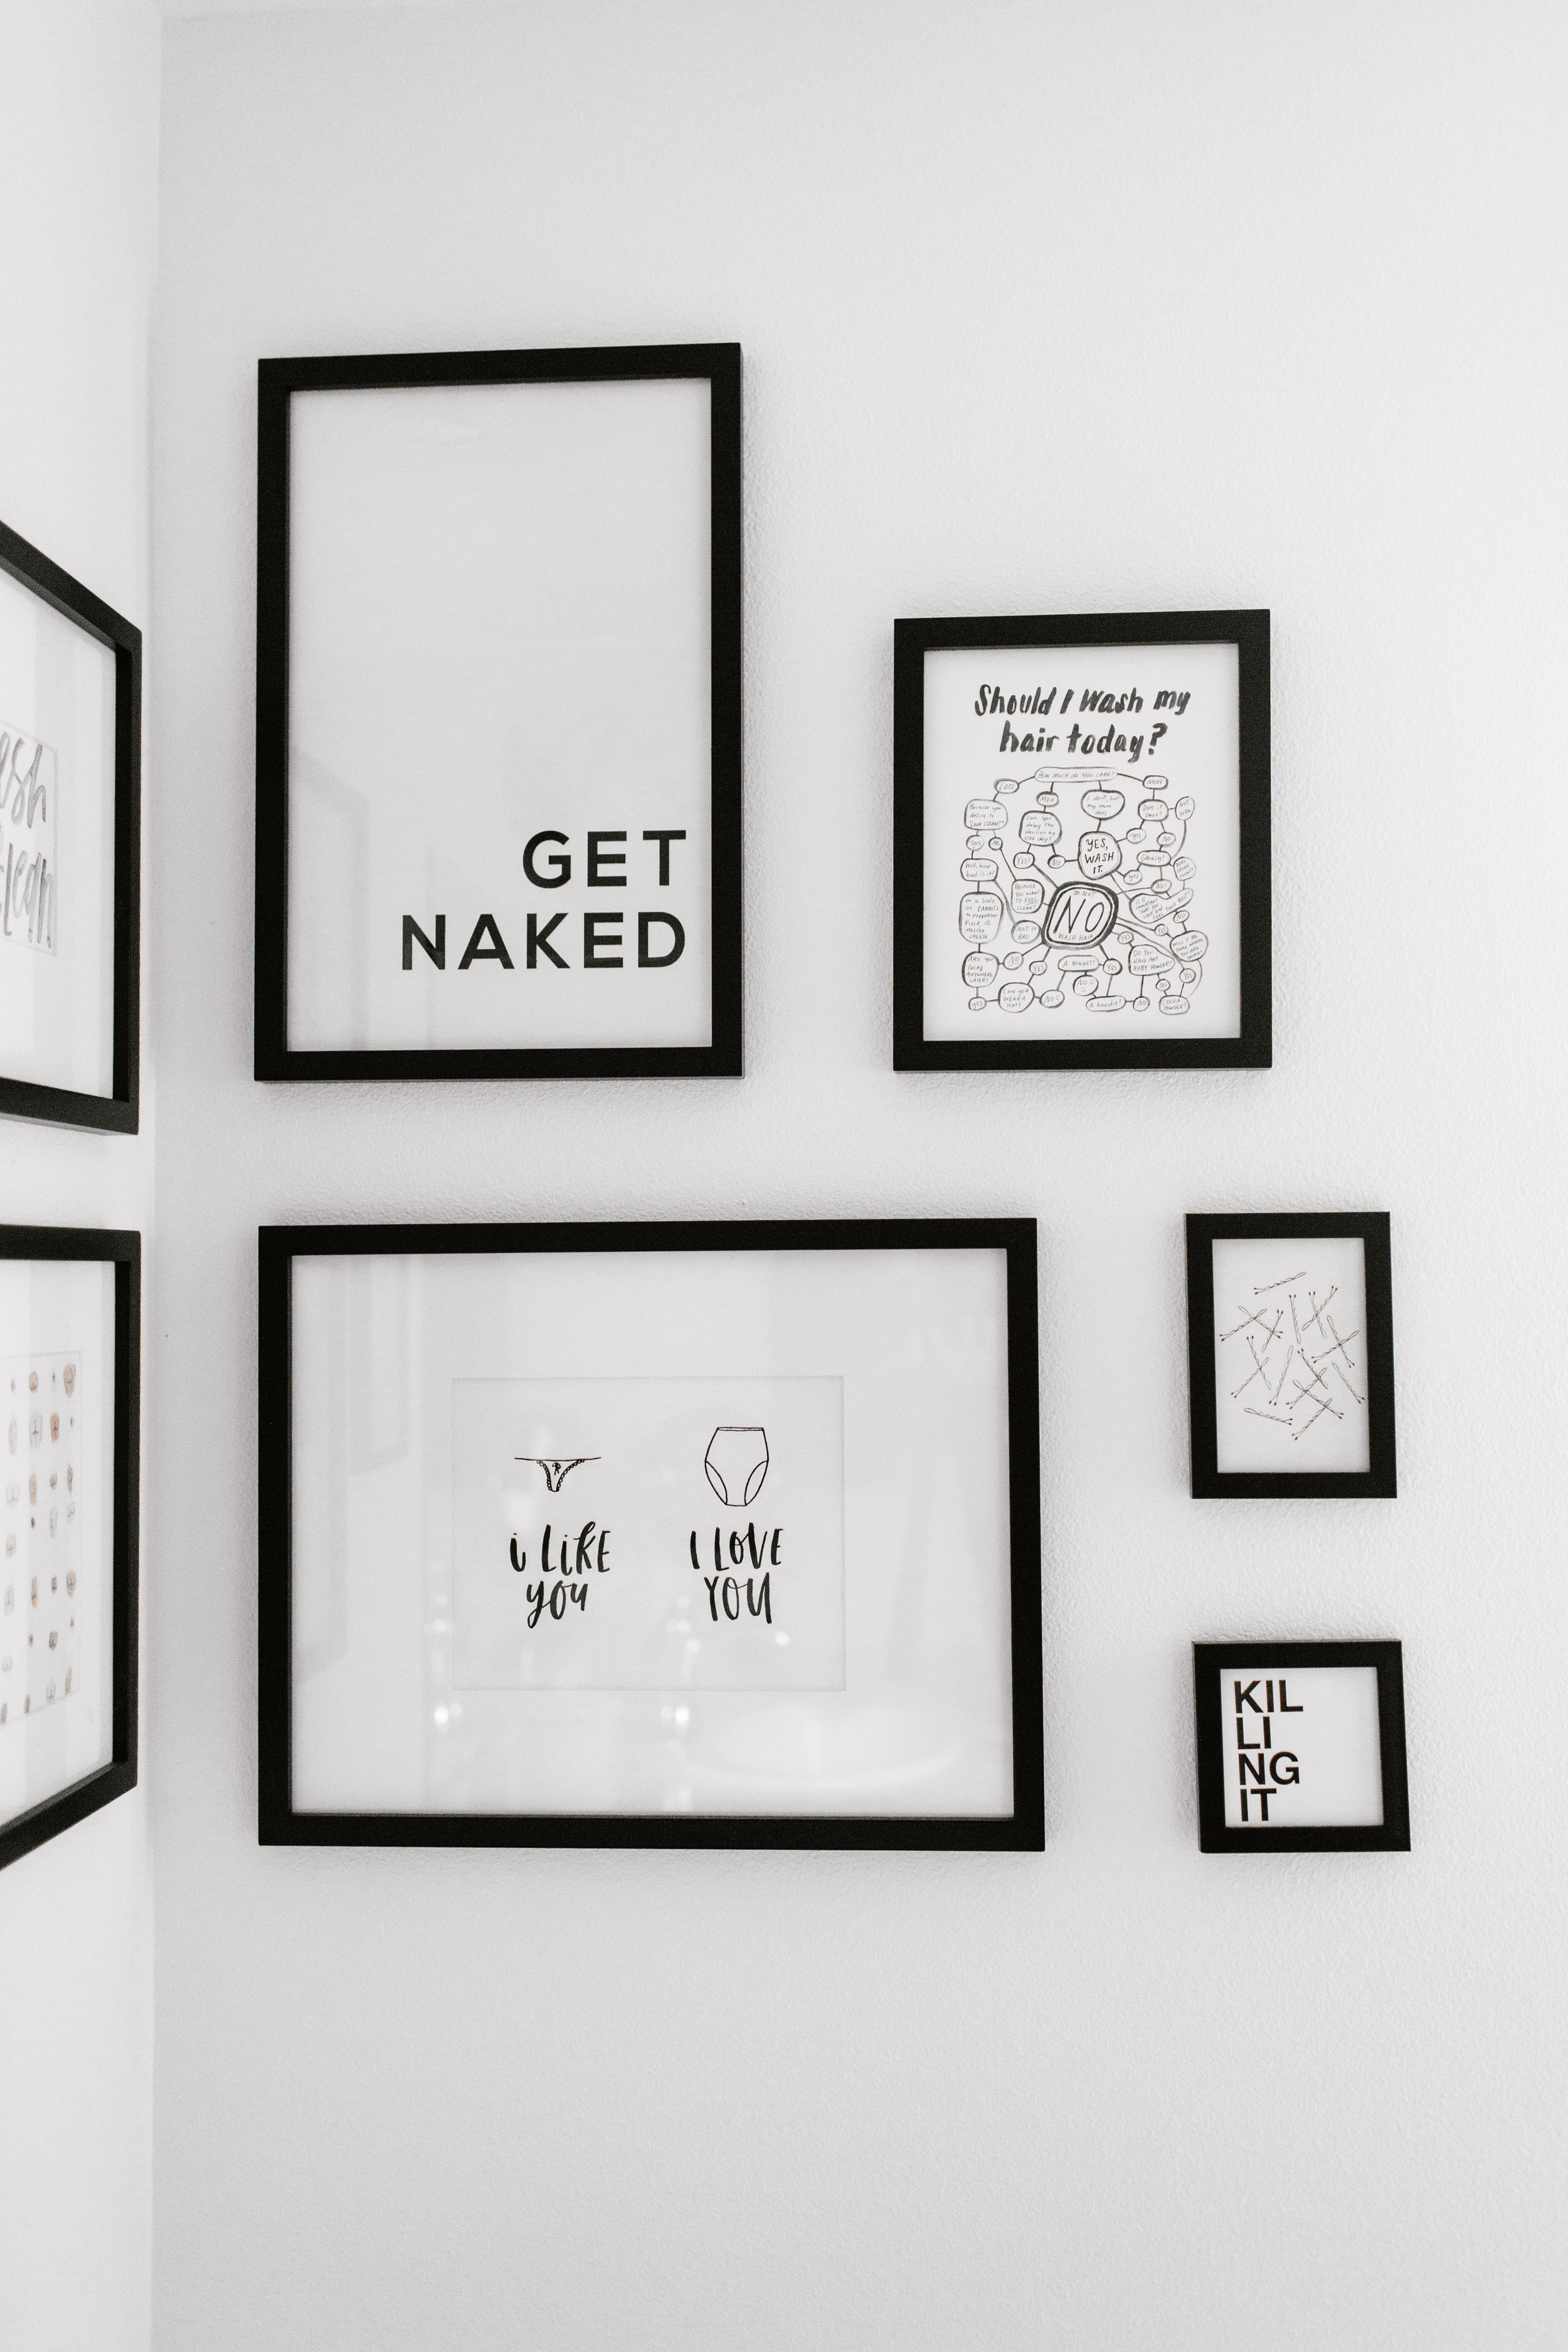
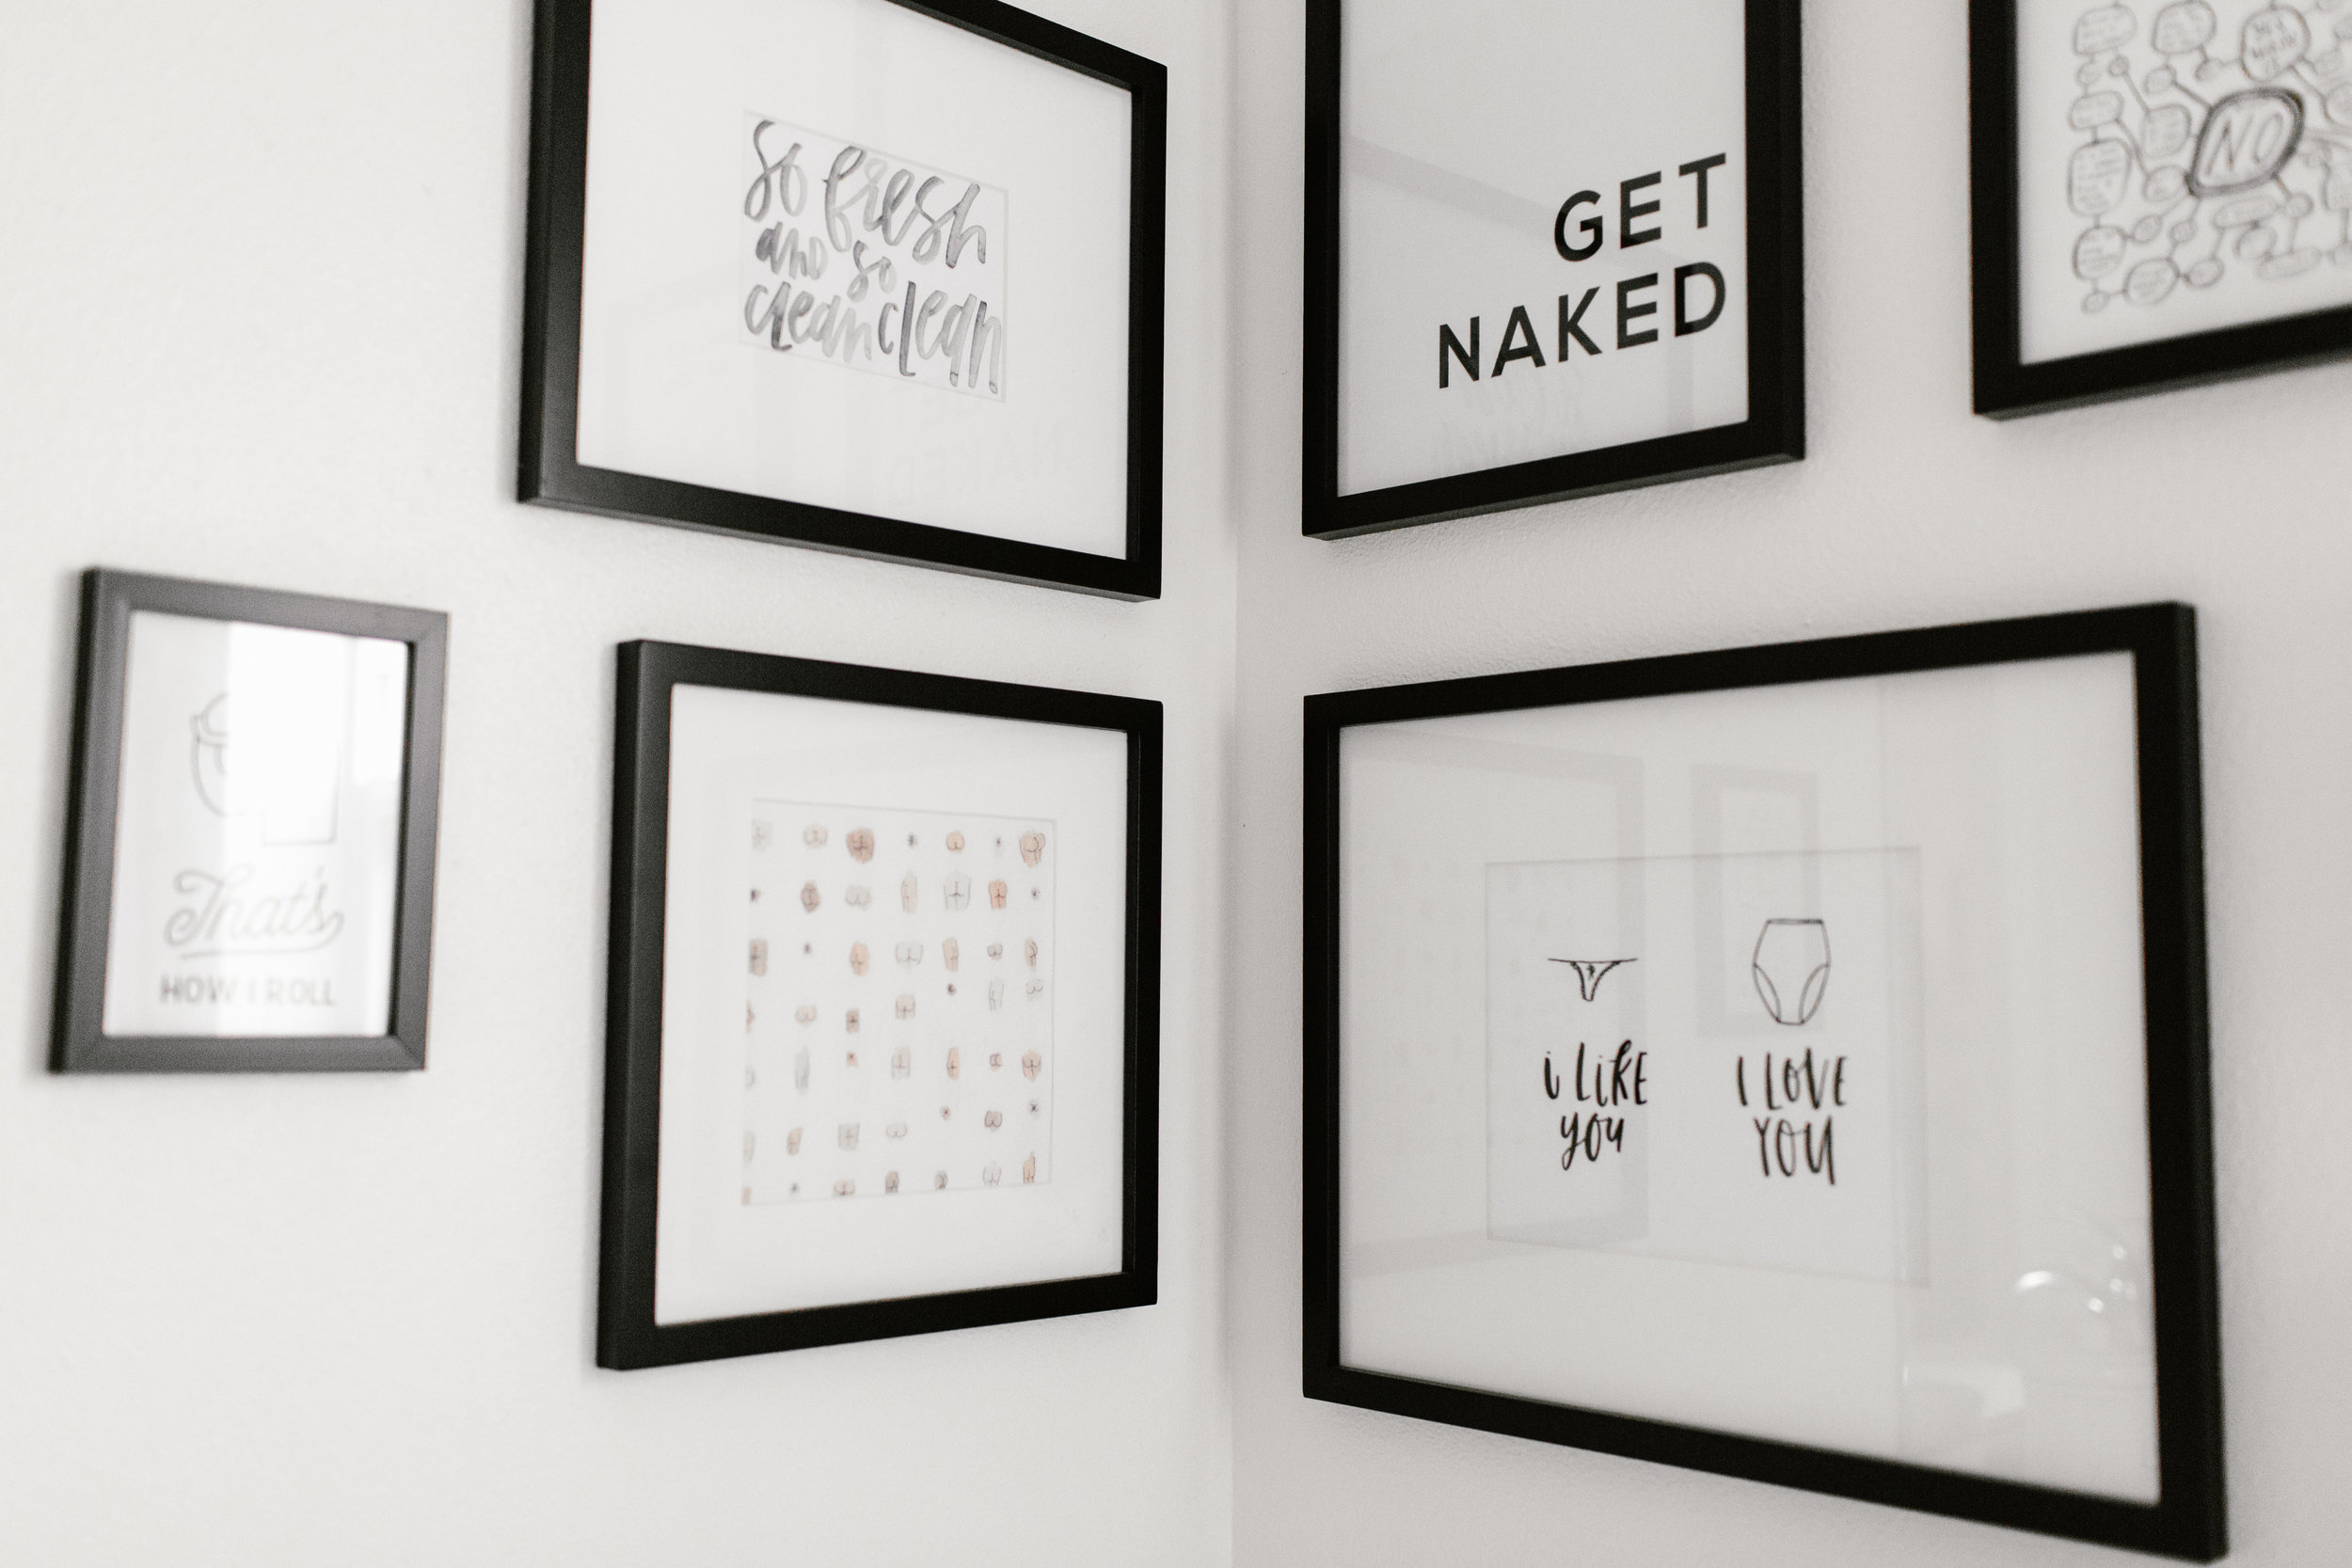
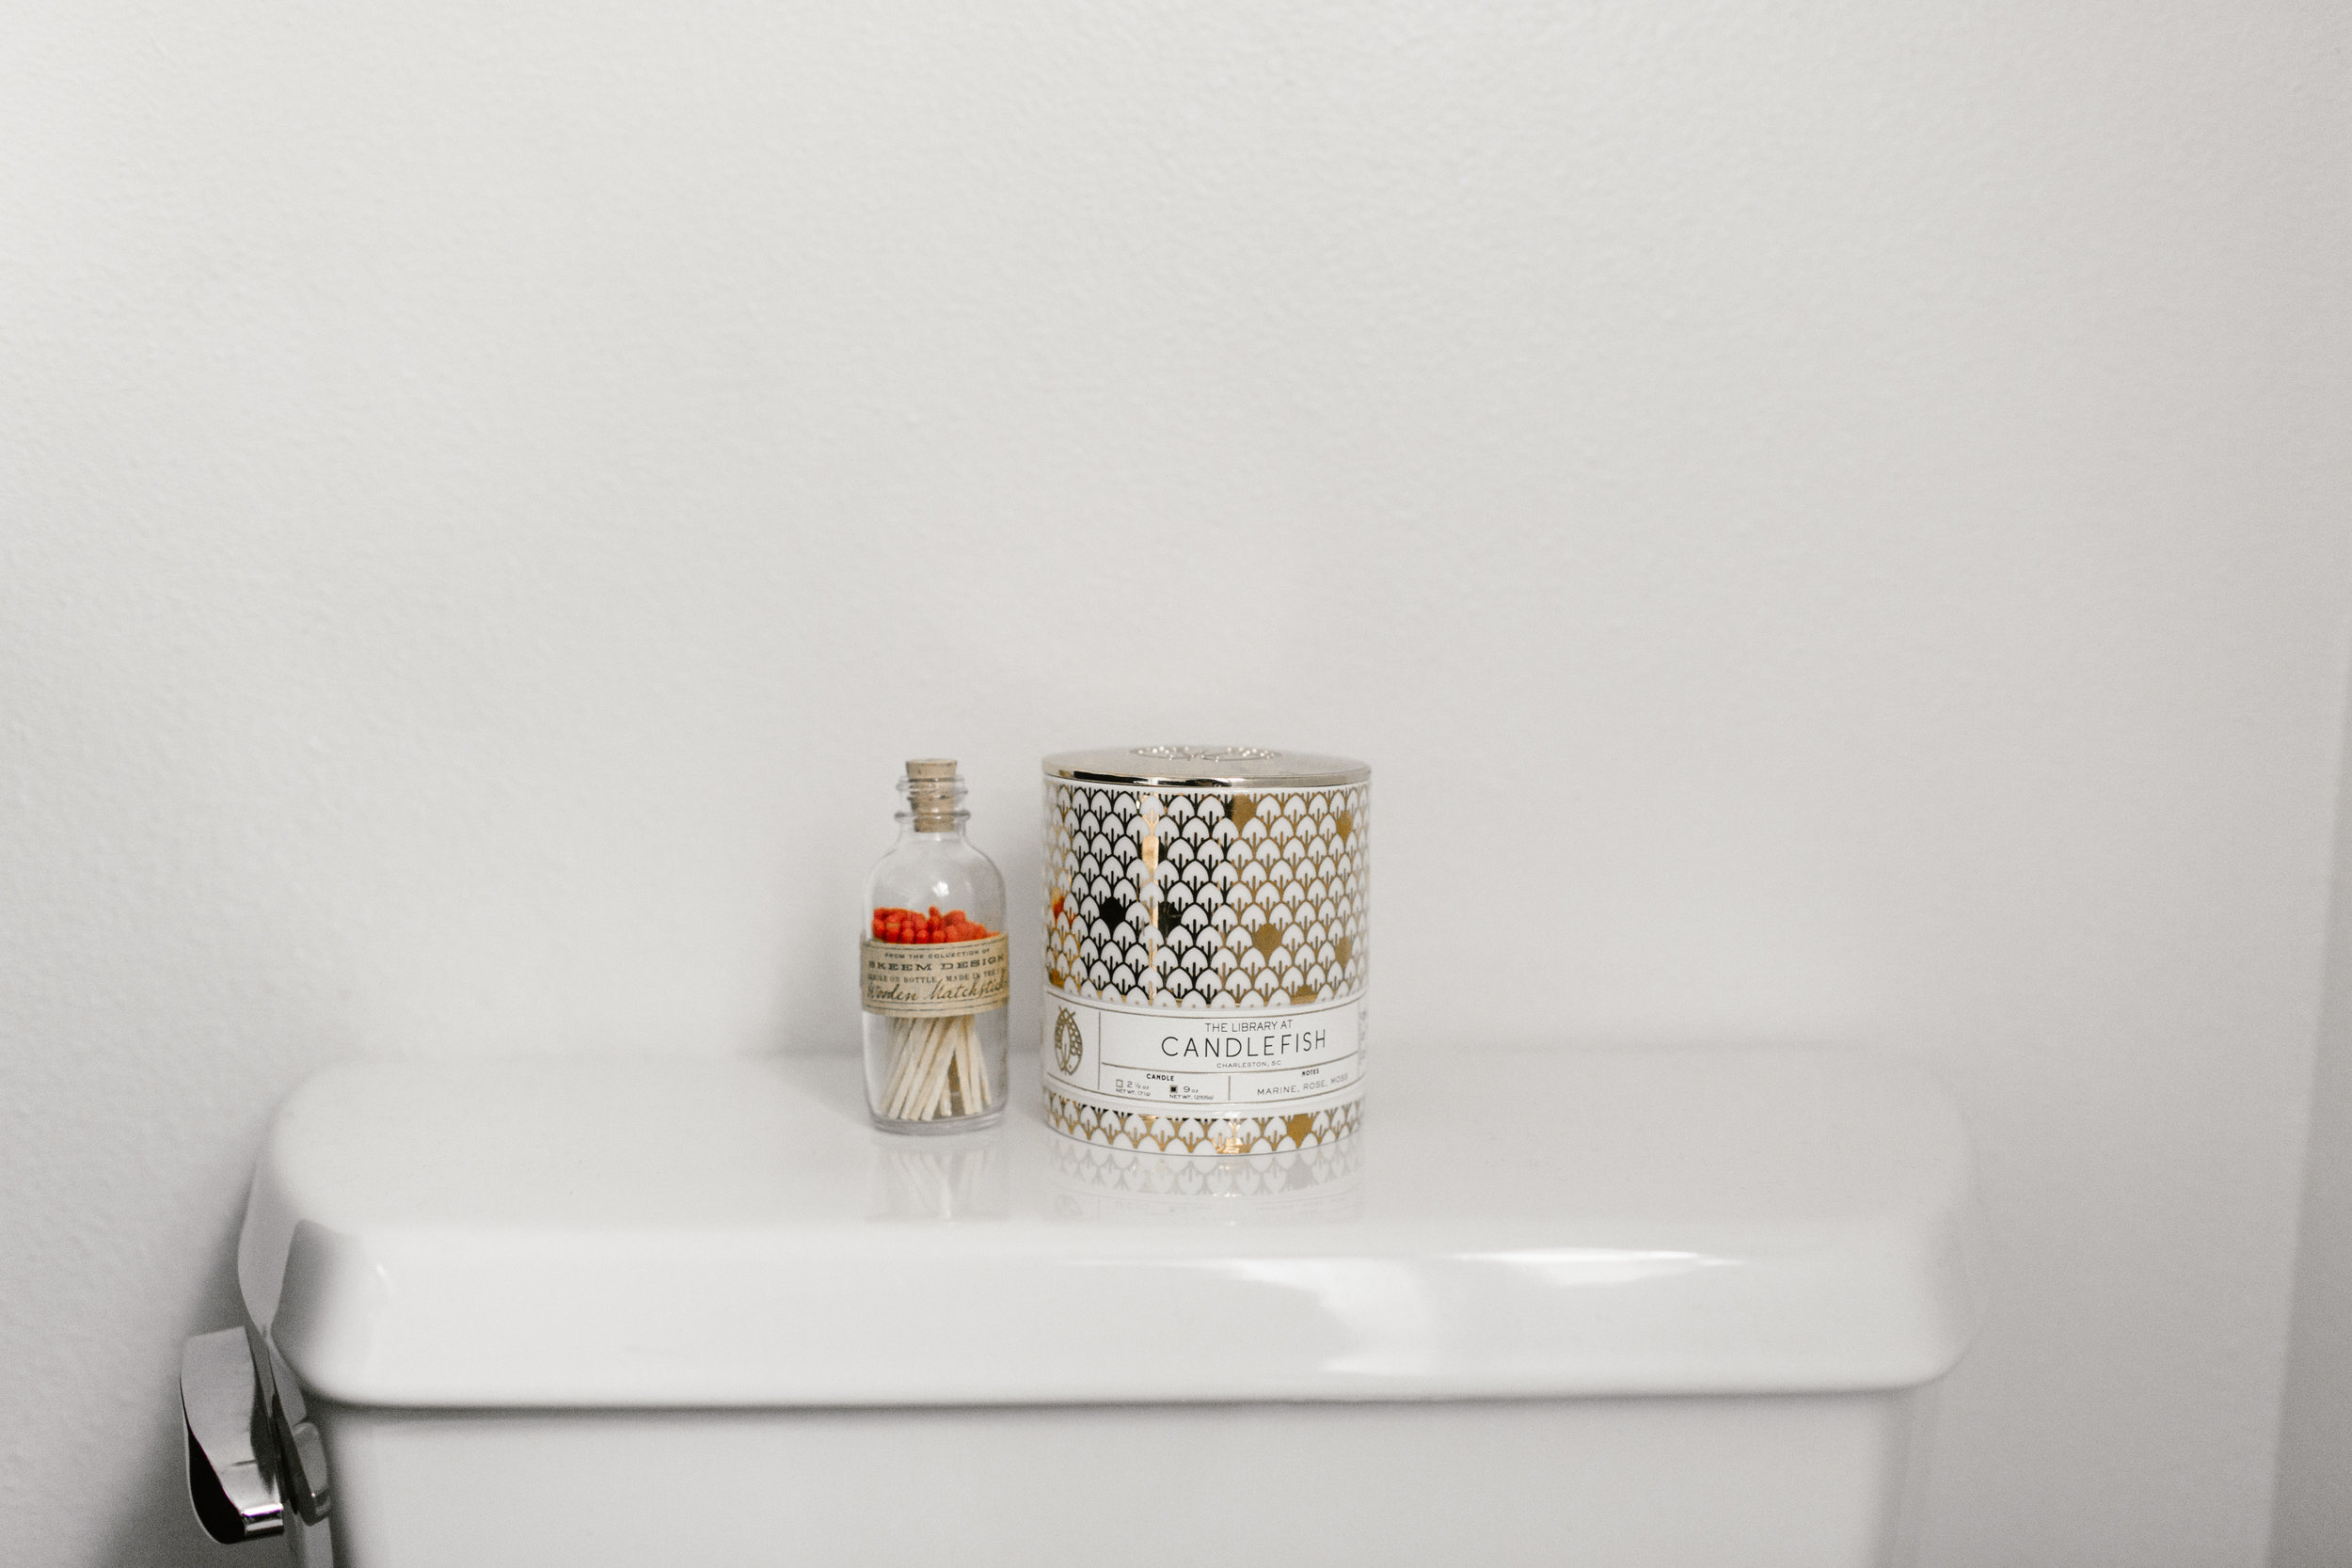
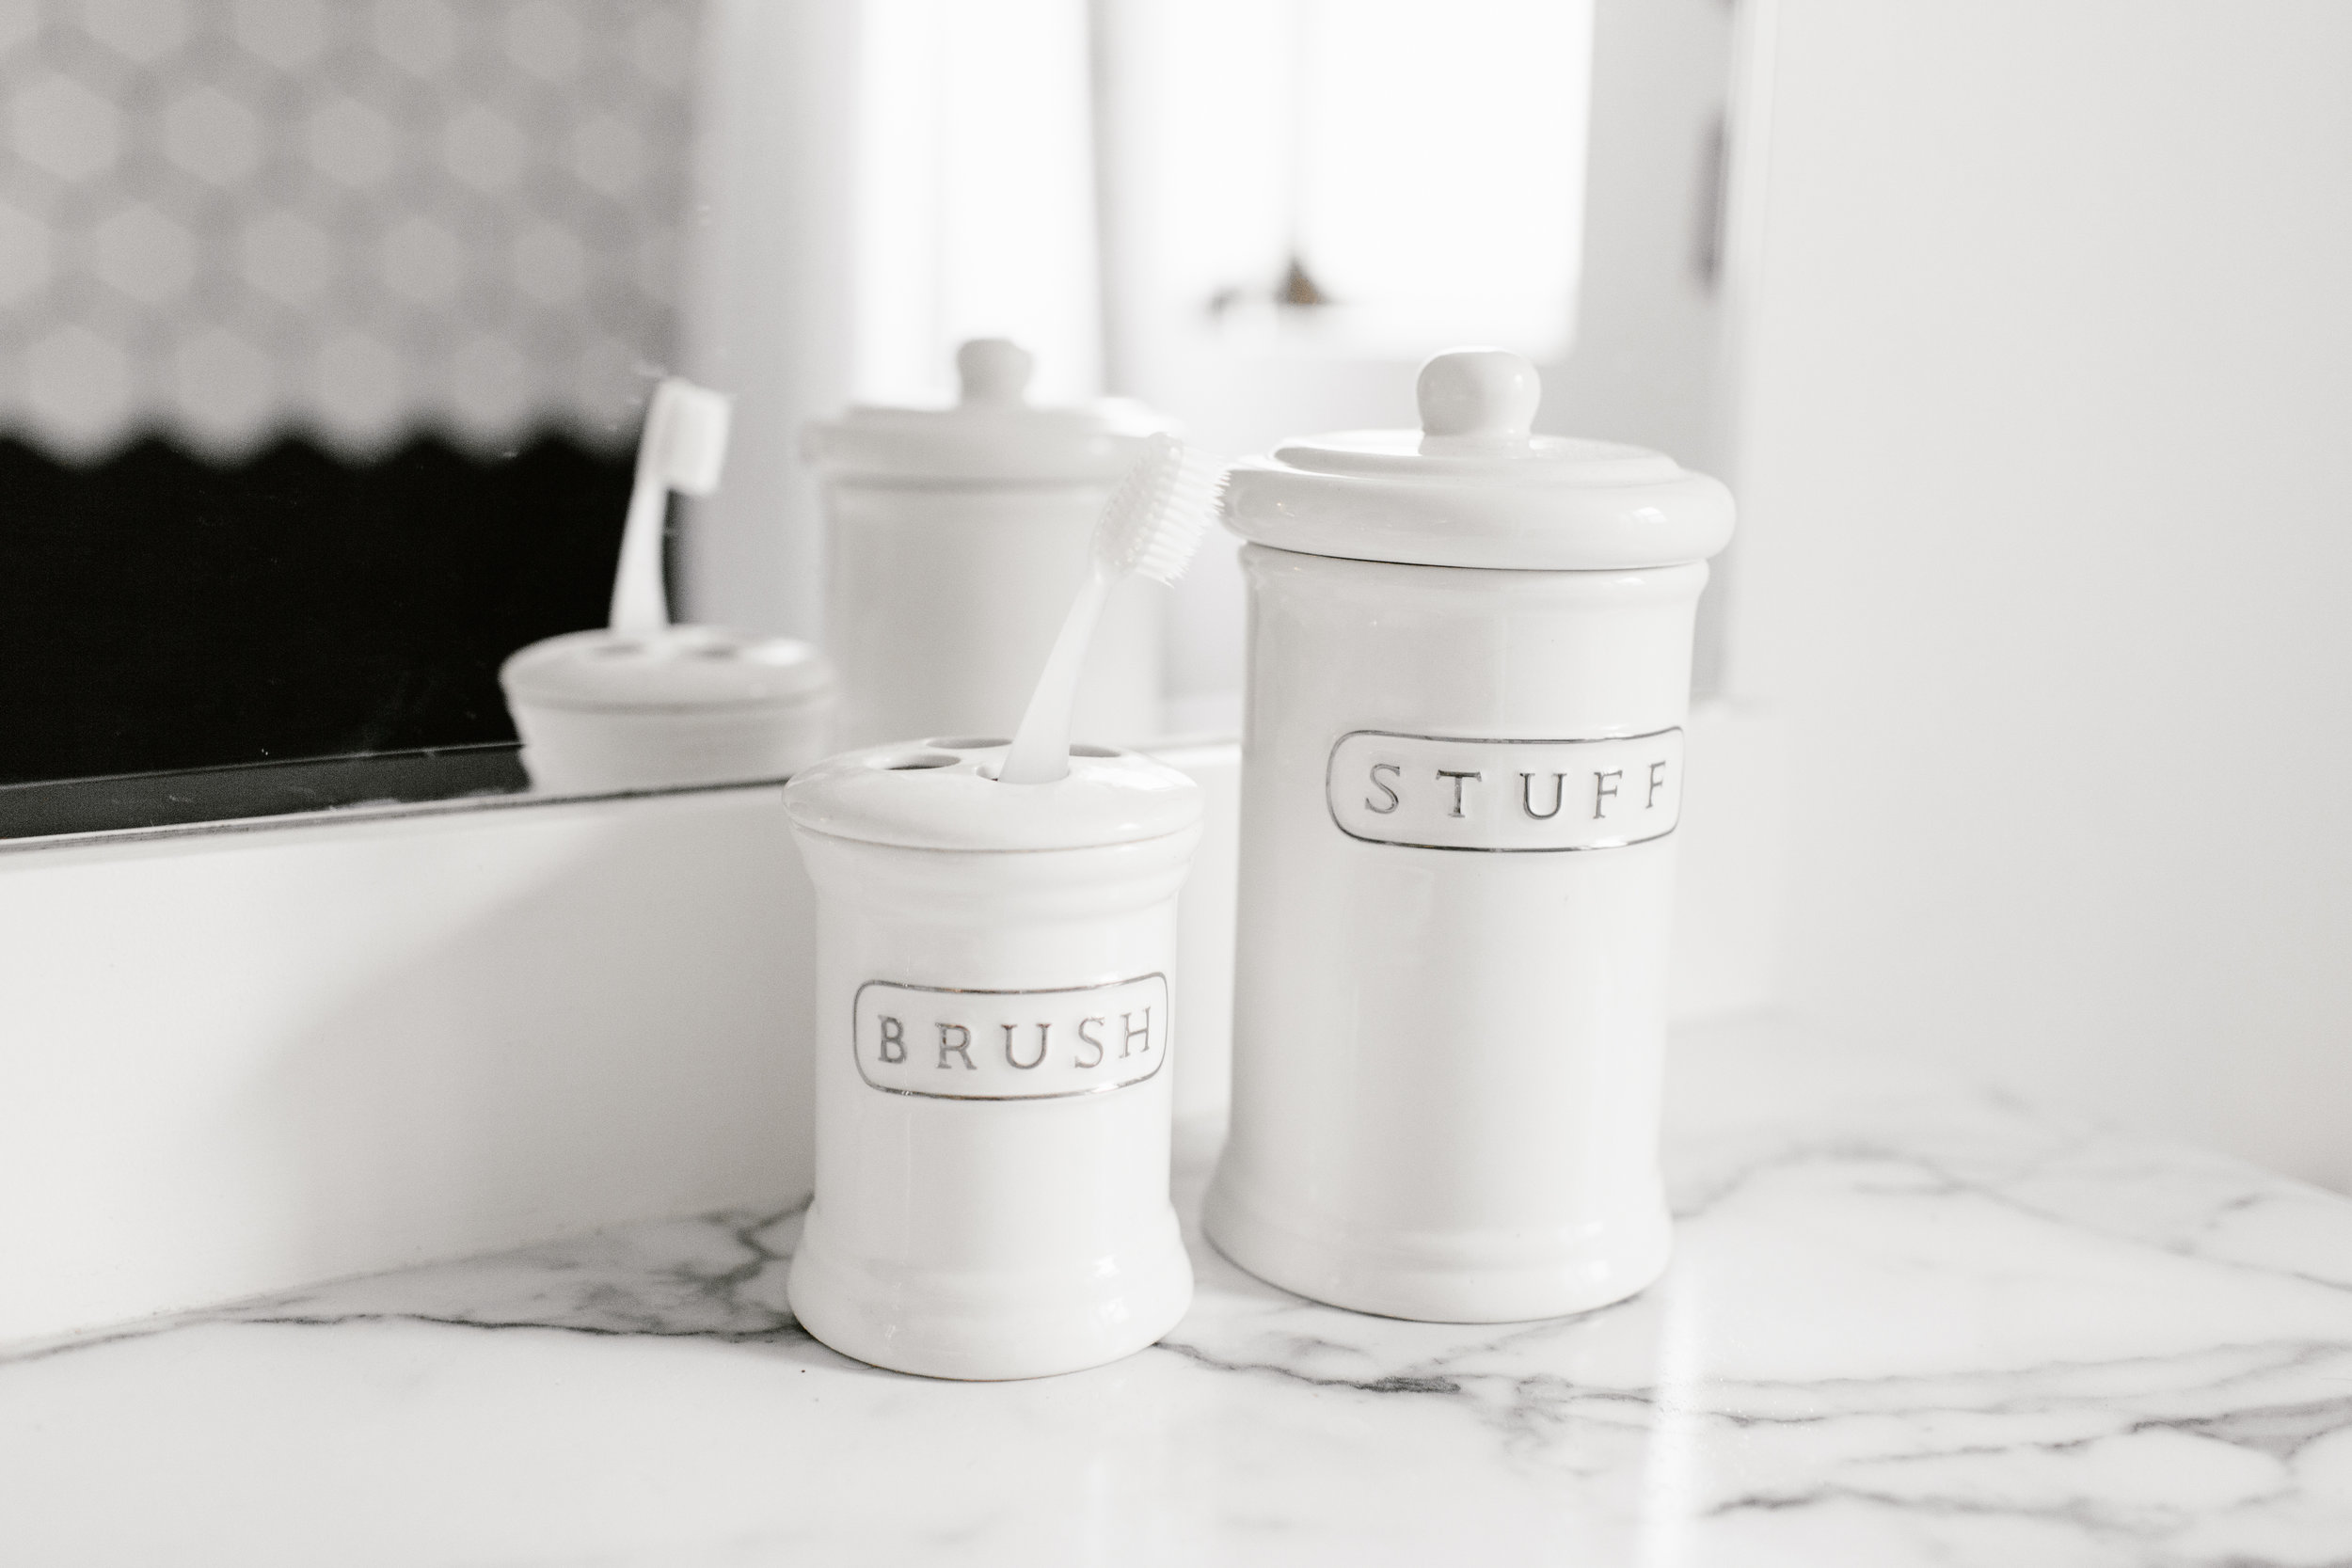
Paint: Sherman Wiliams Bathmat: Urban Outfitters  Candle + Matches: Anthropologie (thanks, em!) Toothbrush Holders: Pottery Barn Shower Curtain: Macys Hotel Collection WALL ART: Watercolor Butts: Society 6  Should I Wash My Hair Flow Chart: Chipper Things So Fresh and So Clean: Eleven and West I Like You I Love You: Eleven and West 

Wedding Programs and Itineraries

Wedding PlanningGina PaulsonComment

Hey Guys! It's that time of the year when I start to get really busy working on wedding day of details. We're talking programs, itineraries, thank yous, escort cards, wedding signage, ETC! You name it, I've probably done some version of it. 

I actually get asked quite a bit about my own wedding program that I've posted on Instagram a few times. Let me tell you, I had SO MUCH FUN making this thing. By this point in my planning, most of the big details were taken care of. I was no longer in "planning" mode and was transitioning towards "planned + ready to party" mode. So today I'm going to share some detail shots and descriptions of what I included and hopefully this can help some of you as you start your own planning for your itineraries and programs. 

ITINERARY / WELCOME BAG 

We had a lot of out of town guests (seriously, my friends rule) We put together some little goodie bags for their hotel rooms for their arrival. We dropped these off at the hotels the day before and when people arrived and check in within our room block, they received a bag. I actually don't entirely remember what was in those bags- that was largely a task of my mom but I know we hired a local baker to make some WA state shaped cookies and I think we had an apple or something? It was supposed to be "Washington" themed and I made this little itinerary to go into each bag. 

There was a front, two interior pages, and a back. It was simply an 8.5x11 piece of cardstock, I designed to be folded to make a little booklet. The front had one of our engagement photos and a welcome message with our names and date. The interior included a thank you message, wedding day information, and the weekend itinerary of any events that we had planned for guests. Friday we had a small cocktail hour at the hotel the night before the wedding, then I included the timeline of the wedding day itself including shuttle times, and Sunday we had an optional informal brunch at the hotel in case anyone wanted to grab a bite with us before heading out. 

We were literally blown away with how many of our friends and family were traveling to be with us on this day. We made sure to have a big thank you to these guests. We also wanted to include information meant for them, like shuttles times. Being an out of town guest, your number one stress is always how to get to and from the wedding. So having this information clear and available is so helpful. We also squeezed in a little note about our unplugged ceremony which was also reiterrated the day of the wedding. 

WEDDING DAY PROGRAMS 

So let me warn you, these were more like small magazines than programs. I mean, I DIY'd them all so they still had a personal little quirky feel to them, but they are definitely the longest programs I've ever designed (typical). I always LOVE going to weddings with good programs. As a guest, you often find yourself sitting there waiting for the ceremony to begin, and having something to look over and read that is ALL ABOUT what is about to happen is the perfect way to build even more excitement and anticipation. It sets the tone for the ceremony. 

We had a cover which used the same illustration that I made and used on our invitations and thank you cards. These little doodles of us (done to scale haha) still melt my heart. The first page, again starts with a thank you. This was really what was important- letting our friends and family know how thankful we were for their presence. It meant the world to us. We also mentioned AGAIN the unplugged ceremony- it was very important to me. As a photographer myself, I didn't want iPhones and iPads in my photos. I wanted faces of people I love. 

The second page was the 'order of events' of the day of the wedding. Detailing out the ceremony, the cocktail hour, and reception and any information they needed to know. The third page, our story. By this point most of these people already knew our story, but we included it anyways. The next page was about our awesome wedding party- gosh I love those humans. We gave them some funny little wedding related awards under their names as well. Then I added one more of our engagement photos.

Next up the fun fact pages. This was FUN to make and FUN to read. Included on it was important dates for our relationship, some fun wedding planning numbers such as number of venues and number of dresses tried on. We recognized a few guests who traveled EXTREMELY far, illustrated our guest's hometowns on a map, and mentioned our honeymoon. I admitted a bridezilla moment so we could all have a good laugh about it (yes I bought a dress in 30 minutes. yes I had a meltdown the next day crying on the kitchen floor of my parents house while my fiance and brother stared at me and told me to get it together. yes I called my grandpa in a panic and he told me I need to talk to my mom about this kinda thing. It happened, we figured it out- shout out to The Dress Theory in Seattle who acted like I wasn't a total nutcase and helped me find the right dress) 

I had some fun looking at all of the types of people we invited from our lives. Family, college friends, high school friends, gym friends, work friends, teammates, etc etc etc. Its the one time of our lives when all of our crews were together in one spot. I did a little pie chart to illustrate this and to this day my gym friends still refer to themselves as "the 7 percent". I also went to back to where this whole planning all began- Pinterest. I had accumulated 5 or so boards by this point (probably more) and added up all of the images I had saved as inspiration at point of planning. HAHA RIDICULOUS. We ended it with our 3 favorite parts of wedding planning which I thought was hilarious, and extremely predicatble. 

As you can see, my program was LONG and probably way too much information for anyone to read in one sitting. But I got a ton of compliments on it and people still mention it to me today. I hope this just gives you some ideas when it comes time to planning yours and what you want to include. You by no means need to include ALL OF this, think about what information is important to you and the style of your wedding. Sometimes just a small card that says thank you and a small timeline is the most fitting program. There are so many ways to make this personal to you, your wedding, and add your own personality into it!